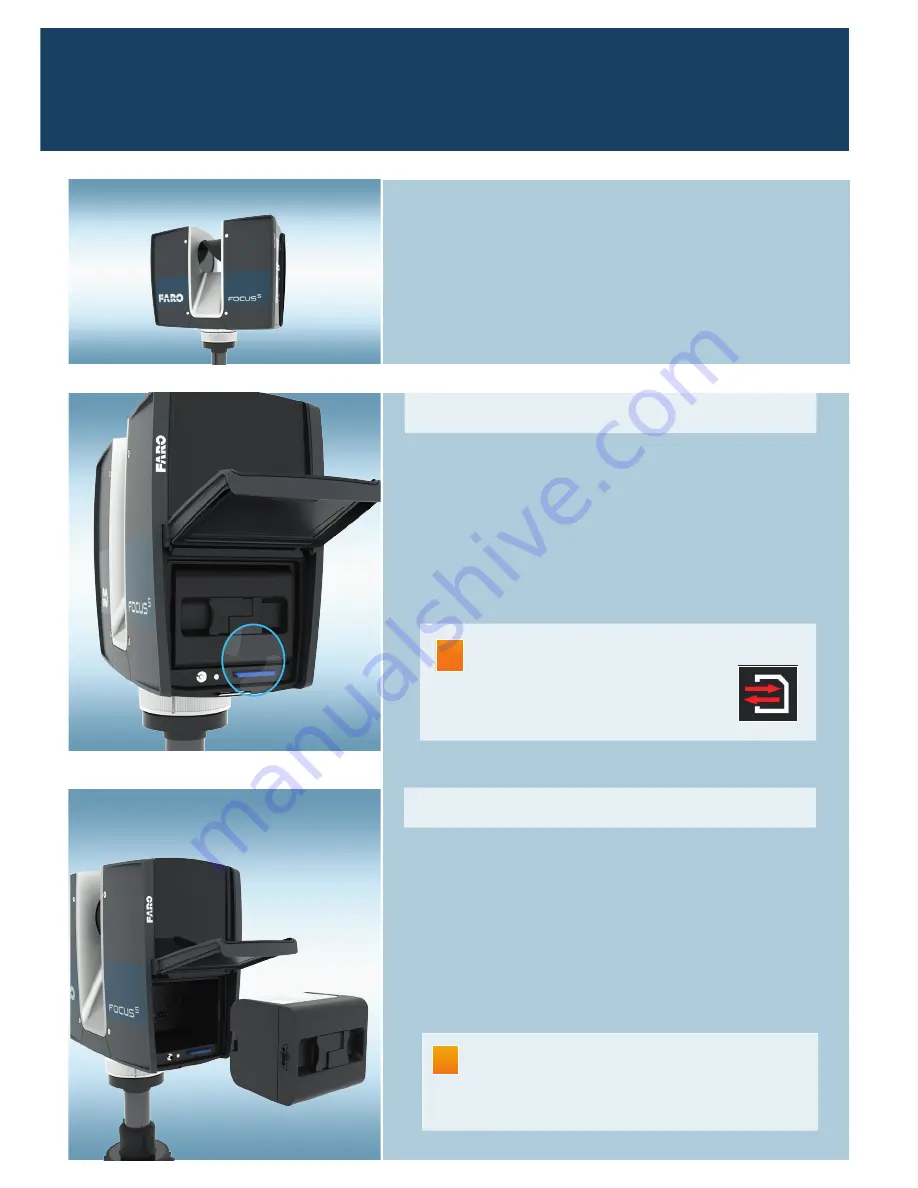
4. Supply Power to the Scanner
Use the rechargeable battery provided by FARO to
power the FARO Laser Scanner.
Open the laser scanner’s battery compartment.
With its type label directed upwards, point the
battery contacts to the scanner, push the battery
straight in, and slide it into the compartment until the
fastener clicks into position.
Close the battery cover.
Adhere to the battery safety measures
described in the laser scanner manual.
Insert or remove batteries from the laser
scanner in dry and dust-free environments
only.
!
Open the SD Card slot cover on the battery side.
Insert the SD card with the notched edge in the
direction as illustrated until it clicks. The SD card
might have a protective lock-switch at the top left.
Make sure that this lock-switch is in the open position.
3. Insert the SD Memory Card
Do not remove the SD card from the scanner
while it is busy, otherwise you risk
corrupting data. A busy SD card
is indicated by this icon blinking in
the status bar on the display.
!
Carefully mount the scanner with the upper part of the
Quick Release onto the counter part. Make sure that the
marks on both parts of the Quick Release are aligned.
Lock it by rotating the nut at the upper part of the Quick
Release in a clock-wise direction.


