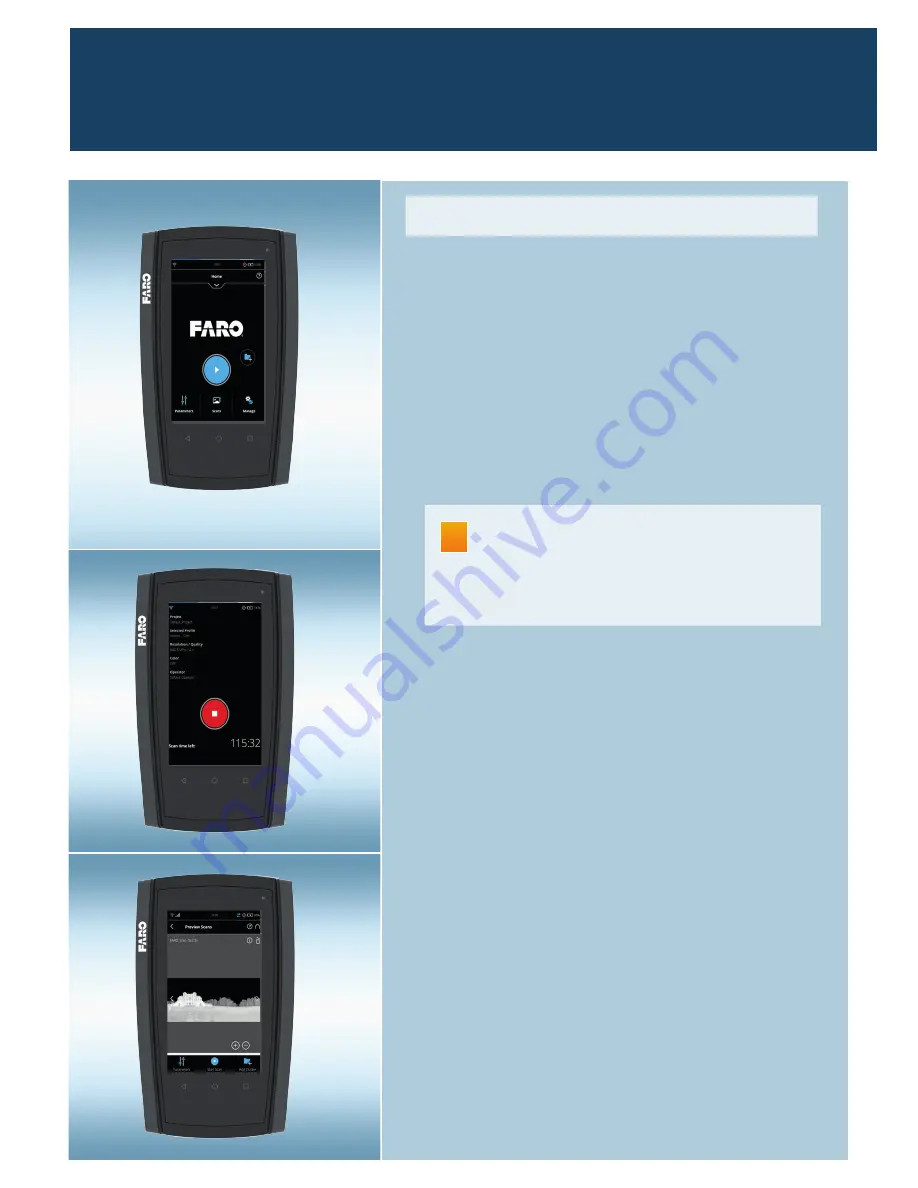
7. Start a Scan
You can abort scanning with the
Stop Scan
button
on the display or with the
Start / Stop
button
on the scanner.
Once scanning and taking the pictures are
fi
nished, the scanner might make another full
turn to capture inclination data. Please do not
move the scanner while this data is being
recorded.
Whe
n fi
nished, a preview picture of the captured
scan will be displayed on the screen.
To view and process the scanned data with
SCENE, remove the SD card from the scanner,
insert it into your PC, start SCENE and transfer the
scans to your local hard drive. Now, you can
view and process the scans with SCENE. For more
information on this, read the SCENE manual or
visit:
http://tutorial.faroeurope.com
!
Please respect all necessary safety measures
and start the scan either by clicking on the
Start
Scan button
on the scanner display.
Scanning starts and the laser will be switched
on. The scanner will save the scanned data to
the SD card. The scanner’s LED will blink in red
as long as the laser of the scanner is switched
on. During scanning, the scanner rotates clock-
wise by 180°. If scanning with color, the scanner
continues to turn to 360° to take the images.
Remember that the scanner is turning and
the mirror unit is rotating with high speed.
Ensure that the scanner can move freely and
that no objects o
r fi
ngers can touch the
mirror unit.


