RESTRICTED USE ONLY
Fargo Electronics, Inc.
CardJet 410 Card Printer/Encoder and Persona CardJet C7 Printer User Guide (Rev. 6.1)
4-15
Installing the Windows Printer Driver (continued)
Step
Procedure
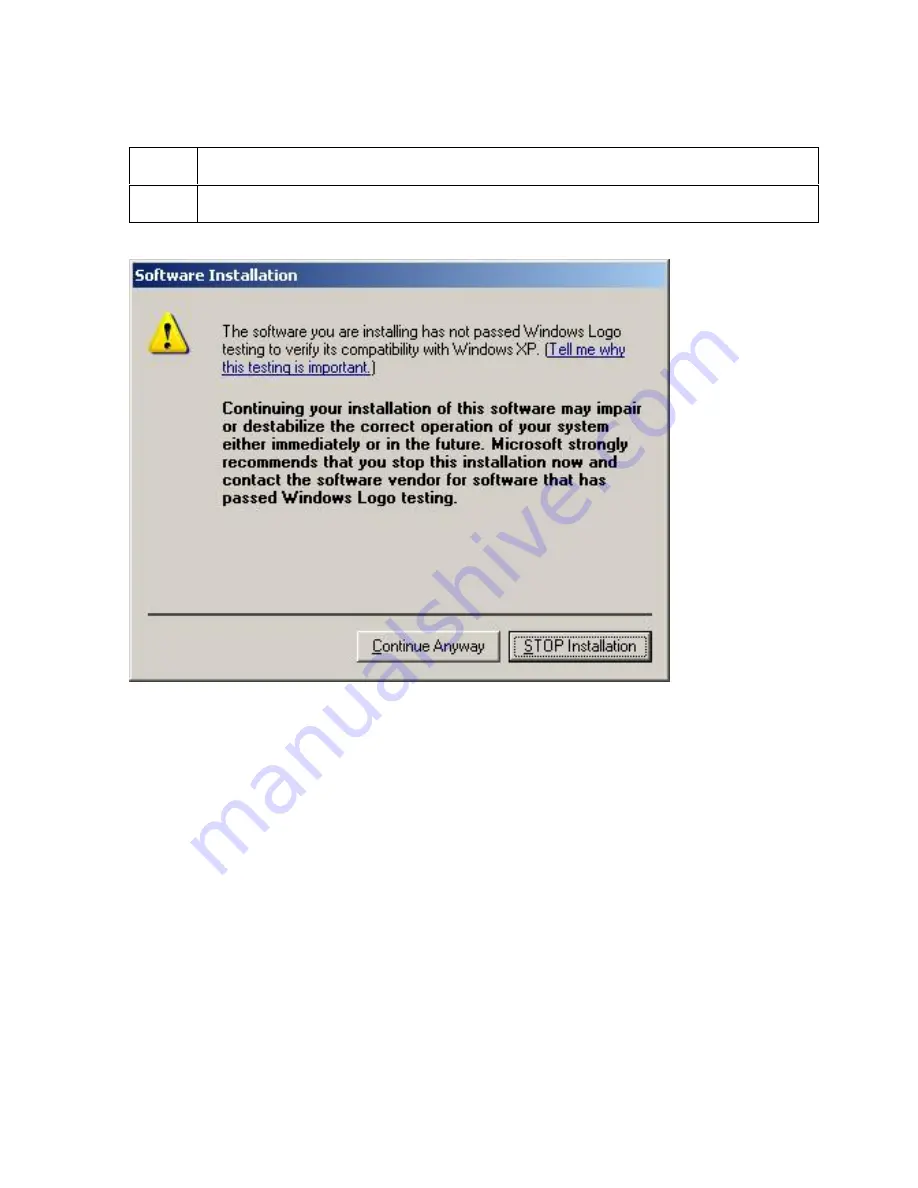
12
(Windows XP only). Click on the Continue Anyway button.


