Working as an individual device to program the ESC (continued)
Note:
Keeping the “Menu” or “Value” button held down will scroll through the parameters and values quickly.
“Reset”:
Use this button to return your ESC to all default settings. After pushing this button, follow immediately with
pressing the “OK” button, to confirm that you want to reset all parameters back to the default settings.
“OK”:
Use this button to save your customized parameters into the ESC. IMPORTANT: You must press this button every time
you want to save a customized parameter in the ESC. If you don’t press the “OK” button, the customized setting will not be
saved and updated into the ESC. If you just press the “Menu” button, the customized settings are just saved into the program
card; not into the ESC. For example: First, use the “Menu” button to scroll through the available customizable parameters and
stop on one that you would like to customize (e.g. cut-off voltage 3.2/cell, etc.). Second, press the “Value” button to scroll
through the available values. Third, once your desired value is shown on the screen, press the “OK” button to save the setting
into the ESC. Press “Menu” to scroll to the next parameter, and so on.
Note:
All default settings are preceded by a “*”.
For example: G7: BEC Output
*1: 6V
WWW.FANTOMRACING.COM
PRO ESC - LCD PROGRAM CARD USER MANUAL
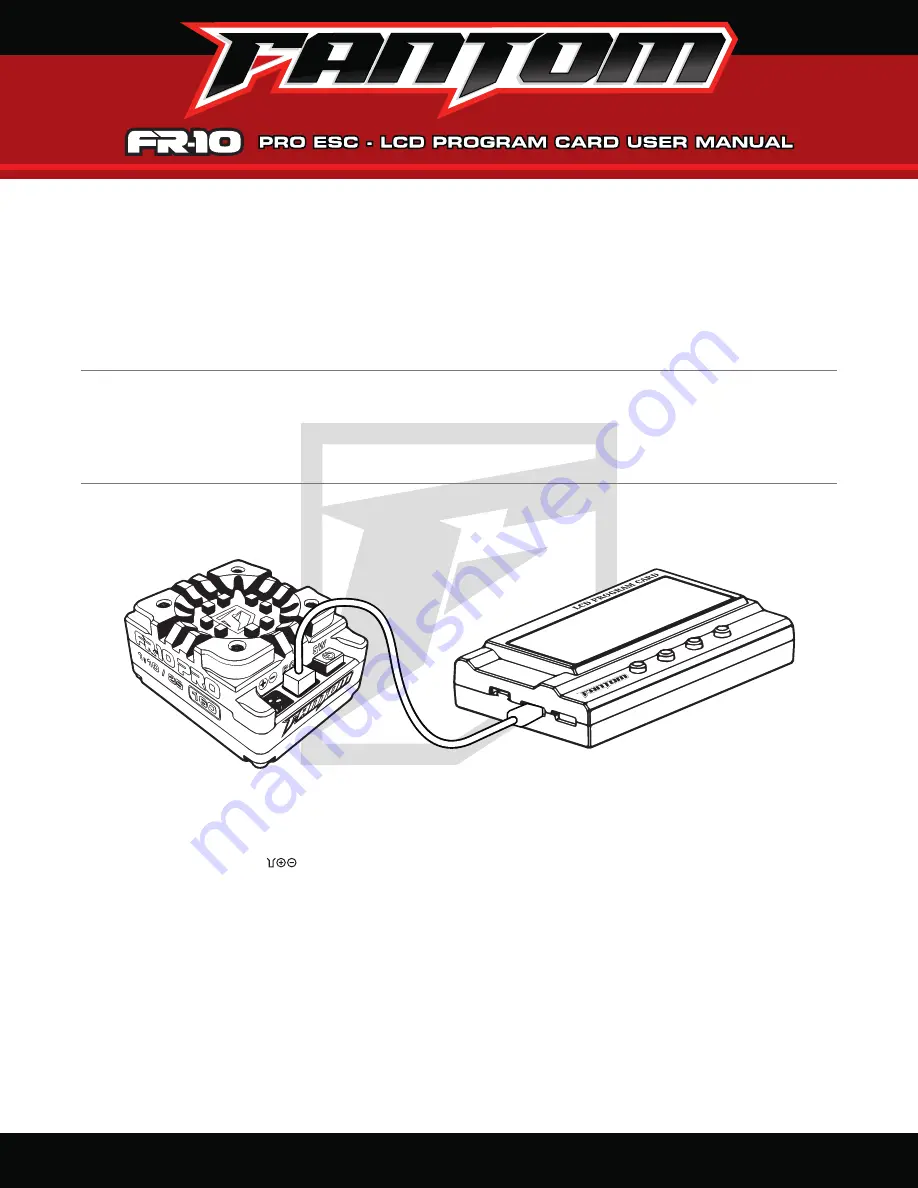
To use as an individual device, connected directly to your ESC:
Specification:
Dimension: 91mm x 54mm x 18mm (L/W/H) Weight: 68g
Power supply: DC 5.0V~12.0V
The Fantom FR-10 PRO LCD Program Card only applies to the FR-10 PRO 1:10 scale, 2S, 160A brushless ESC.
The LCD Program Card can be used in two ways as follows:
1. As an individual device, connected directly to your ESC, to set the parameters of your FR-10 PRO ESC.
2. As a USB adapter to update the firmware, of your LCD Card and/or your ESC, and set the parameters, of your
FR-10 PRO ESC, on a PC.
1. Disconnect the battery from the ESC.
2. Plug the included signal wire into the PGM port of your ESC (white to the right side) and the other end into the socket of
your LCD Card marked with (black to the right side).
3. Connect the battery to the ESC and turn on the ESC.
4. If the connection is correct, “Fantom Racing” will be displayed on the LCD screen. If the data connection between the LCD
and ESC fails, please check whether the signal wire is connected correctly and repeat steps 1, 2 and 3.
5. If the connection is established successfully, with “Fantom Racing” displayed on the LCD screen, press any button and the
first programmable item will be displayed on the LCD screen. It’s ready to customize your ESC parameters now.
Working as an individual device to program the ESC, the function of the buttons are as follows:
“Menu”: Use this button to scroll through all the available customizable parameters.
“Value”: Use this button to scroll through all the available values, of each customizable parameter.


