15
6. Using Personal Computer
6.1. Wireless connection to PC
Switch-on the WiFi HDD by pressing the power button at the front panel. Wait for a few
moments until the Wireless LED remains on. Enable the WiFi feature on your PC and
open the Wireless Network Connection. Select the WiFi Disk wireless connection (default
wireless SSID: WiFiDisk, Password: 11111111). Once you have successfully connected to
your WiFi HDD, you can run the “NAS Client Login Utility” to search for your device and
complete the configuration process.
6.2. PC Client Login Utility
The Client Utility software is the only software that you will need to run on your computer.
This software utility allows you to easily search and look for your WiFi HDD that is
connected to your home network.
1. To run the tool, double-click on the “NAS Client Login Utility” file and follow the
on-screen instructions.
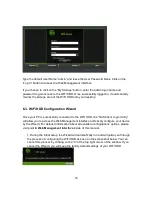
If you do not find the WiFi Disk on the list of devices connected in your network, click on
the “Refresh” button to refresh the device list.
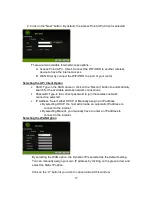
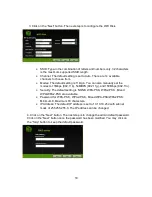
Select the WiFi Disk on the list, then click on the “Log In” button to enter the web interface
as seen on the image below.


