background image

MENU

      Warning


Using the HDV-Z180/HDV-Z180S 

Note 

Using the battery 

Using the charger 

Cleaning 

Specifications


Package contents  

Parts diagram  

Using instruction 


 A 

To install the HDV-Z180/HDV-Z180S  

    To remove the HDV-Z180/HDV-Z180S 

    Picture shows  

 B 

Using the HDV-Z180/HDV-Z180S 

    Power selected 

    After use 

    Picture shows

 C

 Lighting for photography objects 

    Picture shows 

Combining multiple lights 


Combining instructions  

Picture shows 

Link control

Link control instructions


Failing to follow the precautions marked with this sign, 
may result in a personal injury or property damage.

:DUQLQJ

Proper precautions when using the 

+'9=+'9=6

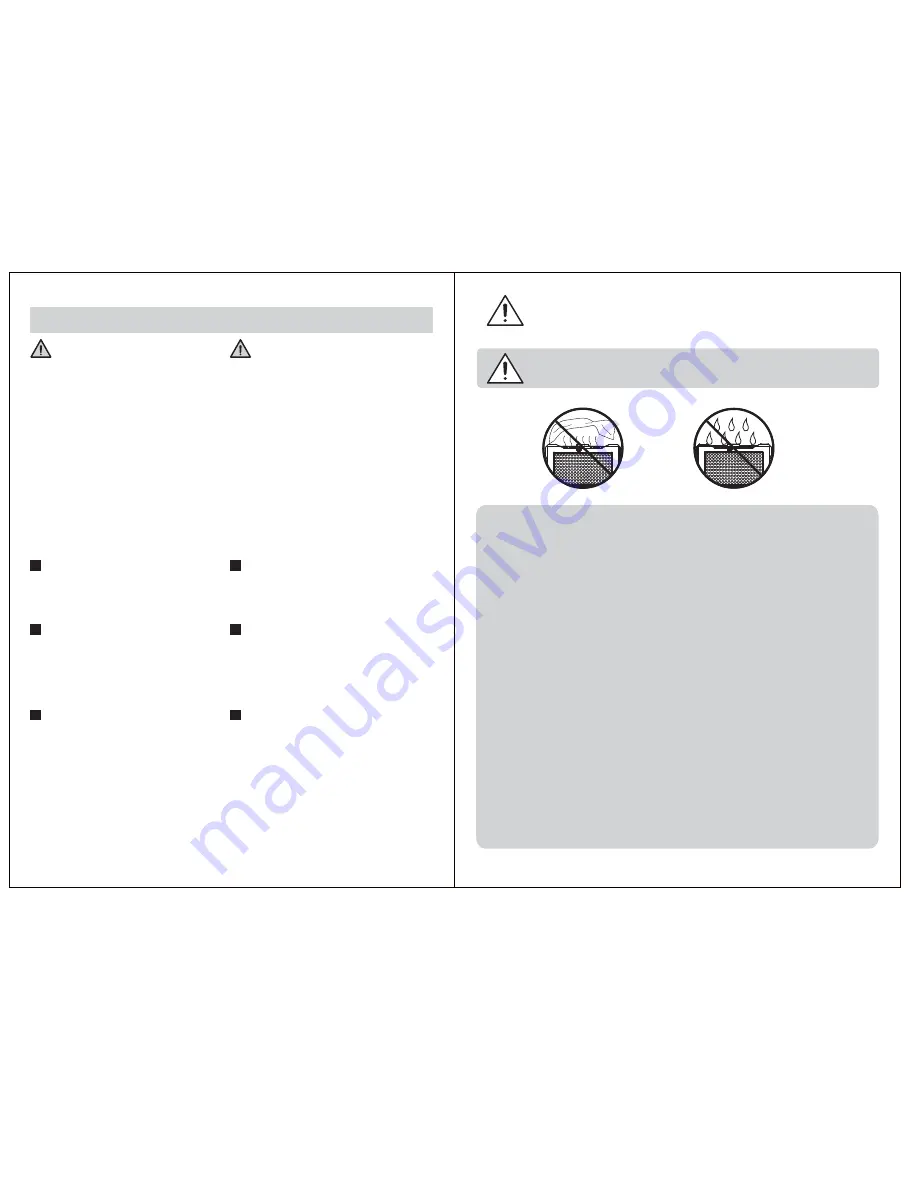
1. To prevent fire or electric shock, Please do not let the rain hit the device or 

    humid.

2. Use of non-original match or without of the provisions power supply voltage 

    will damage.

3. Should you notice smoke or an unusual temperature coming from the 

    equipment, cut off the power and stop using it . Take the equipment to a F&V 

    Authorized Resellers service center to inspection.

4. Do not disassemble. Touching the product’s internal parts could result in 

    injury. In the event of Malfunction, the product should be repaired only by a 

    qualified technician. Should the product break open or wet as the result of a 

    fall or other accident. Cut off the power and then take the product to a F&V 

    service center to inspection.

5. Storage and transportation process, please keep out the power separation 

    from equipment to prevent contact switch, causing no long-term use of 

    temporary nursing equipment, caused a fire.

6. Keep out of reach of children. Failure to observe this precaution could result 

     in injury.

1

1

2

2

2

2

3

4

7

7

6

7

7

7

6

8

6

8

9

20

……………………..............

………….

……………………............................

……………………..........

……………………..........

…………………….......................

…………………….........

……………………...............

……

……………………...........

………

…………………….........

……………………...................

……………………...........

………..

……………………...........

……………………..

……………………...............

………………....

      Mise en garde


Utilisation du HDV-Z180/HDV-Z180S 

Note 

Utilisation de la pile 

Utilisation du chargeur 

Nettoyage 

Spécifications


Contenu de l’emballage  

Diagramme des composantes  

Utilisation 


 A   

Installation du HDV-Z180/HDV-Z180S  

    Pour retirer le HDV-Z180/HDV-Z180S 

    Picture shows  

 B 

Utilisation du HDV-Z180/HDV-Z180S 

    Sélection de puissance 

    Après l’utilisation 

    Picture shows

 C

 Éclairage pour photographier les objets 

    Picture shows 

Combinaison de plusieurs lumières


Instructions pour le jumelage  

Picture shows 

Contrôle du jumelage

Instructions pour le contrôle du jumelage

10

10

11

11

11

11

12

13

15

15

17

15

15

16

17

16

17

18

19

21

…………….............

………

....……………………...........................

…………………….........

..……………….........

……………………......................

.………………........

……..............

…..

.....

...……………………..........

.…..

.……………........

……………..................

...……………………..........

..

...……………………..........

………………

...…………………….............

...

-1-

Summary of Contents for HDV-Z180

Page 1: ...ctions where all those who use the product will read them Pour pr venir tout dommage votre produit F V ou toutes blessures vous ou autrui veuillez lire attentivement toutes les mises en garde avant d...

Page 2: ...internal parts could result in injury In the event of Malfunction the product should be repaired only by a qualified technician Should the product break open or wet as the result of a fall or other ac...

Page 3: ...1380Lux 1460Lux HDV Z180 HDV Z180S DC 5 8 16 8V 65 390g Magnetic Pick up 172 52 113mm 30000h Keep dry Failure to observe this precaution could result in fire or electric shock Dust on or near the meta...

Page 4: ...hole 5 Top lock knob Parts diagram 6 Hot Shoe Adapter 7 Bottom lock knob 8 Diffuser 9 Lithium battery storage 10 Battery lock release 11 AA battery compartment cover 12 Combine lock release 13 Multi...

Page 5: ...he arrow direction to open the Battery Compartment Cover 2 According to the positive and negative icon install six AA batteries Or insert a Sony NPF lithium 7 2V Li ion battery into lithium battery ho...

Page 6: ...r fluorescent lights the HDV Z180 HDV Z180S will improve the color balance by diminishing the green cast caused by the fluorescent lights falling on your subject Lighting for photography objects C Rem...

Page 7: ...amme ou un chaleur excessive Ne pas immerger ou exposer l eau Veuillez prendre les pr cautions d usage lors de l utilisation de piles Optionnelles Les piles peuvent couler ou exploser si elles ne sont...

Page 8: ...clus dans l emballage Mod le Temp rature de couleur Flux lumineux Puissance Voltage Indice de rendu des couleurs Angle de faisceau Poids Fixation du diffuseur Dimensions Lo La H Dur e de vie moyenne 5...

Page 9: ...me direction que l objectif 1 Tourner la molette de verrouillage dans le sens contraire des aiguilles d une montre pour desserrer 2 Faire glisser le sabot et retirer l unit Utilisation du HDV Z180 HDV...

Page 10: ...tif 1RWH Pour la photographie int rieure le HDV Z180 HDV Z180S met un large faisceau de lumi re du jour ou de lumi re tungst ne Le faisceau du HDV Z180 HDV Z180S n est pas suffisamment large pour couv...

Page 11: ...lage de jumelage en appliquant une l g re pression et faire glisser les unit s en directions oppos es tel qu indiqu par les fl ches Combinaison verticale Tel qu illustr superposer la rainure de jumela...

Page 12: ...hors tension par la suite cette unit deviendra l unit de contr le 1RWH Link control The way of controlling after combining The Maximum of combined lights is better within in 12 units 1 Please make su...

Reviews: