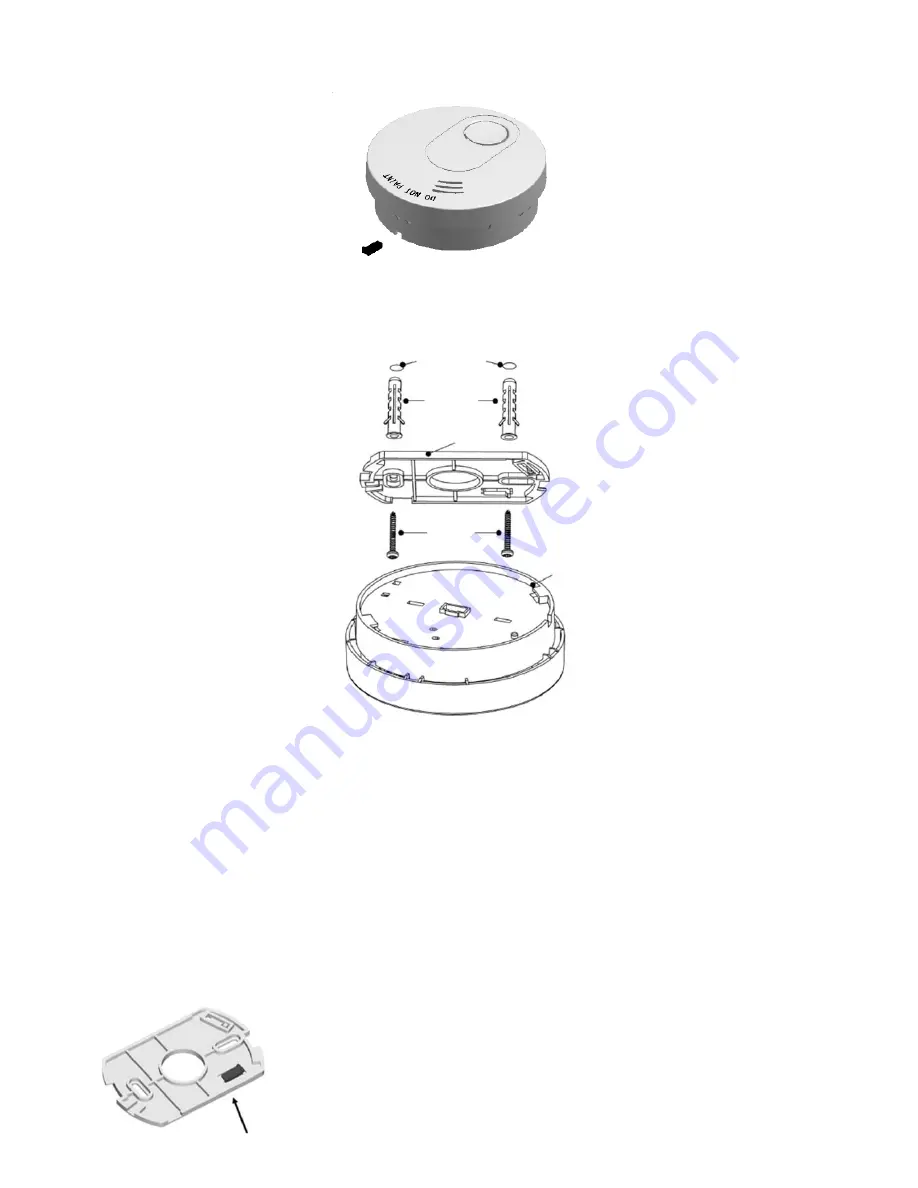
Alarm Body
Screws
Bracket
Mounting Plugs
Holes in Ceiling / Wall
Remove fixing plug
with screwdriver
IMPORTANT SMOKE ALARM PLACEMENT
INFORMATION
1. Place as close as possible to the centre of the
ceiling and no closer than 300mm to any wall or
corner.
2. Install a smoke alarm in each room that is
divided by a partial wall.
3. Install a smoke alarm in lived-in attics or attics
which house electrical equipment like furnaces,
air conditioners or heaters.
WHERE NOT TO INSTALL SMOKE ALARMS
1. Areas near appliances or where normal
combustion regularly occurs (near furnaces, hot
water heaters).
2. In areas with high humidity, like bathrooms,
near dishwashers or washing machines. Install at
least 3 metres away from these areas.
3. Air returns or heating and cooling supply vents.
Install at least 900mm away from these areas.
The air could blow smoke away from the
detector, interrupting it’s alarm.
4. In rooms where temperatures may fall below
5ºC or rise above 45º or in rooms where the
humidity rises above 85%.
5. In extremely dusty, dirty, or insect-infested
areas where loose particles interfere with smoke
alarm operation.
WARNING:
Incorrect orientation will result in a
decrease in operational effectiveness.
INSTALLATION AND MOUNTING INFORMATION
WARNING:
Smoke alarm installation must be in
accordance with the requirements of the national
electrical code and any local codes that may
apply and performed by a competent person.
IMPORTANT:
Before installing this smoke alarm
ensure that no electrical cabling and or plumbling
will interfere with the installation of this smoke
alarm.
Use an appropriate fastening system to
secure the mounting bracket to the substrate.
ACTIVATION
To activate the smoke alarm press the Test
button and hold it for at least 3 seconds until RED
LED Indicator
flashes and release it within 2
seconds. The unit will then generate a beep
indicating that it is activated and ready for use.
To deactive this smoke alarm refer to
Deactivation section.
INSTALLATION
1. Turn the alarm body counter clockwise to
remove from bracket.
2. Place the mounting bracket on the ceiling
surface or wall and use a pencil to mark the
position of the mounting holes. Move the
mounting bracket and drill the two small holes.
3. Attach the mounting bracket to the ceiling
using mounting screws provided to secure it.
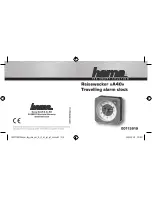
4. Remove fixing plug from the bracket with
screwdriver if necessary.This fixing plug locks the
alarm in place (optional feature).
5. Fit the alarm to the bracket by turning the
alarm clockwise until it fits securely with the
mounting bracket.
6. Insert fixing plug to the gap between the bracket
and the bottom cover for fixing the alarm.
7. Press the Test button to test the smoke alarm.
For testing instructions refer to Operation,
Testing and Maintenance.
INSTALLATION DIAGRAM
WARNING:
To prevent injury this unit must be
securely attached to the wall or celling in
accordance to the installation instructions.
OPERATION, TESTING AND MAINTENANCE
Normal Operation
When no smoke is present, the RED LED
Indicator will flash once every 40 seconds and is
an indication that the unit is operating properly.
Alarm Condition
When the unit detects smoke, the RED LED
Indicator will flash once every second and the
smoke alarm will sound until particles of
combustion (e.g. smoke) clear the
photoelectric chamber.
TESTING
Test the smoke alarm weekly. If the smoke alarm
ever fails to test correctly, have it replaced
immediately! If the smoke alarm is not working
properly, it cannot alert you to a problem.
To test the smoke alarm press the Test button for
at least 5 seconds. It should sound 3 beeps with a
1.5 second pause. When the button is released
testing will cease. If there is no sound it indicates
that the aim could be defective.
DO NOT
use an open flame to test this smoke
alarm. You may ignite and damage the smoke
alarm or your home. Stand at arm’s length from
the smoke alarm when testing.
RED LED Indicators:
NORMAL OPERATION:
The RED LED Indicator
flashing
once every 40 seconds
is showing that
the smoke alarm is operating properly.
ALARM:
The RED LED Indicator
flashing once
every second
when the Test button is pressed
or when the smoke alarm senses particles of
combustion and enters into alarm mode (a
constant pulsating sound).
The flashing
RED LED Indicator and pulsating alarm will
continue until the area is ventilated with clean
air or the Test button is released.
HUSH MODE:
Is used in a situation where there
is a nuisance alarm.
When pressing the
Test/Hush button, the alarm will be silenced
for approximately 10 minutes.
The RED LED
Indicator
will flash once every 8 seconds
indicating the smoke alarm is in Hush mode. The
smoke alarm will automatically reset after
approximately 10 minutes.
If particles of combustion or smoke are still
present after the 10 minute hush period the
alarm will sound again.
Before hushing smoke
alarm identify the source of the smoke and be
certain that it is not a fire risk. Dense smoke will
override the alarm hush and will sound
continuously until clean air vents the area. Using
an exhaust or extractor fan while cooking will
help minimise nuisance alarms. If the cooking
process generates excessive steam and or
smoke having a nearby window and or door will
constantly vent the area with clean air thereby
minimising the possibility of a nuisance alarm.
LOW BATTERY Indicator: Occurs when the
alarm sounds a chirp together with the RED
LED Indicator flashing once every 40 seconds
Pressing the Test button will pause the smoke
alarm chirp for 10 hours but then will reset
automatically after 10 hours. During this period
the alarm chirp is stopped but the smoke alarm is
still fully operational.
NOTE:
This smoke alarm has a non-replaceable
10-year lithium battery. Should the smoke alarm
indicate a LOW BATTERY refer to the
Troubleshooting section.
FAULT: Indication is shown when the unit
generates a ‘chirp’ once every 40 seconds.
Pressing the Test button temporarily will pause
the ‘chirp’. This does not deactivate the alarm
only stopping it temporarily for 10 hours. If the
incident occurs during the warranty period then
return to the place of purchase to arrange a
replacement or purchase another smoke alarm.
Refer to Troubleshooting section for further
assistance.
WARNING:
If the alarm sounds and the smoke
alarm is not being tested, the smoke alarm is
sensing smoke. The sound of the alarm requires
your immediate attention.
WARNING: DO NOT
disconnect the battery to
silence an unwanted alarm. This will remove your
protection. Press the Hush button, ventilate the
unit or open a window to allow smoke or dust to
clear.


