INSTRUCTIONS:
1.
Disconnect the negative terminal on the battery. Jack up
the rear end of the truck and support the frame rails with
jack stands.
NEVER WORK UNDER AN
UNSUPPORTED VEHICLE!
Remove the rear tires.
2.
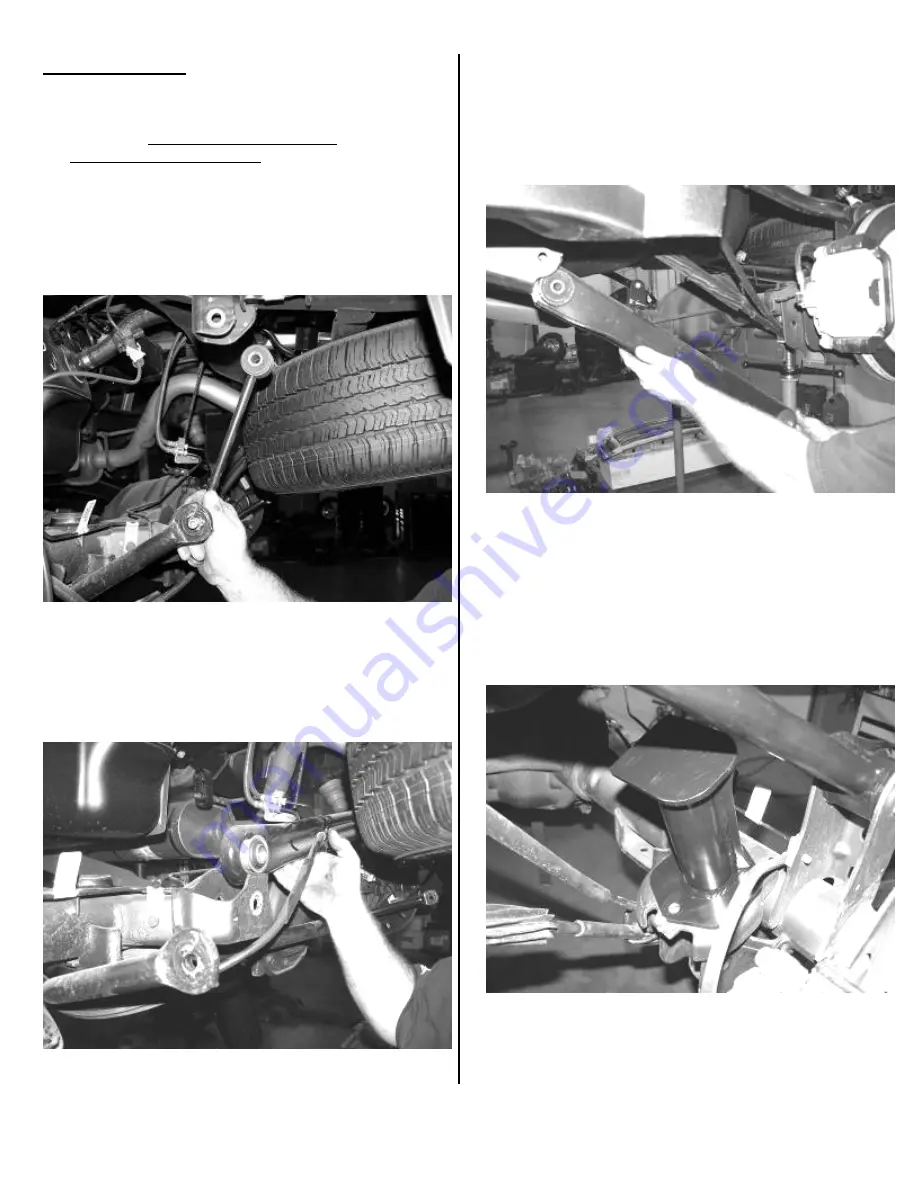
Disconnect the sway bar end links from the frame and sway
bar, discard the endlinks, save the hardware. Remove the
bolt securing the brake line support tab to the differential
housing and save. Remove the ABS wiring from the frame
mounts on both sides. Save all the hardware. SEE PHOTO
BELOW.
3.
Using a floor jack, raise the differential just enough to
slightly compress the rear shocks. Remove the bolts
securing the top of the shocks to the frame (if equipped
with the Auto Ride System, unplug the electric and air line
connections) . Remove the lower pivot bolt that attaches
the track bar to the axle bracket and save. SEE PHOTO
BELOW.
4.
Lower the floor jack to release the coil springs. Remove
the coil springs from the vehicle and save the rubber upper
and lower coil insulators.
5.
Support the rear axle with a floor jack and remove the
factory lower links arms. Discard the links and save the
hardware. SEE PHOTO BELOW.
6.
Locate FT20319 (drv) & FT20320 (pass) Rear Bumpstop
Brackets and the supplied 3/8”x1 ¼” hardware. Place the
bump stop extension mounts onto the existing pads on the
top of the differential. Using the 3/8” bolts, washers and
C-lock nuts, secure the mount to the differential. There
should be a flat washer on each side of the bolt. Do not
fully tighten. Mark and drill the front 3/8” hole in the
bumpstop and attach using the remaining 3/8” hardware on
this new hole. Torque to 30 ft lbs. SEE PHOTO BELOW
AND ON THE NEXT PAGE.


