TOP
-ino
Operation Instructions
16 of
22
F+D
Feinwerk- und Drucktechnik GmbH
Kirchenstraße 38, D-69239 Neckarsteinach, Germany
Phone: +49 6229 7000, Fax: +49 6229 70067
E-mail: [email protected], Internet: http://www.fuddruck.de
4. Service
4.1 Changing the ribbon
1. Disconnect the printer from the power.
2. Unlock the thermal head.
To do so, move the release lever to the left and push
the thermal head up.
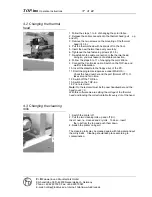
3. Fasten the thermal head in the upper position (Ill.)
The release lever must be moved back to the right.
4. Remove the wind- and unwind spools
Pull the wind- and unwind spools off to the front.
5. Insert the empty wind up spool (you may use the old
unwind spool for this, Ill.).
6. Insert a new color ribbon spool serving as unwind spool.
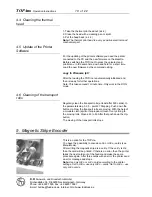
7. Mount the color ribbon according to the drawing (Ill.).
Note:
Doing this, pay attention that the two color ribbon spools
both are pushed back until to be fixed to the buffer.
8. By three complete rotations you achieve a fixation of the
color ribbon on the wind up spool.
9. Unlock the thermal head.
To do so, move the release lever to the left and push
the thermal head slightly down.
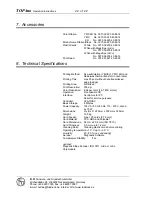
10. Fasten the thermal head in the lower position.
The release lever must be moved back to the right (Ill.).
11. Switch the printer back on by using the power switch.
12. Print a test card and check the print quality.
Note:
ay attention that ribbon is fixed according to the drawing
in the printer).


