2
Set up your device
Step 1
Power-on
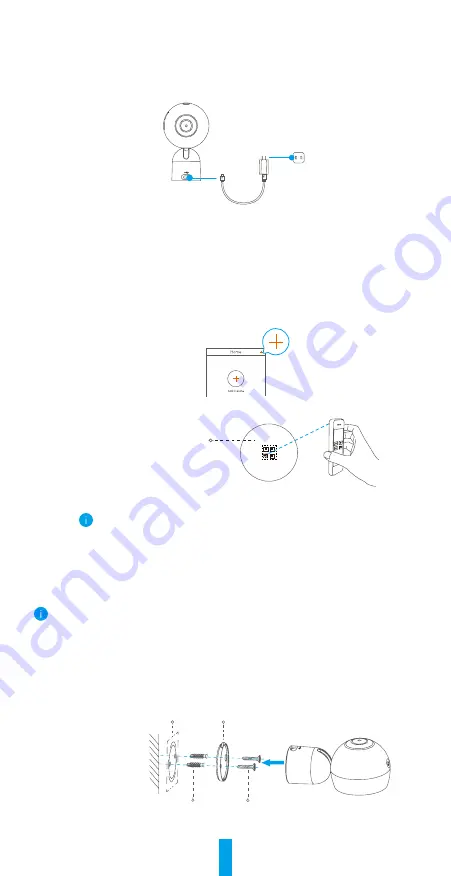
Plug one end of the power cable into the camera, and plug the other end into the power
adapter. Then plug the adapter into a power outlet, as shown in the figure below.
Power Outlet
Power Cable
Step 2
Camera Setup
1. Create a user account
-
Connect your mobile phone to a Wi-Fi network.
-
Download and install the EZVIZ app by searching “EZVIZ” in the App Store or
Google Play Store
TM
.
-
Launch the app and register for an EZVIZ user account by following the start-up wizard.
2. Add a camera to the EZVIZ app
-
Log in the EZVIZ app.
-
On the EZVIZ app Home screen, tap “+” in the upper-right hand corner to go to the QR
code scanning interface.
-
Scan the QR Code on the bottom of the camera.
Bottom of Camera
-
Follow the EZVIZ app wizard to finish Wi-Fi configuration.
For Wi-Fi configuration, make sure your phone is connected to a 2.4GHz Wi-Fi
network from the router.
Installation
There is a magnetic piece inside the camera. You can skip the following steps and attach the
camera directly to a magnetic surface.
•
Secure the base to the desired position with screws.
Refer to
Option 1.
•
Secure the metal plate to the desired position with foam sticker.
Refer to
Option 2.
Option 1 Secure the base with screws
Step 1
Place the drill template onto a clean and flat surface.
Step 2 (For cement wall/ceiling only)
Drill screw holes according to the template,
and insert anchors.
Step 3
Fix the base on the template with screws.
Step 4
Mount the camera to the base.
Screws
Anchors
Drill Template Base


