25
Confirm that the Eyezone OP191080P is already connected to the network. (Refer to 9.1)
Confirm the “
Local HTTP Server
” function has been enabled, and the “
Local HTTP Server
Setup
” set has been completed (refer to 9.2).
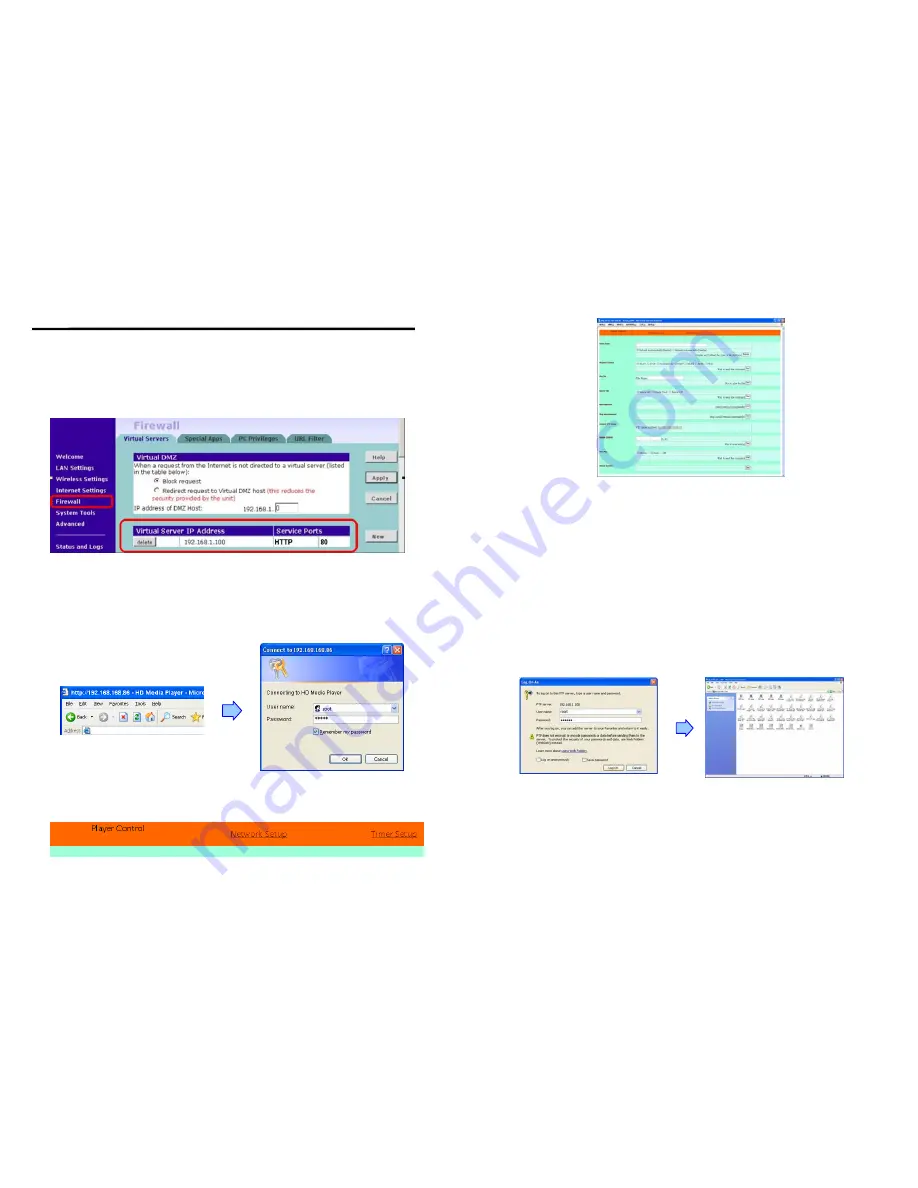
Set your router or firewall, and open a port 80 for the Eyezone OP191080P. The following
figure is an example, please refer to your user’s manual of router for opening ports.
Start IE on PC and type the HTTP site or IP
:
In the local PC, please type “http://192.168.1.100”.
In the remote PC, please type “http://61.30.13.40:80”.
Type the “User Name”, “Password” and click “OK” to log on.
(Default User Name:
root
Default Password:
admin)
There are three items: “Player Control”, “Network Setup” and “Timer Setup” in the window.
11. HTTP COMMAND FUNCTION
26
11.1 PLAYER CONTROL
Check State:
Check the current state of OP191080P.
Playback Control:
Control the OP191080P to play file/ stop playback/ pause the playback/
play the previous file/ play the next file/ rewind movie/ forward movie.
Play File:
Enter the file name that you want play, and click “Send” to play the file immediately.
Repeat File:
Select the repeat mode.
Auto Download:
Click “Send” to execute the auto download function immediately.
Note:
The “FTP Auto Download” function must be turned on and completed set.
Stop Auto Download:
Click “Send” to stop the auto download function immediately.
Connect FTP Server:
Click the FTP server address to connect to the OP191080P, and enter the
user name and password (
Default User Name:
root,
Default Password:
admin) to log on.
After logging on all the media files in the CF card on the Eyezone OP191080P will be listed.
You can download and upload the media files between CF card and your PC.
Volume Control:
Enter the value for volume (0-30).
Auto Play:
Select the auto play mode (movies/ pictures/ off).
Reboot System:
Click “Send” to reboot the OP191080P immediately.


