


Quick Operation Guide of Network Video Recorder
Uninterruptible Power Supply (UPS) be used in conjunction with the device. The Power button (for the
HNRT00 series on the front panel should be red, indicating the device gets the power supply.
2.
Press the POWER button on the front panel. The Power LED should turn blue (for the HNRT00 series NVR)
or green (for the HNR50P6 series NVR). The unit will begin to start.
After the device starting up, the wizard will guide you through the initial settings, including modifying
password, date and time settings, network settings, HDD initializing, and recording.
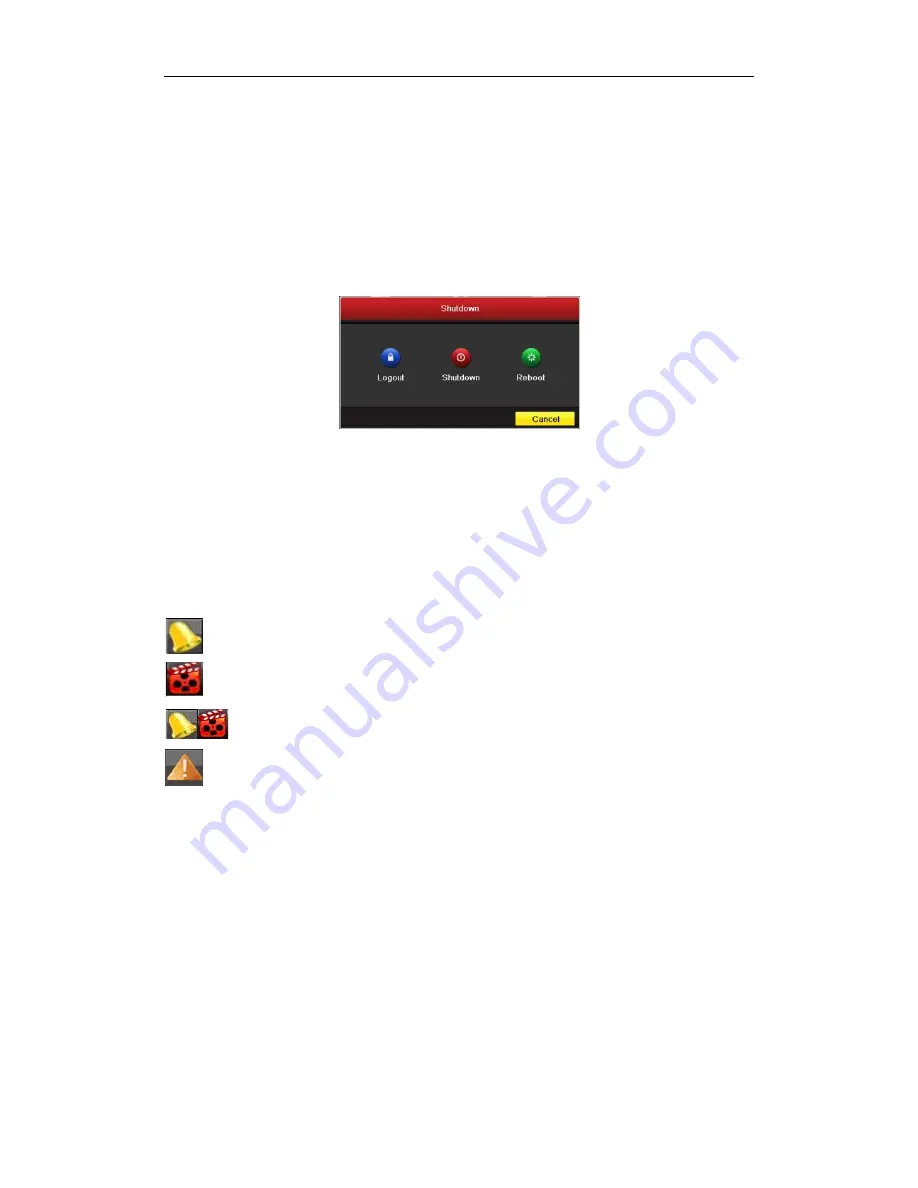
To shut down the NVR:
1.
Enter the Shutdown menu.
Menu > Shutdown
2.
Select the
Shutdown
button.
3.
Click the
Yes
button.
Live View
Some icons are provided on screen in Live View mode to indicate different camera status. These icons include:
Live View Icons
In the live view mode, there are icons at the upper-right corner of the screen for each channel, showing the status
of the record and alarm in the channel, so that you can find problems as soon as possible.
Alarm (video loss, tampering, motion detection or sensor alarm)
Record (manual record, schedule record, motion detection or alarm triggered record)
Alarm & Record
Event/Exception (event and exception information, appears at the lower-left corner of the screen.)
Adding IP Cameras
You should add and configure the online IP cameras to enable the live view and recording function.
Steps:
1.
Right-click the mouse when you in the live view mode to show the right-click menu.
24


