TP Receivers • Installation and Operation
Installation and Operation, cont’d
2-2
Installation Overview
To install and set up a TP receiver and the associated
TP transmitter(s) for operation, perform the following steps:
1
Disconnect power from all of the equipment, including the
video source(s) (such as computers or DVD players), the
transmitter, the receiver, and the output display(s).
2
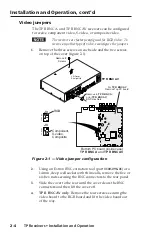
For component, S-video, or composite video, ensure
the internal jumpers (TP R BNC A and TP R BNC AV)
or external DIP switch (TP R 15HD A) are in the correct
position. See
Video jumpers
or
Video DIP switch
in this
chapter.
3
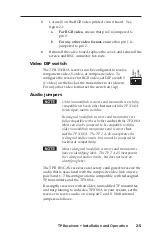
TP R BNC AV Only
— If required, configure the audio
jumpers to make the receiver compatible with unmodified
TP transmitters. See
Audio jumpers
in this chapter.
N
The TP R BNC AV is a redesigned (modified) receiver.
Audio jumpers configure the audio portion of the
composite video TP link to work with the similarly
redesigned TP T 15HD AV transmitter or with older,
unmodified transmitters. Redesigned receivers and
transmitters have an identifying label.
4
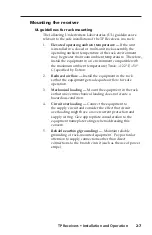
Mount the receiver in a rack (the TP R 15HD A can be
mounted in a standard rack or in a VersaTools rack),
under a desk or podium, in a desk or table (all except
TP R 15HD A), or on a projector bracket. See
Mounting the
receiver
in this chapter.
5
Connect the cable(s) between the TP transmitter(s) and
the receiver. See
Transmitted signal cabling
in this chapter
and refer to the
TP Transmitters Family User’s Manual
, part
#
68-546-03
, or the
TP T 15HD 45 and TP T A 45 Manual,
#
68-924-01
, as applicable.
6
Connect the output cables. See
Output cabling
in this
chapter.
7
Configure the TP transmitter(s). Refer to the
TP Transmitters Family User’s Manual
, part #
68-546-03
, or
the
TP T 15HD 45 and TP T A 45 Manual,
#
68-924-01
, as
applicable.
8
Connect power cords to the TP receiver, the TP transmitter,
and turn on the video source(s) and the output display(s).
Installation and Operation


