Operation, cont’d
CrossPoint 300 Matrix Switchers • Operation
3-4
3
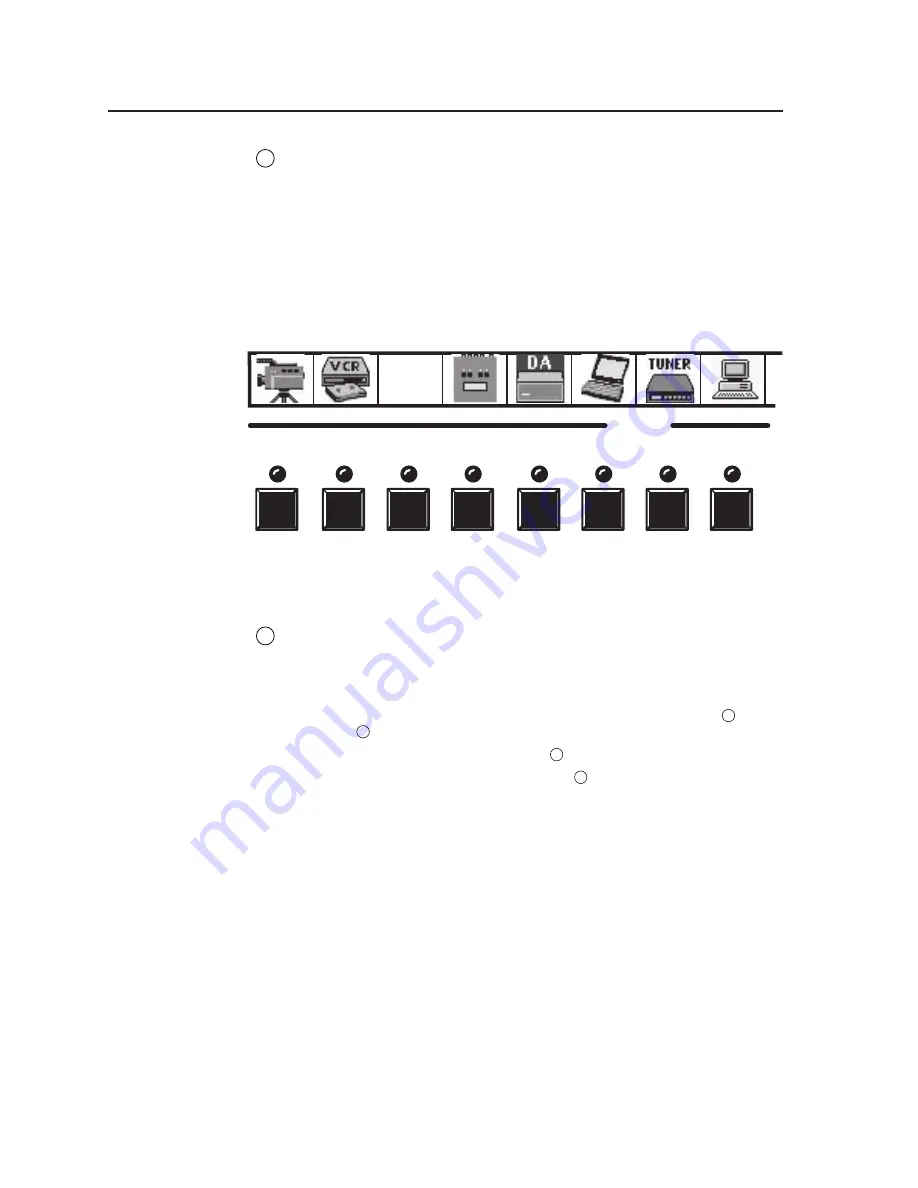
Input and output label windows
— These translucent panels can be removed
and replaced to insert labels behind the panels. To remove a panel, insert the
Phillips-head end of a Tweeker or small Phillips-head screwdriver into the
hole in one end of the panel, and gently slide the tab at the edge of the panel
out of the recess in the switcher housing.
Input and output labels can be created easily with Extron’s button label
generator software, which ships with every Extron Matrix Switcher, or with
any Brother
®
P-Touch
™
labeler. Each input and output can be labeled with
names, alphanumeric characters, or even color bitmaps for easy and intuitive
input and output selection (figure 3-3). See chapter 5, “Matrix Software”, for
details on using the label software.
1
2
3
4
5
6
INPUTS
7
8
Rack DVD
(ISS 506)
Figure 3-3 — Sample label
Control buttons
4
Enter button and LED —
The Enter button and LED have three primary
functions (•) and four secondary (
❏
) functions:
•
Saves changes that you make on the front panel. To create a simple
configuration:
1
.
Specify RGBHV, audio, or both (see I/O selection buttons [
8
] and
[
9
])
2
.
Press the desired input button (
1
)
3
.
Press the desired output button(s) (
2
)
4
.
Press the Enter button.
•
Indicates that a potential tie has been created but not saved.
•
Indicates that a global preset has been selected to be saved or recalled but
that the preset action has not been accomplished.
❏
With the Preset, View, and Esc buttons, selects Serial Port Configuration
mode. See “Selecting the rear panel Remote port protocol and baud rate”
on page 3-37.
❏
Selects 9600 baud for the RS-232/RS-422 port in Serial Port Configuration
mode. See “Selecting the rear panel Remote port protocol and baud rate”
on page 3-37.
❏
Indicates that the RS-232/RS-422 port is set to 9600 baud in Serial Port
Configuration mode. See “Selecting the rear panel Remote port protocol
and baud rate” on page 3-37.
❏
With the RGBHV and Audio buttons, select front panel security lockout
mode 2 or toggle between mode 0 (unlocked) and mode 2. See “Setting
the front panel locks (Executive modes)” on page 3-34.


