IP Service Manager User Guide
4-9
Service Library Tasks
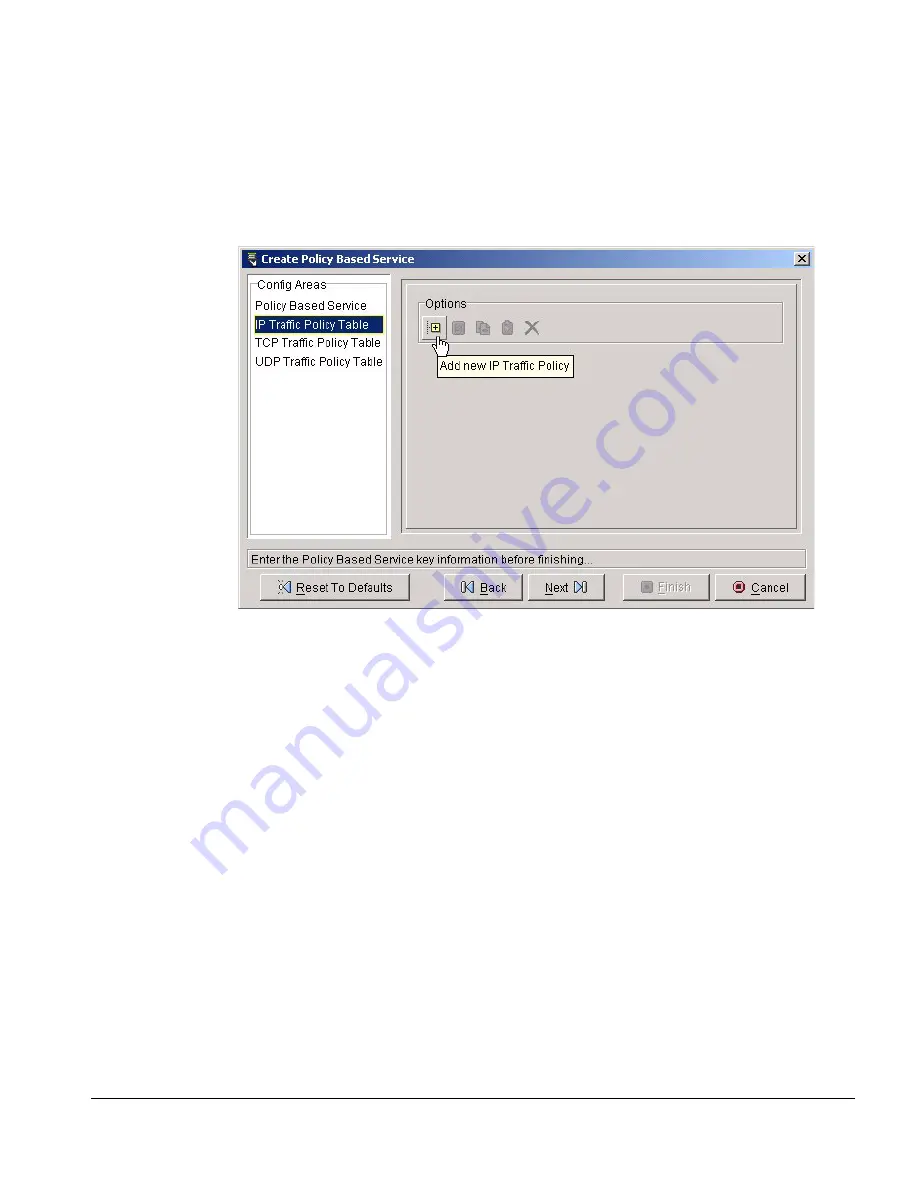
Select one of the entries in the Config Areas panel, or select Next to go to one of the
Traffic Policy Table
pages. From here, select the plus sign (+) icon to launch the
Create IP
, TCP, or UDP Traffic Policy wizard (see Figure 4-4).
Figure 4-4: Launching the Create IP Traffic Policy Wizard
See the task section, “Add an IP, TCP or UDP Traffic Policy”, for details on adding a
traffic policy once you’ve launched the wizard. Once you’ve added a traffic policy,
you can select Finish, or you can add other traffic policies by selecting the desired
page and clicking the plus sign (+) icon again.
6 Select Finish
Select Finish to close the wizard.
Add an IP, TCP or UDP Traffic Policy
The steps to create traffic policies are identical for IP, TCP, and UDP, except that you do
not specify source and destination ports for IP traffic policies. In the following task any
reference to “traffic policy” includes all three types, unless specifically called out. So a
reference to the Create Traffic Policy wizard includes the Create IP Traffic Policy,
Create TCP Traffic Policy
, and Create UDP Traffic Policy wizards.
Summary Steps.
To add a traffic policy:


