Model EA15 Version 1.5 9/03
4
Data Hold
Press the
HOLD
button to freeze the displayed reading. The 'H' hold icon will appear on
the display. Press the HOLD button again to return to normal operation.
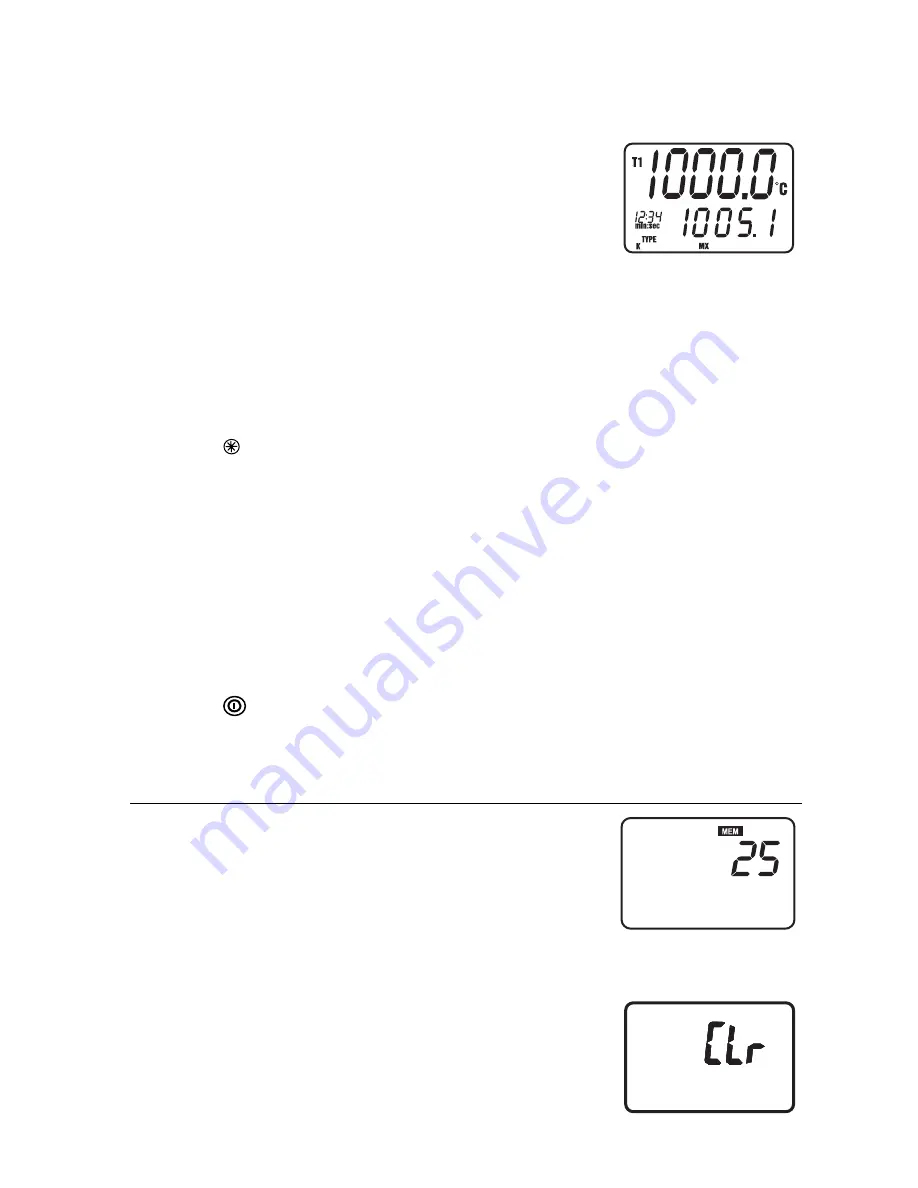
MIN, MAX, AVG Recording Function with Timer
Press the
MX/MN
button to begin capturing the Minimum (
MN
),
Maximum (
MX
), and Average (
AVG
) temperature values. The
Elapsed Time clock will appear on the lower left of the display.
The primary display shows the current temperature. The lower
display will indicate the
MX,
MN
or
AVG
value (depending on
which is selected) captured since the MX/MN button was
pressed.
1. Press
the
MX/MN
button to step through the
MX,
MN
or
AVG
display Each reading
will be accompanied by a Timer value indicating the time when each reading was
recorded
2.
Press and hold the ‘
↵
’ button to change the elapsed time format from min:sec to
hour:min
3.
Press and Hold the
MX/MN
button to exit the MX/MN function.
Backlight
Press the backlight button to turn on the LCD display backlight. The backlight will
automatically turn off after one minute (or press the button again to turn the light off
manually).
Auto Power OFF
The meter will automatically turn off after 30 minutes if no keys are pressed during this
period. AUTO POWER OFF is disabled in the max/min and datalogging modes.
To disable AUTO POWER OFF manually:
1. Hold the enter button ‘
↵
’ while turning power on.
2. The AUTO POWER OFF function will be reactivated when the meter is manually
turned off.
Turning Power OFF
Press the button to turn power off.
Manual Datalogging
Manual datalogging allows the user to store and recall up to 98 temperature readings with the
press of a button.
1. Press
the
MEM
button to manually store a single reading
into memory. The ‘
MEM
’ icon and location number of the
reading will appear on display for two seconds and then the
normal display will return.
2. To view stored readings, press the
READ
button. The
memory location number will briefly appear and then the
‘
READ
’ icon and the stored values will appear on the
display
3. Press
the
▲
and
▲
buttons to scroll through the memory locations and view the
logged readings.
4. Press the ‘
READ
’ button to exit the read mode
5. Press and hold the
MEM
button while turning the meter on
to clear the memory. When the LCD indicates "CLr", the
memory has been cleared.
.


