Functional characteristics
Welding programs
099-00T500-EW501
2.9.2022
37
1
st
cycle
• Press the torch trigger 1
• The gas pre-flow time
expires (shielding gas flows).
• The arc is ignited (HF ignition).
• The start current
flows as long as the torch trigger is held, but at least for the start time
(the
HF ignition shuts down).
2
nd
cycle
• Release torch trigger 1.
• The welding current increases in the up-slope time
to the main current
.
During the main current phase, you can switch to the secondary current
in two ways: Either tap torch
trigger 1 or press and hold torch trigger 2. Lowering to the secondary current
takes place using the
slope time
.
By tapping torch trigger 1 again or releasing torch button 2, the welding current increases with the slope
time
back to the main current
. The slope times
and
are set in the Expert
menu
> see 5.2.12 chapter
).
3
rd
cycle
• Press torch trigger 1.
• The main current
drops during the down-slope time
to the end current
.
4
th
cycle
• Release torch trigger 1.
• The arc extinguishes.
• The gas post-flow time
expires (the shielding gas is shut down).
Alternative welding start (tap start):
The tap start function
must be switched on before using it. With the alternative welding start, the du-
ration of the first and second cycle is only specified by the set process times (tapping the torch trigger in
the gas pre-low phase
).
Alternative welding end (tap end):
The tap end function
must be switched on before using it (this disables tapping on the secondary cur-
rent). When the function is switched on, the welding process is ended immediately by tapping during the
main current phase.
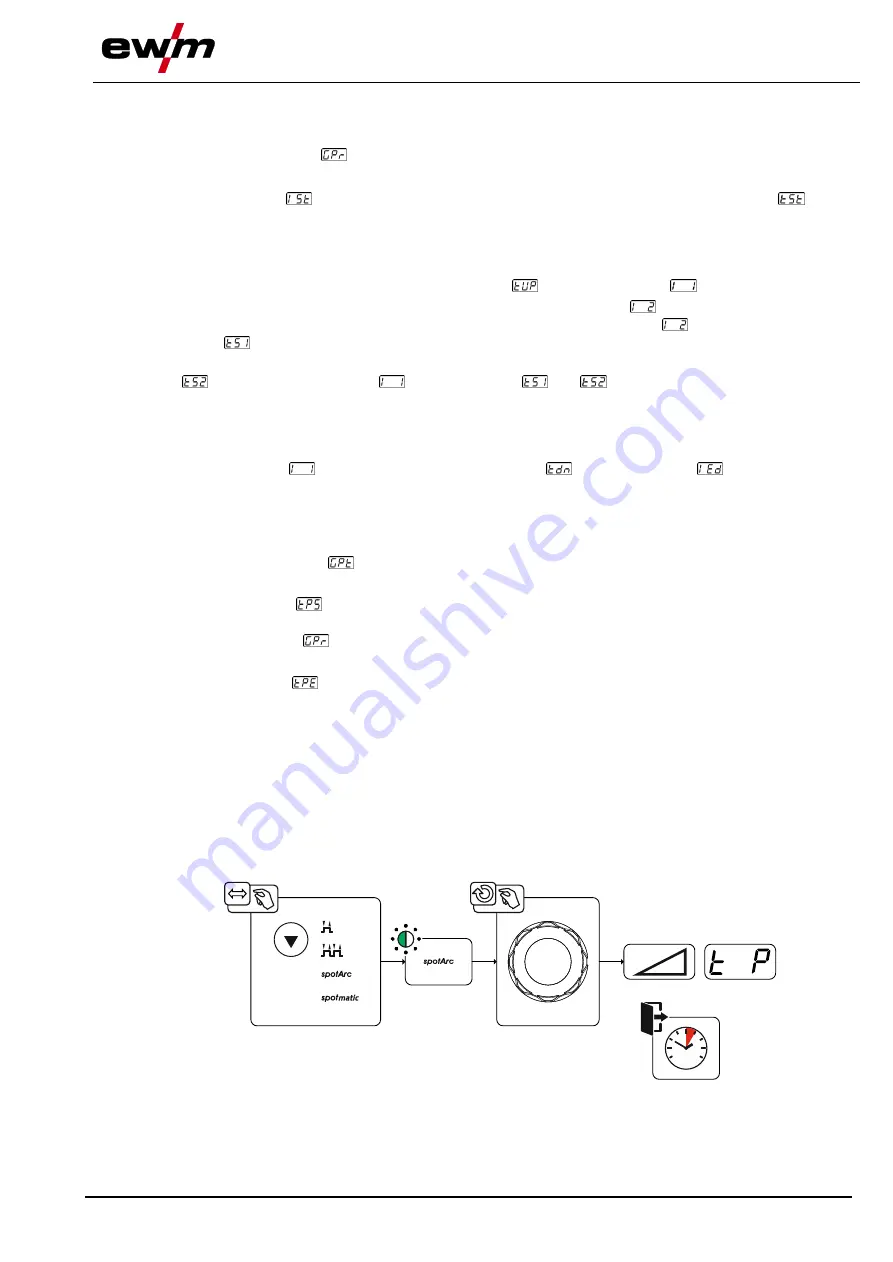
5.2.5.4 spotArc
This process is suitable for tack welding or joint welding of metal sheets made from steel and CrNi alloys
up to a thickness of approximately 2.5 mm. Metal sheets of different thicknesses can also be welded on
top of one another. As this is a one-sided process, it is also possible to weld metal sheets onto tubular
sections such as round or square pipes. In arc spot welding, the arc melts through the upper metal sheet
and the lower metal sheet is melted onto it. This produces flat, fine-textured welding tacks which require
little or no post weld work, even in visible areas.
4s
Figure 5-18
The up-slope and down-slope times should be set to “0” to achieve an effective result.


