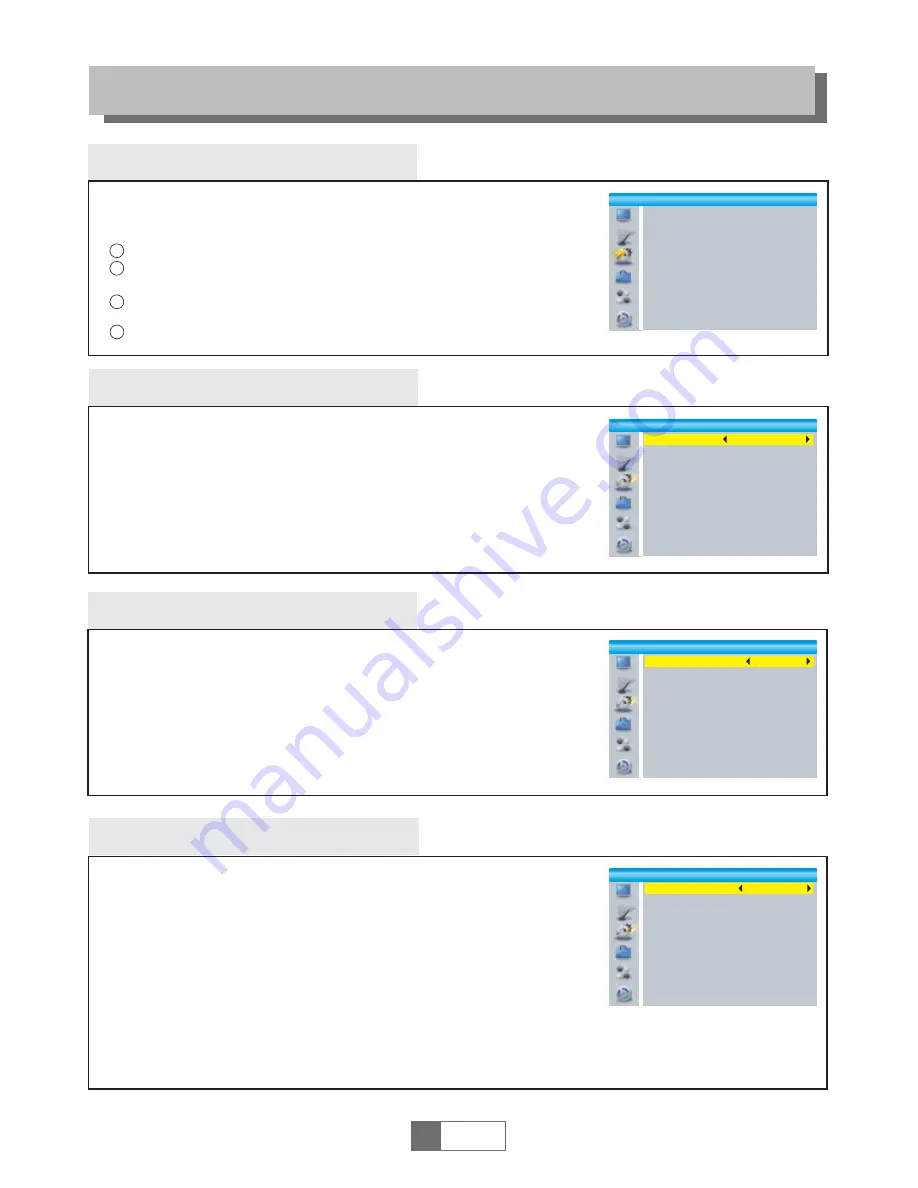
background image

System setup menu 

System setup menu allows us to set Language, TV System, Local Time 
Setting, Timer Setting, Parental Lock, OSD Setting, Favorite, Auto 
Description Setting, Multiview Setting and  Other.

Language 

This menu allows you to set  Language.

SYSTEM SETUP

TV System

This menu allows us to set Video Resolution, Aspect Mode, 
Video Out and Digital Audio Out.

Local Time Setting

This menu allows you to set the region and time.

GMT Usage:   This menu is used  for  open the usage of GMT. 

The options are : By Region/User Define/Off 

GMT Offset:   This menu  is valid only when selected "User Define" 

in GMT Usage menu . 
The GMT offset range is "-11:30 ~ +12:00", increasing 
half hour progressively.

Date:

Time:

"Date" and "Time" menus are  valid only when selected "Off" in GMT Usage menu.

Press numeric button to input the time.

Region:  

This menu is used for changing the region setting.

Aspect Mode:  

Auto/4:3PS/4:3LB/16:9

Video Out:  

Digital Audio Out:  

SCART CVBS+ HDMI/ SCART RGB

Video Resolution:

LPCM Out/ BS Out

1

English

7

Video Resolution
Aspect Mode
Video Out
Digital Audio Out

720p@50Hz

4:3LB

SCART RGB

LPCM Out

TV System

4

1

2

3

Press the "MENU" button to enter main menu.
Press "UP" or "DOWN" button to highlight "System Setup", 
press "RIGHT" button to enter the System Setup menu.
Press "UP" or "DOWN" cursor button  to highlight the desired 
item and press "OK" button to enter the sub-menu.
Press "EXIT" button to exit.

Language
First Audio
Second Audio
Subtitle Language 
Teletext 
Subtitle

English 
English

German

English 
English 

On

Language

System Setup

Language
TV System
Local Time Setting
Timer Setting
Parental Lock
OSD Setting
Favorite
Auto Description Setting
Multiview Setting 
Other

Region
GMT Usage
GMT Offset
Summer Time
Date
Time

Czech

By Region

GMT+01:00

Off

xxxx/xx/xx

01:51

Local Time Setting 

xxxx,xxx,xxxx

Summer Time: The options  are: On/Off 

By Source/By Native/480i/480p/576i/576p/
720p@50Hz/720p@60Hz/1080i@50Hz/
1080i@60Hz/1080p@50Hz/1080p@60Hz

Summary of Contents for Alpha HD

Page 1: ...HD DVB T receiver recorder Alpha HD www evolveo com HD DVB T recorder...

Page 2: ...60Hz 5V 50mA Front panel Rear panel INTRODUCTION 1 English 1 Remote sensor USB port Power button AC Mains Coaxial Digital Audio TV aerial for an external TV aerial RF Loop through for an external devi...

Page 3: ...ch to previous channel EPG Open up Electronic Program Guide Menu STANDBY switch the STB on and standby INFO Press for current channel information Operation guide PLAY Cursor CH VOL Cursor Navigation b...

Page 4: ...60Hz 5V 50mA SYSTEM CONNECTION There are many different types of TV and other equipment that you can connect to the settop box In this manual you will see some of the most common ways to connect your...

Page 5: ...pect Mode Czech English 720p 50HZ 4 3LB OK Auto Scan Channel Scan LCN Press the MENU button to enter main menu Press UP or DOWN button to highlight Installation press RIGHT button to enter the Install...

Page 6: ...lso select the required channel directly from on screen channel list This is displayed using the STB s main menu See Edit Channel in this manual for operation detail 1 2 3 Accessing the EPG of all cha...

Page 7: ...oPlay Ga 0003 E4 1 0004 UKTV Histor 0005 SKY THREE 0006 Sky Spts Ne 0007 Sky News i Radio Channel list In the Edit Channel menu select Radio Channel List press OK button to enter the Radio Channel lis...

Page 8: ...Mode Auto 4 3PS 4 3LB 16 9 Video Out Digital Audio Out SCART CVBS HDMI SCART RGB Video Resolution LPCM Out BS Out 1 English 7 Video Resolution Aspect Mode Video Out Digital Audio Out 720p 50Hz 4 3LB...

Page 9: ...OK button to open the mock keypad Input letter and numeric one by one by pressing the cursor button and press OK button to confirm After finishing input highlight OK on mock keypad to confirm you cha...

Page 10: ...d On the STB will provide 5V power to antenna It will not provide when selected Off On Off All Free Scrambled On Off 30Min 1 Hour 2 Hour 3 Hour Off This menu allows us to set AD Service Use AD as defa...

Page 11: ...ess UP or DOWN cursor button to highlight the desired item and press OK button to enter the sub menu Press EXIT button to exit 3 Tools Information Factory Setting Upgrade By USB Remove USB device safe...

Page 12: ...ctory from the play list Press Blue button to enter to edit sub menu Press 2 button to open the sort window You can sort by Name Time Size Favorite Press INFO button to set repeat mode The option is R...

Page 13: ...T or RIGHT cursor button to change DVR Type Select OK to confirm Select Cancel to cancel Press YELLOW button to open Format menu Press LEFT or RIGHT cursor button to change Disk Mode Select OK to form...

Page 14: ...to pause the playback Press FORWARD button to fast forward the playback Press BACKWARD button to rewind the playback Recording Instant record In viewing mode press RECORD button to instantaneously sta...

Page 15: ...on your TV Channel is scrambled Receiver off Handset not aimed correctly Front panel obstructed Hand set batteries exhausted 1 The batteries in your remote control need replacing 2 There is an obstruc...

Page 16: ...E AAC V1 0 ICE958 SPDIF DOBLY D DOBLY D SPECIFICATIONS Design and specifications are subject to change without notice NOTE HDMI HDMI OUTPUT x1 DATA PORT USB slot ANALOG AUDIO OUTPUT Down Mix Stereo ou...

Reviews: