EVGA Z590 DARK (122-RL-E599)
- 60 -
3.
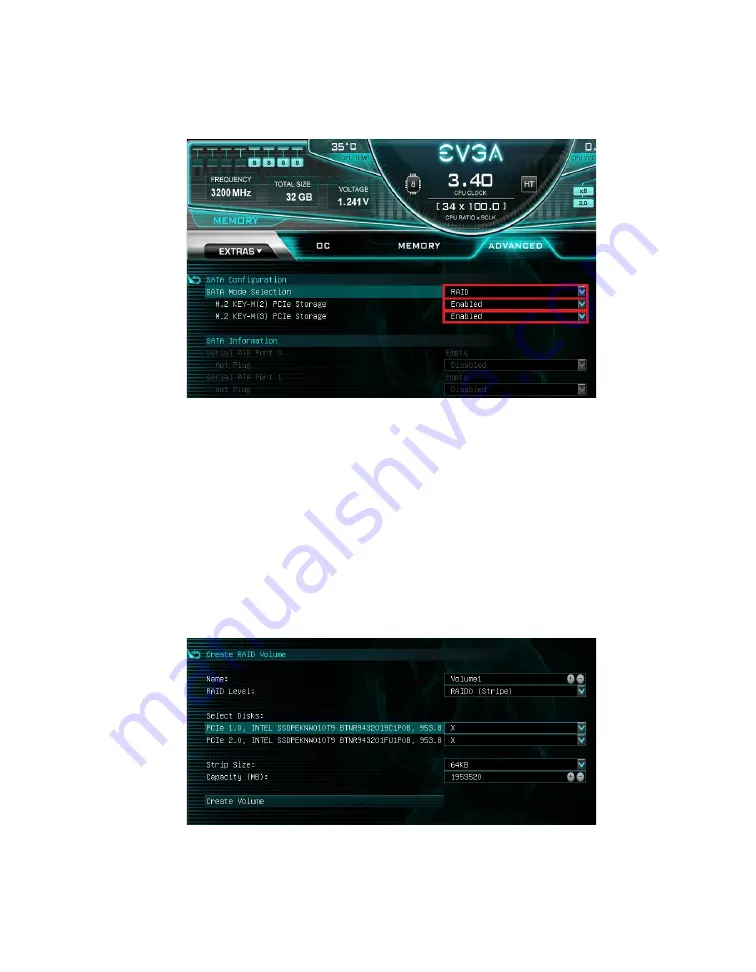
After enabling your drives, once again go to the Save & Exit screen and choose
Save and Reset. Re-enter the BIOS and go into the Advanced menu again.
4.
In the Advanced Menu, you will see a new menu called “Intel
®
Rapid Storage
Technology”. Enter the menu.
5.
Here, you will see all available drives and have the option to Create RAID
Volume. For this guide, we will create a RAID0.
6.
The RAID Level is set by default to RAID0 (Stripe). Available drives for the
RAID will be listed here, along with a blank box to allow you to select whether
you want each drive to be part of the RAID. In this case, we want to select both
Intel® SSDs for the RAID, so we will select each drop-down and choose the
“X” option. After configuring your RAID Level, disks, Strip Size, and RAID
capacity, select “Create Volume”.
7.
Once the volume is created, you will see a list of your created RAID volumes.
Click each volume for more information.


