


ECOR HD 4F / 8F / 16F
131
7.3
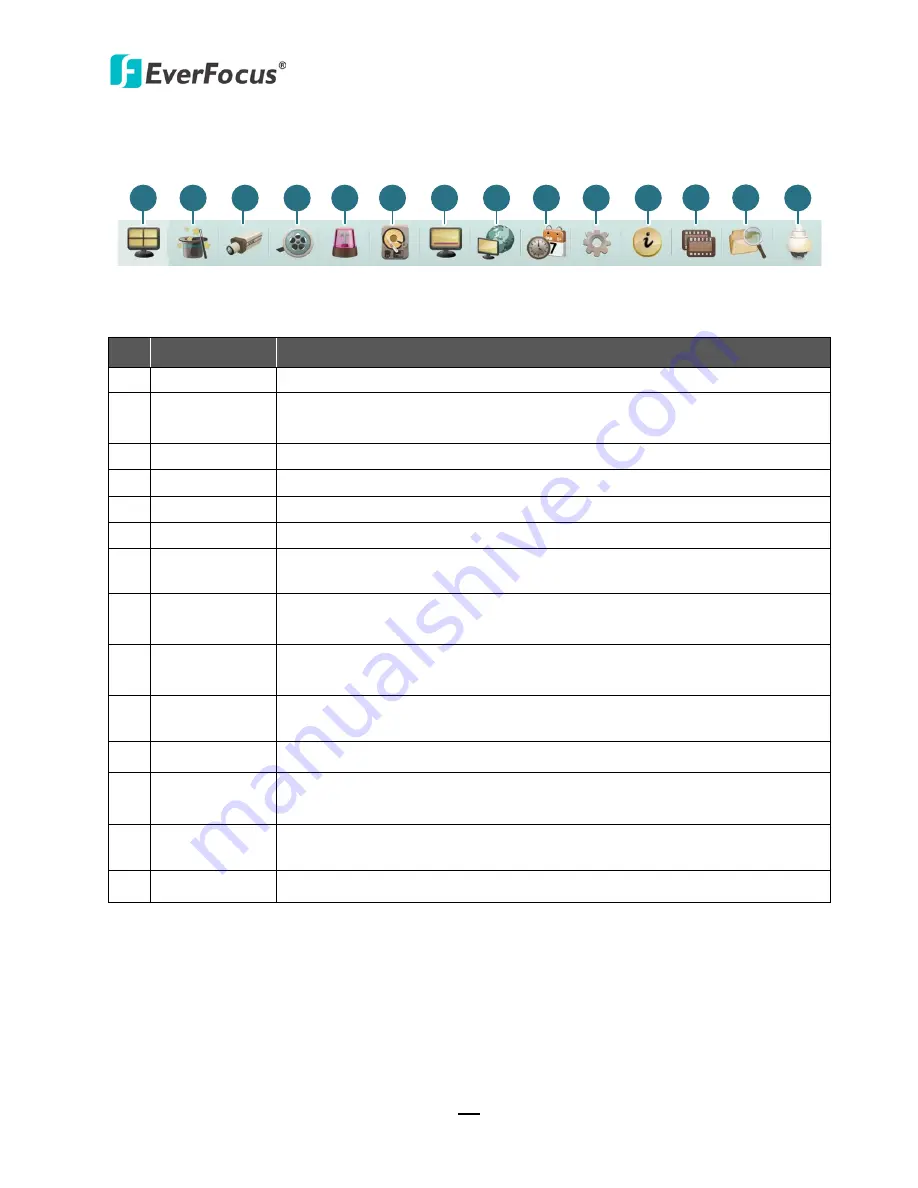
Menu Bar
1
2
3
4
5
6
7
8
9
10
11
12
13
14
No. Name
Description
1
Live View
Click to display the live view window.
2
Express
Click to configure the global express settings for all cameras. Please refer
to
6.1 Express.
3
Camera
Click to configure the camera settings. Please refer to
6.2 Camera.
4
Record
Click to configure the record settings. Please refer to
6.3 Record.
5
Event
Click to configure the alarm / event settings. Please refer to
6.4 Event
.
6
Hard Disk
Click to display the HDD information. Please refer to
6.5 Hard Disk.
7
Display
Click to configure the display settings for displaying the camera
information on the camera live view. Please refer to
6.6 Display Settings.
8
Network
Click to configure the network settings. Please refer to
6.7 Network
Settings.
9
Schedule
Click to configure the recording schedule. Please refer to
6.8 Schedule
Setting.
10 System
Click to configure the DVR time / user privilege / IO control / UI language
or upgrading firmware and etc. Please refer to
6.9 System Setting.
11 Information
Displays the system information. Please refer to
6.10 Information.
12 Copy
Click to archive the recordings from the DVR to the client PC. Please refer
to
4.7 Archiving the Recordings or Log Data to the USB.
13 Search
Search the recordings for remote playback. Please refer to
7.6 Remote
Playback
.
14 PTZ
Click to control the connected PTZ cameras. Please refer to
4.1 PTZ
.


