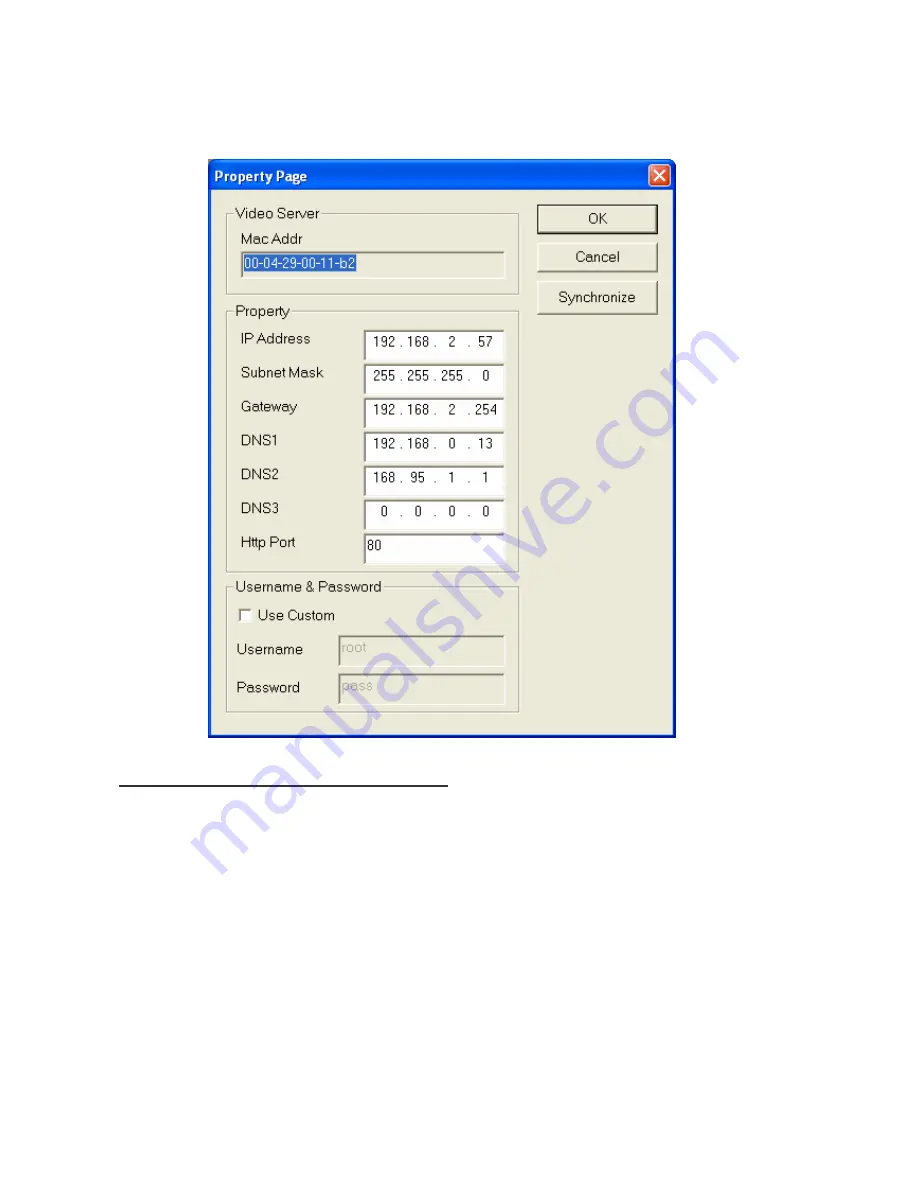
5.
After filling in the properties, click [Synchronize] button to complete the configuration settings in the
remote UNC7702 while saving configuration in the PC. If click [OK] button, the configuration is only be
saved in the PC.
Open the Web-based UI of the Selected UNC7702
1.
To access the Web-based UI of the selected unit, run the View > Open Web on the menu bar.
2.
If the device has been configured correctly, the default Web browser will open to the home page of the
selected device.
3.
If you find your browser is opened and automatically connected to the UNC7702 Home Page, it means
you’ve assigned an IP Address to the unit successfully. Now you can close the IP Installer and start to
use your UNC7702.
Summary of Contents for UNC7702
Page 5: ...Chapter 2 Physical Images UNC7702 Network Camera 4 ...
Page 18: ...17 1 Playback Screen Controller s View ...
Page 46: ...45 4 8 Log Log List List ...
Page 55: ...54 5 ...


