18
1.
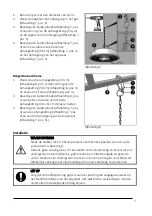
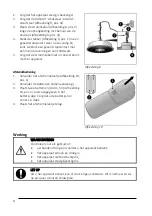
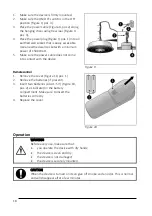
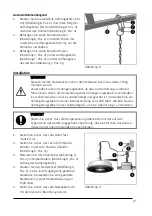
Make sure the device is firmly mounted.
2.
Make sure the ON/OFF switch is in the OFF
position (Figure 9, pos. 4).
3.
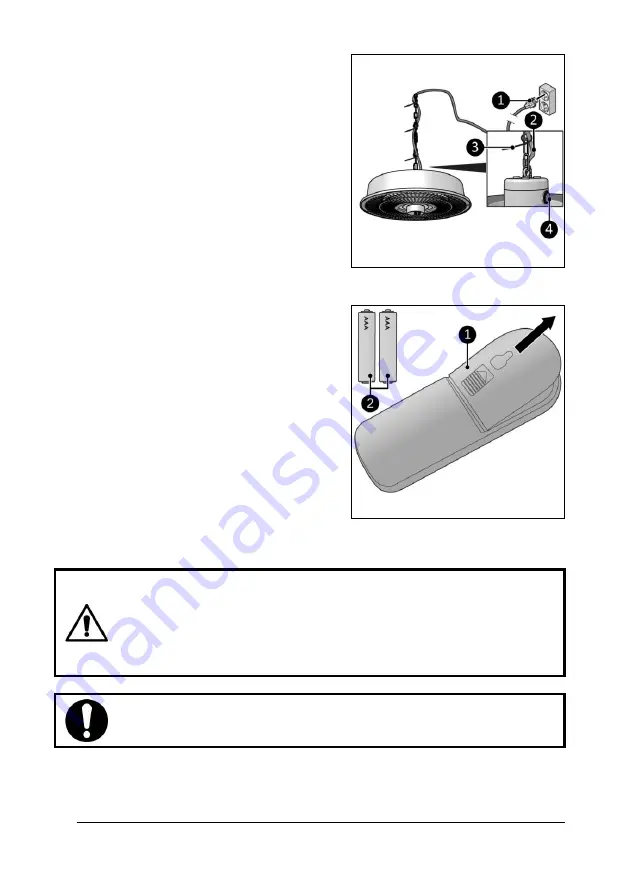
Place the power cable (Figure 9, pos.2) along
the hanging chain using tie wraps (Figure 9,
pos. 3).
4.
Place the power plug (Figure 9, pos. 1) into an
earthed wall socket that is easily accessible.
Use an earthed wall socket with a minimum
power of 1500 Watt.
5.
Make sure the power cable does not come
into contact with the device.
Figure 9
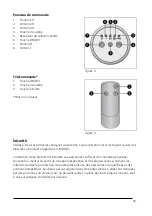
Remote control
1.
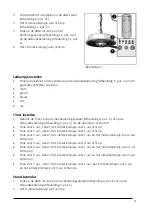
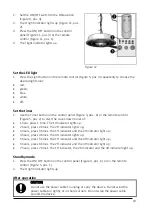
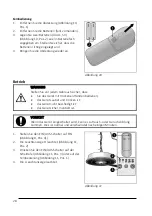
Remove the cover (Figure 10, pos. 1).
2.
Remove the batteries (if present).
3.
Insert two batteries (AAA 1.5 V) (Figure 10,
pos. 2) as indicated in the battery
compartment. Make sure to insert the
batteries correctly.
4.
Replace the cover.
Figure 10
Operation
WARNING
Before every use, make sure that:
•
you operate the device with dry hands;
•
the device is clean and dry;
•
the device is not damaged;
•
the device is securely mounted.
CAUTION
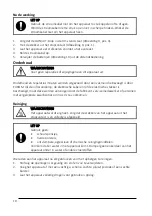
When the device is turned on it can give off smoke and an odor. This is normal
and will disappear after a few minutes.

