


ECAMIP801
·
Quick Start Guide
3.3
Add the Camera to Your Guarding Vision Account
NOTE
: Start the adding process only when the indicator flashes blue.
1.
Connect your mobile phone to a Wi-Fi (5G Wi-Fi is not supported yet).
2.
Log into the Guarding Vision app.
3.
In the Home page, tap “+” on the upper
-right corner to add a camera.
4.
Scan the QR code on the bottom of the camera.
5.
Follow the prompts to set the network connection and add the camera to your
Guarding Vision account. (Locate the camera within 3 meters from the router when
setting up the Wi-Fi.)
4
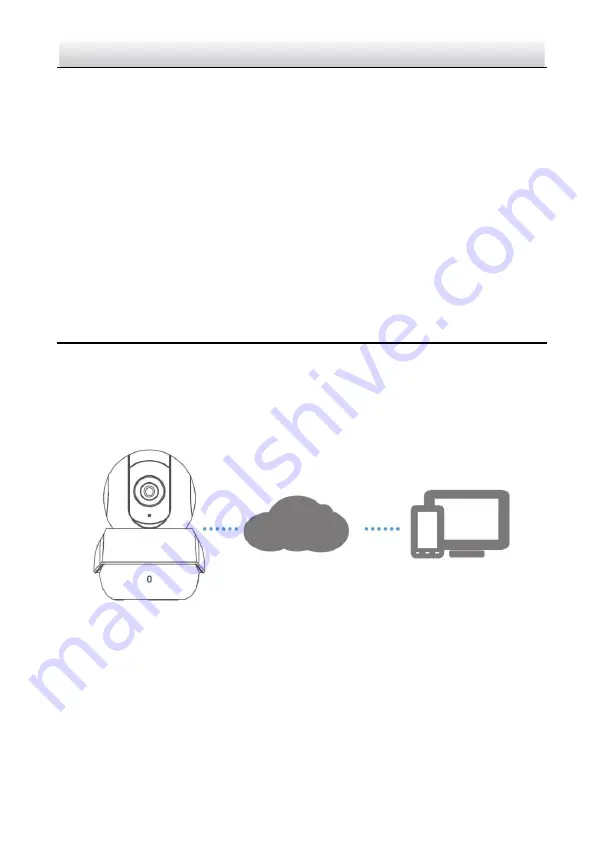
Guarding Vision
With the Guarding Vision service, you will be able to use the functions of this product
(including, but not limited to, live view, and remote playback), which depend on the
Internet and telecom value-added services.
4.1
Live View
Launch the Guarding Vision app and to enter the live view of the connected devices.
Summary of Contents for ECAMIP801
Page 1: ......


