etherFAX A2E User Guide | 18
© 2015 etherFAX LLC.
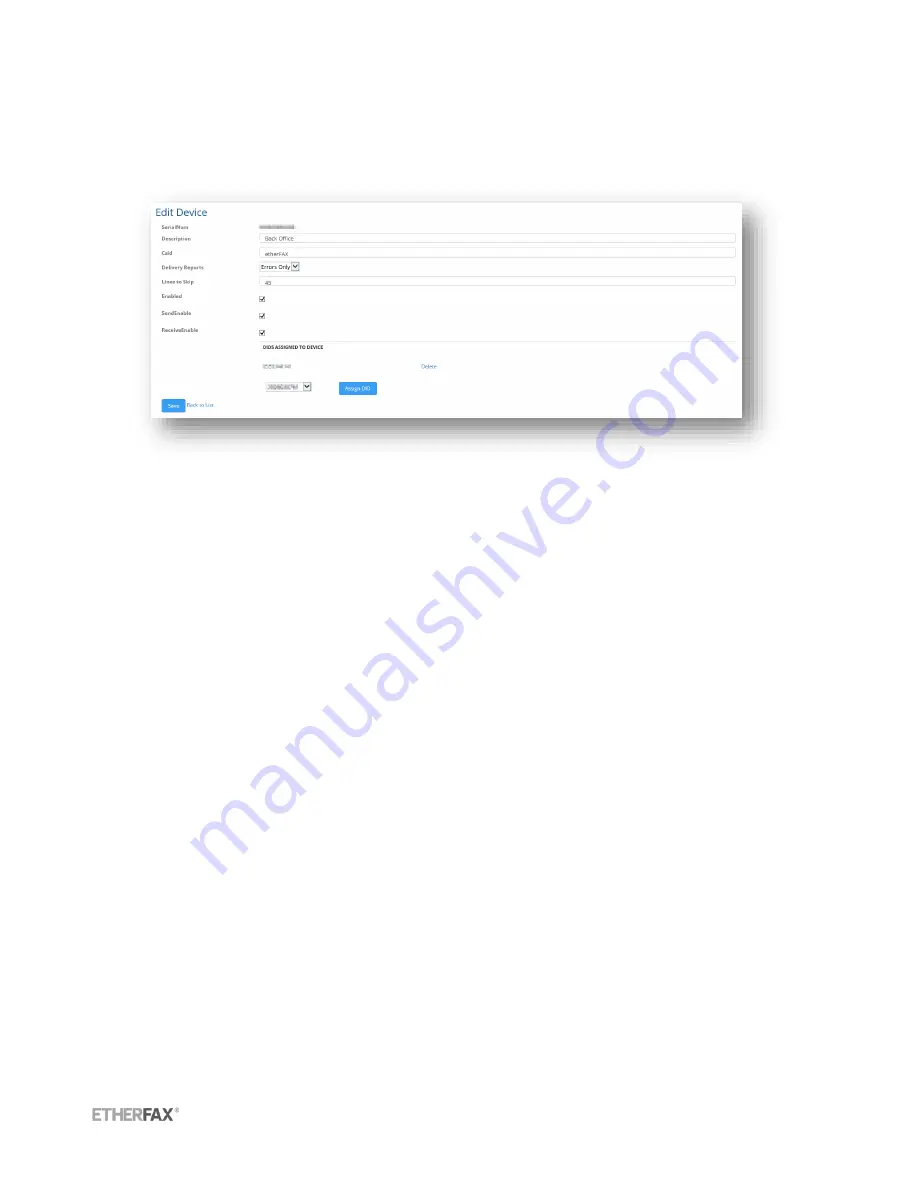
Single Device Edit
To configure a single device select
Edit
on the right corresponding to the device you would like to
configure.
SerialNum
–
Serial number of the etherFAX A2E Device
Description
–
Text value which can describe location or function within the environment
CSID
–
Called Subscriber Identification, text or numeric value, usually company name or fax
number
Delivery Reports
–
Set delivery report to print out on errors only, always, or never
Lines to Skip
–
Value defines number of raster lines that will be removed from top of page. This
allows the fax header placed on the image by the analog fax machine to be skipped and
replaced with the header supplied by etherFAX.
Enabled
–
Choose to enabled or disable the etherFAX A2E device completely
Send Enabled
–
Enable device for send functionality
Receive Enabled
–
Enable device for receive functionality
Assigning DID’s/TFN’s to a device
Any number currently provisioned to your etherFAX account can be assigned to an etherFAX A2E
device. Assigning a number to the A2E device allows it to receive faxes sent to the specified number(s)
and print them out via the attached analog fax device.
To assign a DID or TFN to an etherFAX A2E device, first select and edit the device from the
A2E Devices
section of the etherFAX Client Portal. A dropdown will be visible that lists all available numbers on the
etherFAX account. Choose the desired number and select
Assign DID
. The number is now attached to
the A2E device. Multiple numbers can be assigned to one A2E device.
Note: If faxes are not retrieved from the etherFAX Account Inbox by the etherFAX A2E within 15 minutes
or receipt the fax will be downloaded by the associated fax server application on the account if one
exists.


