VM-4 Installation Guide Rev 04.12 Page 12 of 21 Essential Trading Systems Corp.
WAVE Desktop Communicator Software Configuration
NOTE: These instructions require the WAVE Management Server to be configured, running, and
on the same network as the VM-4.
The VM-4 is now ready to be software configured for WAVE. The
W
W
A
A
V
V
E
E
D
D
e
e
s
s
k
k
t
t
o
o
p
p
C
C
o
o
m
m
m
m
u
u
n
n
i
i
c
c
a
a
t
t
o
o
r
r
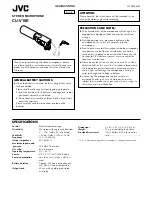
can be started by clicking on the WAVE icon. The first screen to appear in
W
W
A
A
V
V
E
E
D
D
e
e
s
s
k
k
t
t
o
o
p
p
C
C
o
o
m
m
m
m
u
u
n
n
i
i
c
c
a
a
t
t
o
o
r
r is your
L
L
o
o
g
g
i
i
n
n screen. Click on the
S
S
e
e
r
r
v
v
e
e
r
r
:
: drop down menu and choose the correct
WAVE Management Server URL or address (Figure 22). Click on the
U
U
s
s
e
e
r
r
N
N
a
a
m
m
e
e
:
: drop down menu
and type in or choose the correct name (Figure 23).
Figure
22
Figure
23
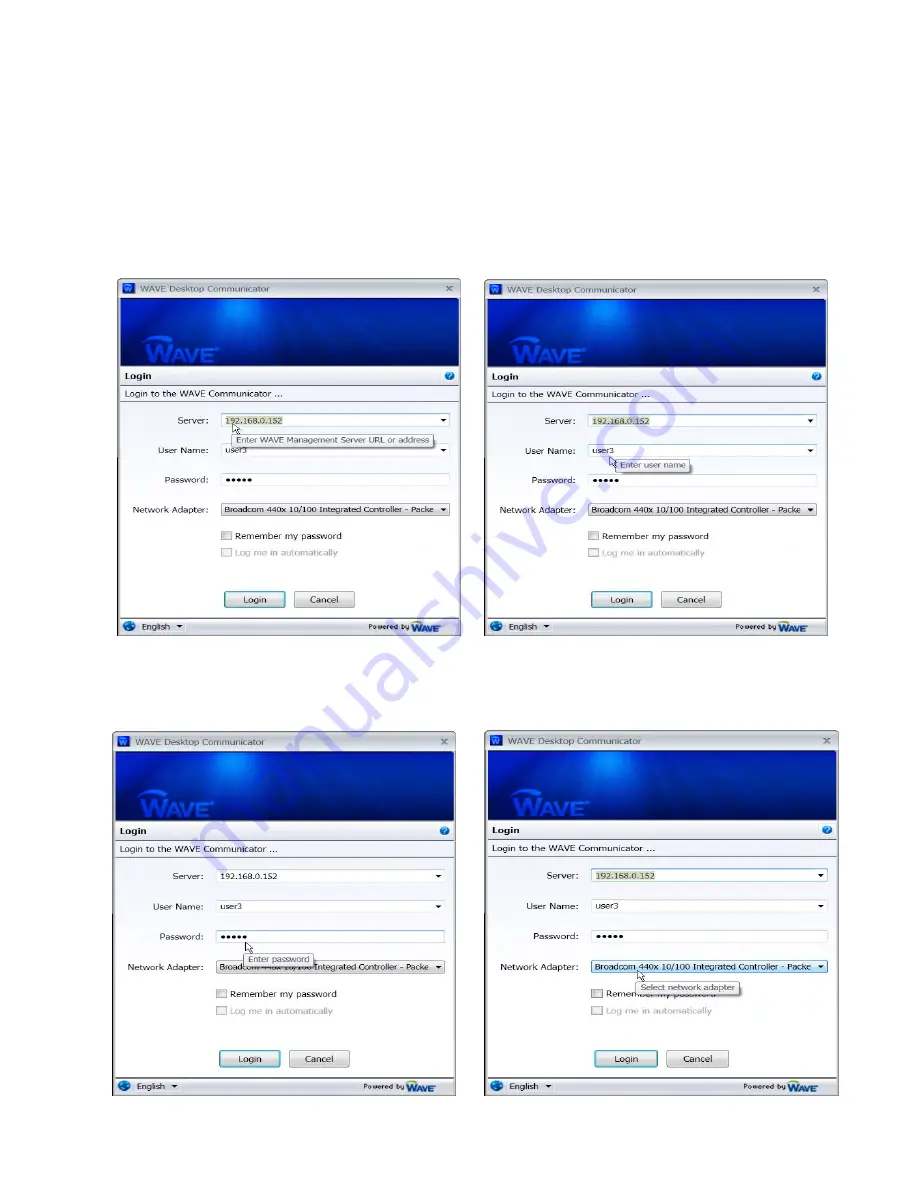
Type in the correct
P
P
a
a
s
s
s
s
w
w
o
o
r
r
d
d
:
: (Figure 24). Click on the
N
N
e
e
t
t
w
w
o
o
r
r
k
k
A
A
d
d
a
a
p
p
t
t
e
e
r
r
:
: and choose the correct
adapter (Figure 25)
Figure 24
Figure 25