63
V.1.0
playing audio on a removable medium
1.
Ensure your USB flash drive or microSD card has audio files in MP3 or WAV format.
2.
Connect the USB flash drive to the USB port on the back your clock radio, or insert
the microSD card into the microSD card slot on the back of your clock radio.
3.
Put your clock radio into the audio mode if it is not in this mode.
4.
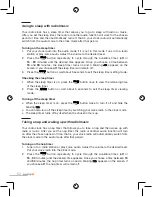
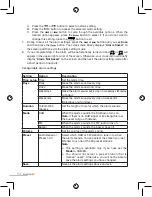
Press the
button one or more times until "
USB
" or "
Card
" appears on the
screen.
5.
Wait a few seconds and your clock radio will start playing all valid audio files on the
USB flash drive or microSD card one by one.
6.
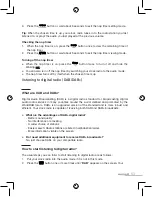
Press the and buttons to adjust the volume.
7.
Press the
button to pause or resume the playback.
8.
Press the
or
button to skip to the previous or next audio file.
Notes
:
●
The USB port on the back of your clock radio is for audio playback only. It is not a
USB charging port.
●
Your clock radio supports a USB flash drive or a microSD card with a storage
capacity of up to 32 GB.
using the alarms
Setting or changing an alarm
You can set up to 2 alarms using your clock radio.
To set or change an alarm, follow the steps below:
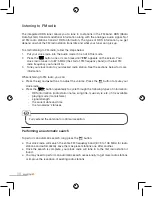
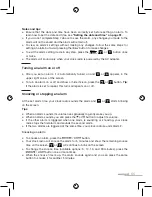
1. Long press the
button to set to Alarm 1 or the
button to set Alarm 2. A
blinking
or
appears in the upper-right corner of the screen, indicating that
your clock radio is in the alarm setting mode.
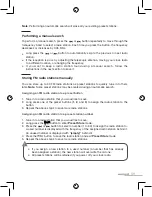
2. Press the
button to start setting the alarm
Time
.
3. Press the
or
button repeatedly to set the hours when the hour digits are
blinking. You can press and hold the
or
button to quickly change the value.
Press the
button to save and continue.
4. Repeat Step 3 to set the minutes.
5. If the current time format is 12 hours, press the
or
button to select AM or
PM. Press the
button to save the alarm time.
6. Perform the 3 steps below one or more times to configure other alarm settings (
Days
,
Duration
,
Mode
,
Volume
, and
Preset
). See the table below for the description of
these settings.
Summary of Contents for 8009630
Page 2: ......
Page 4: ......
Page 9: ...9 V 1 0 Présentation de l appareil ...
Page 44: ...44 V 1 0 Overview of the device ...
Page 76: ...76 V 1 0 Descripción del dispositivo ...
Page 110: ...110 V 1 0 Übersicht über das Gerät ...


