Operation Summary
16
Care@Home
™
PERS Control Panel User Guide
2.11.
Telephone Connections
NOTE:
This chapter is only applicable for the PSTN model of the Control Panel.
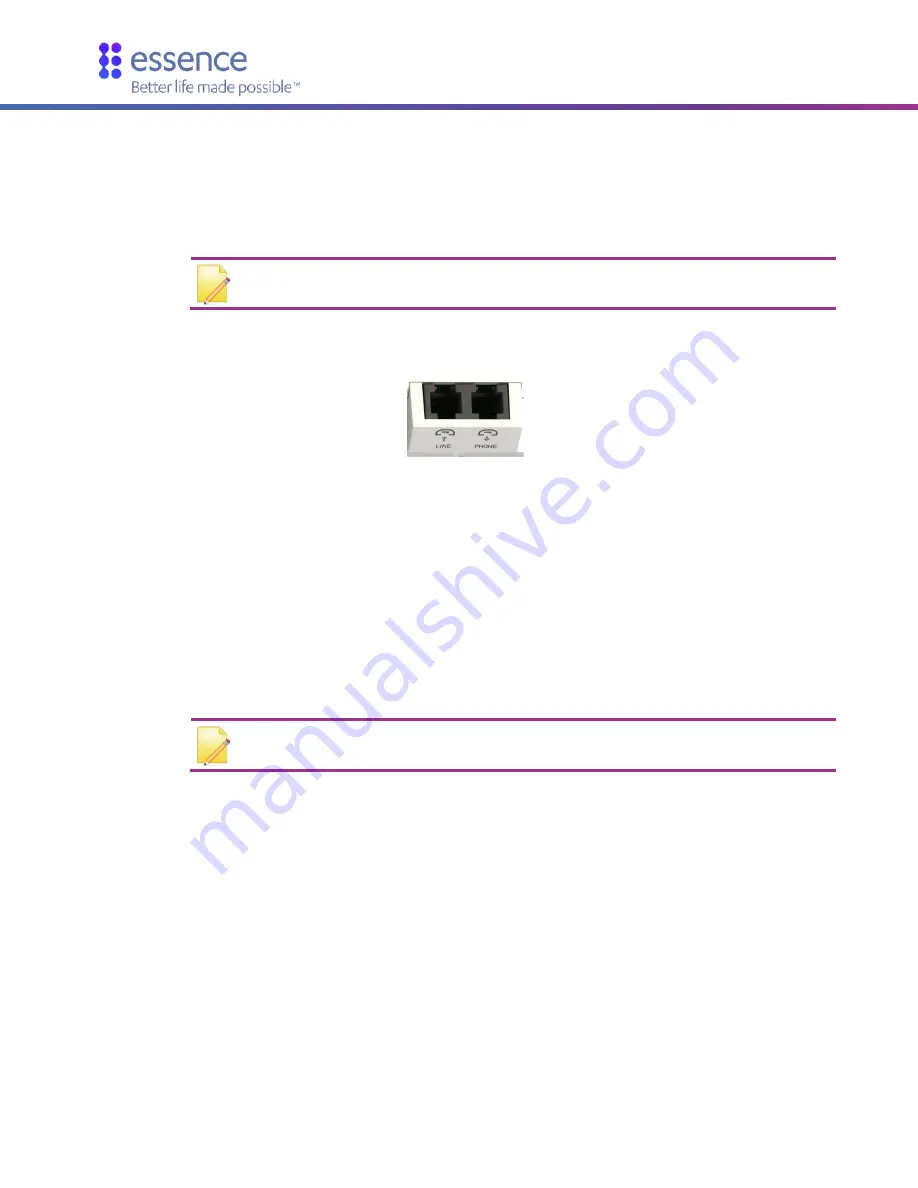
Two (2) standard phone sockets (RJ-11) are provided on the rear panel of the PSTN model of the CP:
Figure 9 – The Telephone Sockets
To connect the telephone to the landline, perform the following procedure:
1.
Connect a telephone set to the socket marked PHONE
2.
Connect a telephone cable between the LINE socket and your home telephone outlet. The telephone
cable used must be a minimum of 26 AWG and a maximum of 1000m (3280 ft.) long.
Once the telephone cable is connected to a functional telephone outlet, the Communication Indicator color
should switch from red to green.
NOTE:
In the Cellular model, these PSTN telephone sockets are covered by a plastic
hood.
2.12.
Adding a Peripheral Device
Peripherals may be added to the system by activating the Pairing process, for each peripheral.
To add a peripheral device, perform the following procedure:
1.
Press the Pairing Button on the right edge of the front of the Control Panel (CP) for five seconds. The CP
beeps and the ring (around the
EMERGENCY
Button) lights in blue with circular movement effect.
2.
Holding the peripheral device, move about 50 cm (20 in) from the CP.
3.
Power up the device by inserting the batteries. If it is a portable device, press the button to power the
device.


