Thoroughly inspect the electrical cord
before using the machine. If the cord is
damaged, do not operate the machine.
Replace or repair the damaged cord im-
mediately.
Connect extension cord to the electric
starter plug-in first and then to a power
outlet; disconnect the extension cord from
the power outlet first and then from the
machine.
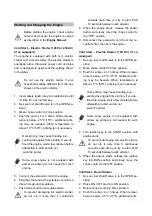
To prevent damaging the electric starter,
do not run it more than 5 continuous
seconds each time you try to start. Wait
10 seconds between each attempt.
Adjustments
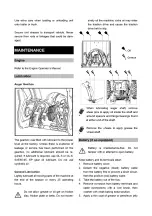
Skid Shoes
Position the skid shoes based on surface condi-
tions. For removal of snow in normal conditions,
such as a paved driveway or sidewalk, place skid
shoes in the higher position to give a 3mm (1/8”)
clearance between the scraper blade and the
ground. Use a middle or lower position when the
area to be cleared is uneven, such as a gravel
driveway.
It is not recommended to operate the
snow thrower on gravel as it can easily
pick up and throw by the impeller, causing
personal injury or damage to the snow
thrower and surrounding property.
If you choose to operate the snow thrower on a
gravel surface, use extra caution and keep the
skid shoes in position for maximum clearance
between the ground and the scraper blade.
Always adjust skid shoes after adjusting
scraper blade to prevent premature wear
to scraper blade or damage to auger
housing.
To adjust the skid shoes:
1. Loosen the four hex nuts (two on each side)
and carriage bolts. Move skid shoes to de-
sired position.
2. Make sure the entire bottom surface of skid
shoe is against the ground to avoid uneven
wear on the skid shoes.
3. Retighten nuts and bolts securely.
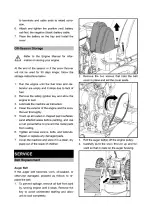
Auger Clutch and Drive Clutch
When the auger clutch lever or drive clutch is
released and in the disengaged position, the ca-
ble should have very little slack. It should bolt be
tight.
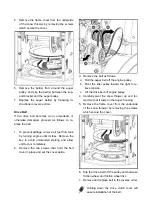
Auger must stop within 5 seconds when the auger
clutch lever is released. If auger clutch does not
engage or disengage properly, adjust auger
clutch before operation.
If the snow thrower’s drive is disengaging inter-
mittently during operation, or it drives when you
release the drive clutch lever, adjust the drive
clutch before operation.
Both auger clutch and drive clutch can be ad-
justed as follows:
Summary of Contents for XTP120
Page 8: ......
Page 13: ......
Page 18: ......
Page 21: ......
Page 22: ......
Page 29: ......
Page 30: ......
Page 35: ......
Page 40: ......
Page 45: ......
Page 47: ......
Page 49: ......
Page 56: ......
Page 57: ......
Page 62: ......
Page 72: ......
Page 75: ......
Page 76: ......
Page 82: ......
Page 83: ......
Page 84: ......


