19
ALL ABOUT IMAGE RECOGNITION & PROCESSING
4. TIME/DATE SETUP
Press [ENTER] button when half-tone green bar is on
TIME/DATE SETUP.
SET TIME/DATE
YEAR
MONTH 2003/10/06
DAY
HOUR 22:41:52
MINUTE
SECOND
SET TIME/DATE
SELECT , PRESS
Select items you want to change using [UP] and [DOWN]
buttons, and change values using [LEFT] and [RIGHT]
buttons.
After you set all, press [MENU] button to save you set
and exit.
5. RECORD SETUP
Press [ENTER] button when half-tone green bar is in on
RECORD SETUP.
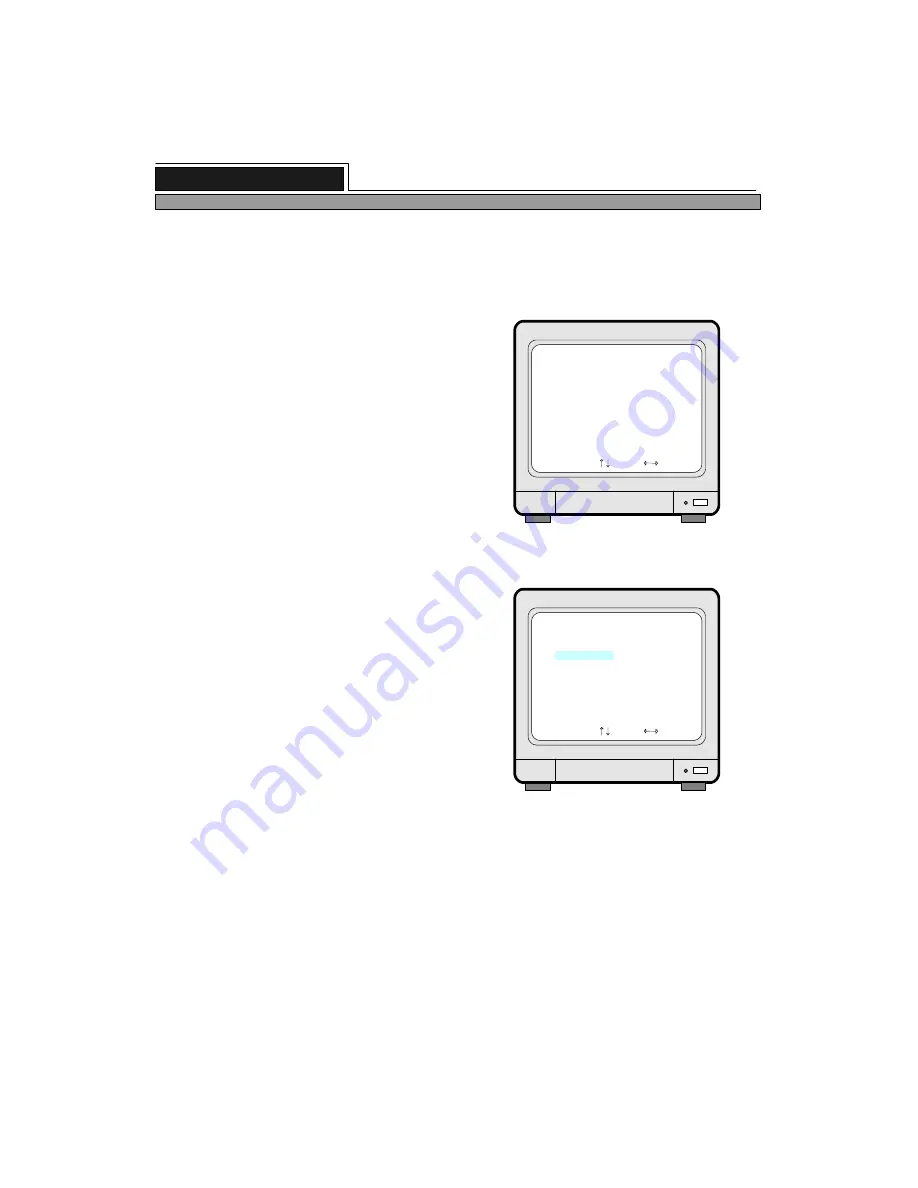
RECORD SETUP
OVERWRITE
TIME INTERVAL
EVENT OFF TIMER
REFRESH RATE
DURATION
RECORD SETUP
SELECT , PRESS
1) RECORD TYPE
When half-tone green bar is on RECORD TYPE, press
[LEFT] or [RIGHT] button to select recording mode you
want.
TIMER recording type indicates recording continuously at
set recording speed(TIME INTERVAL).
MOTION recording type indicates recording just in case
motion is detected for DURATION time at set recording
speed (TIME INTERVAL).
ALARM represent recording just in case alarm is
activated for DURATION time at set recording
speed(TIME INTERVAL).
RECORD TYPE
2) OVERWRITE
Move half-tone green bar to OVERWRITE to set if you will overwrite or stop recording when hard drive is full
and just display warning message.
Press [LEFT] or [RIGHT] button to set at “ON” or “OFF”. “ON” implies overwriting allowed when hard
drive is full, while “OFF” implies stop recording when it is full.
We recommend to set at “ON” not to make DVMR unit stop recording only with the reason it is full with
data.
: TIMER
: ON
: 1/1 X
: 60 SEC
: ------
: ------
8 channel stand-alone DVMR
3. Operation


