ESI
ESP1010e
12
a while), the installation of the
ESI ESP1010e Controller
driver will be completed and you need to
click
Close
.
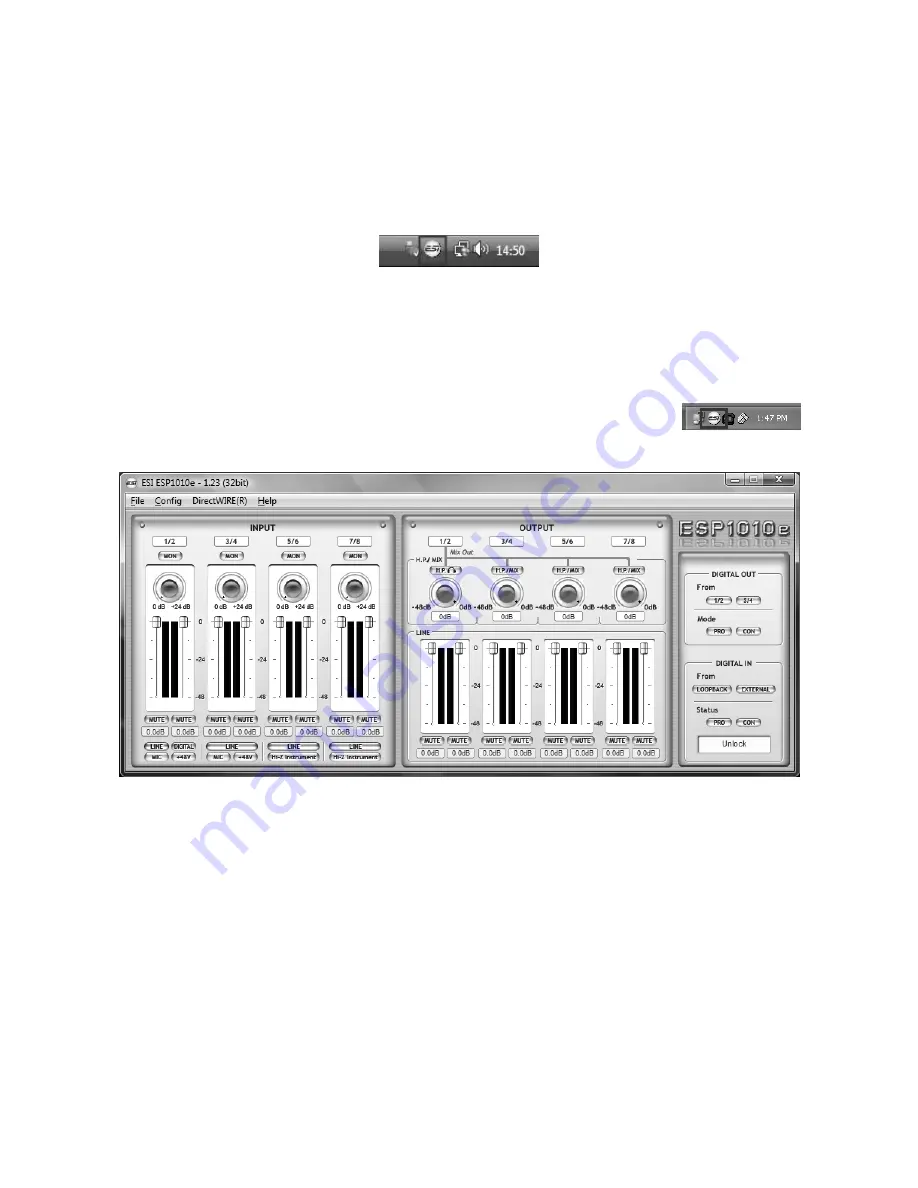
To confirm the completion of the installation, please check if the ESI icon is displayed in the
taskbar notification area as shown below.
If yes, the driver installation has been completed successfully.
5. ESP1010e Control Panel
This chapter describes the ESP1010e Control Panel. To open the panel double
click on the ESI icon in the task notification area. The following dialog will
appear:
5.1 Pull-Down Menus
File – Exit
: will close the ESP1010e control panel window but it will not shut down the control
panel. You can always launch control panel the by clicking ESI icon on the system tray.
Config – Mouse Wheel
: controls the increment at which the volume is adjusted when using a
mouse wheel. The adjustment step is from 1 to 8.
Config – Latency
: adjusts the latency (also often referred as buffer size) of ESP1010e. A lower
latency is achieved by selecting smaller sample size which is ideal for software synthesizer and
precise timing recording. However, the latency is also limited by your system performance. For
most recording applications, select a sample size between 64 ~ 512, select 256 or higher on slower
systems or at very high system load. Buffer size 48 is reserved only for very fast and reliable ASIO
driver environments on fast computer systems. Note that this value has to be setup before launching
any audio application using ESP1010e.


