background image


Ernitec Orion SX Series User’s Manual 

www.ernitec.com 

v.1.5.0912 

2. 

Camera Cabling 

Please follow the instructions below to complete network Speed Dome Camera 

connection. 


2.1 

Connect Power 

Please  refer  to  the  illustrations  below  to  connect  power  core  through  the 

supplied power adaptor.   


2.2 

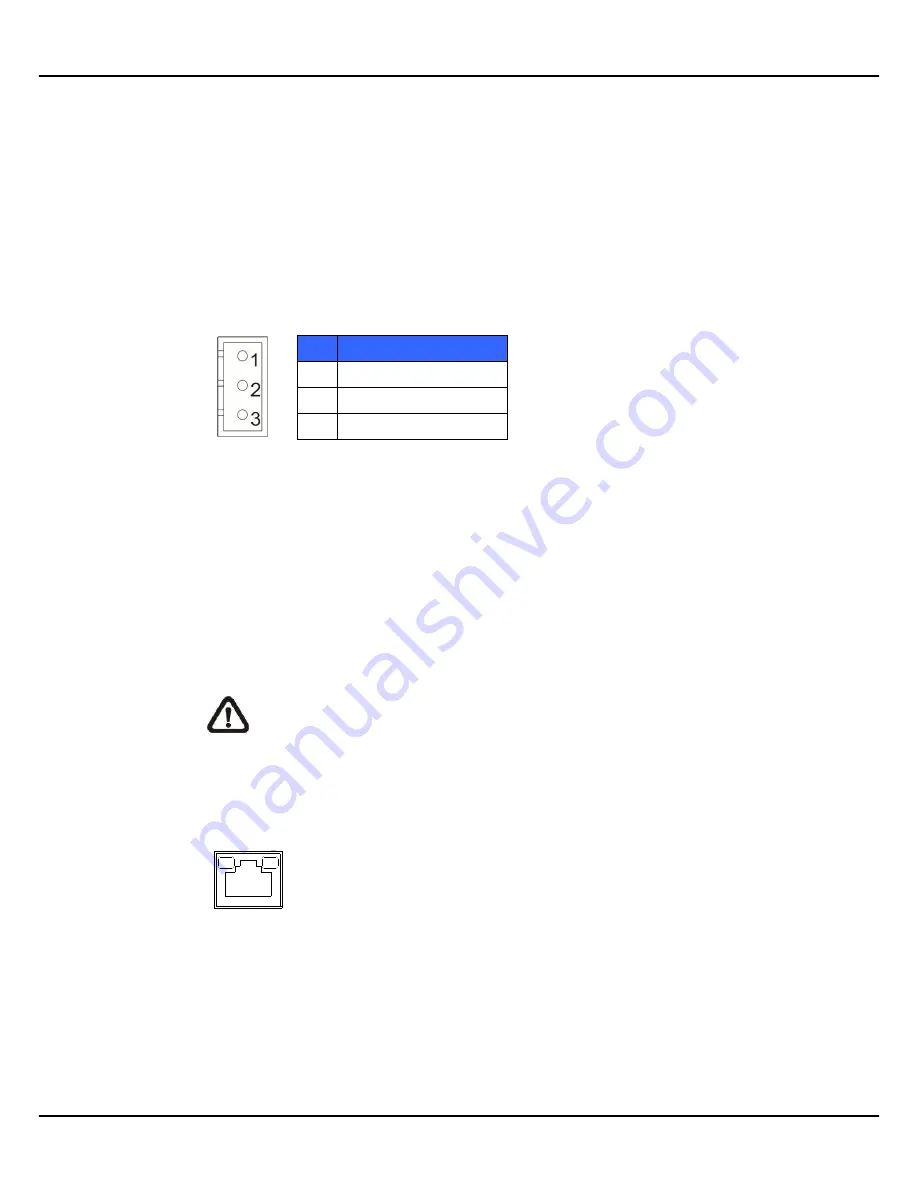
Connect Ethernet Cable 

Use  of Category 5 Ethernet  cable is recommended for network connection;  to 

have  best  transmission  quality,  cable  length  shall  not  exceed  100  meters.   

Connect one end of the Ethernet cable to the RJ-45 connector of the  network 

Speed Dome Camera, and the other end of the cable to the network switch or 

PC. 


NOTE:

 In some cases, you may need use an Ethernet crossover cable 

when connecting the network Speed Dome Camera directly to the PC. 


Check the status of the link indicator and activity indicator LEDs; if the LEDs are 

unlit, please check LAN connection. 


Green Link Light indicates good network connection.   

Orange Activity Light flashes for network activity indication. 


Pin 

Definition


AC 24_1 

FG 

AC 24_2 

AUTO

IRIS

1

2

3

4

I/O

NETWORK

DC12V

LINE 

LINE IN

MIC  IN

OUT

VIDEO

DC

RESET

Summary of Contents for Orion SX Series

Page 1: ...Ernitec Orion SX Series User s Manual Ver1 5...

Page 2: ...hock When cleaning is necessary shut down the system and unplug the unit from the outlet before uncovering the top cover Do not use liquid cleaners or aerosol cleaners Use only a damp cloth for cleani...

Page 3: ...all instructions and warnings in this manual Retain this manual with the original bill of sale for future reference and if necessary warranty service When unpacking your unit check for missing or dama...

Page 4: ...sions 7 1 4 Switch Connector Definition 8 2 Camera Cabling 9 2 1 Connect Power 9 2 2 Connect Ethernet Cable 9 2 3 Apply Alarm I O 10 2 4 Apply Audio 10 3 System Requirements 11 4 Access Camera 12 5 Se...

Page 5: ...ding or limited bandwidth Better image quality and high resolution are delivered by IP support It eliminates the combing effect due to scene change and performs more stabilized image With IP solution...

Page 6: ...contains the items listed here If any item is missing or has defects DO NOT install or operate the product and contact your dealer for assistance Indoor Dome Camera Package Camera Body Hard Ceiling M...

Page 7: ...door Dome Camera Package Dome Camera with Outdoor Mount Kit M3 Standard Screw x1 M3 Security Screw x1 M5 Standard Screw x1 M5 Security Screw x1 Waterproof Rubber Quick Guide CD Operation Manuals Optic...

Page 8: ...7 Ernitec Orion SX Series User s Manual www ernitec com v 1 5 0912 1 3 Dimensions Indoor Outdoor...

Page 9: ...Camera s back plate as shown in the figures below Please refer to the diagrams and tables accompanied with for use of each switch connector Indoor Outdoor A RJ 45 Connector B ALARM I O C Power D Micr...

Page 10: ...ceed 100 meters Connect one end of the Ethernet cable to the RJ 45 connector of the network Speed Dome Camera and the other end of the cable to the network switch or PC NOTE In some cases you may need...

Page 11: ...related settings on this Application page Please refer to the pin definition table below for alarm system wiring Pin Definition Pin Definition 1 ALARM_OUT_NO_1 7 ALARM_OUT_COM_2 2 ALARM_OUT_NC_1 8 GN...

Page 12: ...ment as described below Items Minimum Requirement Personal Computer 1 Intel Pentium IV 3 GHz or higher Intel Core2 Duo 2 GHz or higher 2 1 GB RAM or more 3 AGP graphics card 64 MB RAM DirectDraw Opera...

Page 13: ...vice Search Step 3 Click on Device Search again and all the finding IP devices will be listed in the page The network Speed Dome Camera s default IP address is 192 168 0 250 Step 4 Double click or rig...

Page 14: ...d Dome Camera s MAC address for future identification Step 2 The Network Setup page will come out Select DHCP and click on Apply button down the page Step 3 Click on OK on the Note of setting change W...

Page 15: ...Click on Install to carry on software installation Click on Finish to close the DC Viewer window when download is finished For the detailed software download procedure please refer to DC Viewer Downl...

Page 16: ...anual www ernitec com v 1 5 0912 5 Setup Video Resolution Users can setup Video Resolution on Video Format page of the user friendly browser based configuration interface Video Format can be found und...

Page 17: ...x 1024 30fps 1280 x 720 30fps 1024 x 768 30fps 800 x 600 30fps 1280 x 1024 30fps 1280 x 1024 15fps 1280 x 720 30fps 1024 x 768 30fps 800 x 600 30fps 720 x 480 30fps 640 x 480 30fps 352 x 240 30fps 12...

Page 18: ...s 800 x 600 30fps 1280 x 1024 30fps 1280 x 1024 15fps 1280 x 720 30fps 1024 x 768 30fps 800 x 600 30fps 720 x 480 30fps 640 x 480 30fps 352 x 240 30fps 1280 x 720 30fps 1280 x 720 30fps 1024 x 768 30f...

Page 19: ...x 1024 30fps 1280 x 720 30fps 1024 x 768 30fps 800 x 600 30fps 720 x 480 30fps 640 x 480 30fps H 264 ONLY H 264 BNC SUPPORT 1920 x 1080 30fps 1280 x 1024 30fps 1280 x 720 30fps 1024 x 768 30fps 800 x...

Page 20: ...trol Auto Manual Back Light On Off OPERATION Pan Travel 360 endless Tilt Travel 10 190 Manual Speed 0 5 90 s Presets 256 Preset Accuracy 0 225 Preset Speed 5 400 s Sequence 8 Auto Pan 4 Cruise 8 Priva...

Page 21: ...t 4 Digital Alarm Output 2 Alarm Reaction Preset Sequence Auto pan Cruise Security User Account and Password Protection Supported Web Browser Internet Explorer 6 0 Chrome Firefox Safari GENERAL Enviro...

Page 22: ...he Currently installed programs list select DCViewer and click on the button Remove to uninstall the existing DC Viewer Deleting Temporary Internet Files To improve browser performance it is suggested...

Page 23: ...l button to change ActiveX controls and plug ins settings The Security Settings window will pop up Step 3 Under ActiveX controls and plug ins set ALL items as listed below to Enable or Prompt Please n...

Reviews: