Network Video Recorder Quick Start Guide
19
2.10
Recording Settings
Before you start:
Make sure that the disk has already been installed. If not, please install a disk and initialize it. You may refer to the
user manual for detailed information.
Purpose:
Two kinds of record types are introduced in the following section, including Instant Record and All-day Record.
And for other record types, you may refer to the user manual for detailed information.
After rebooting all the manual records enabled are canceled.
Steps:
1.
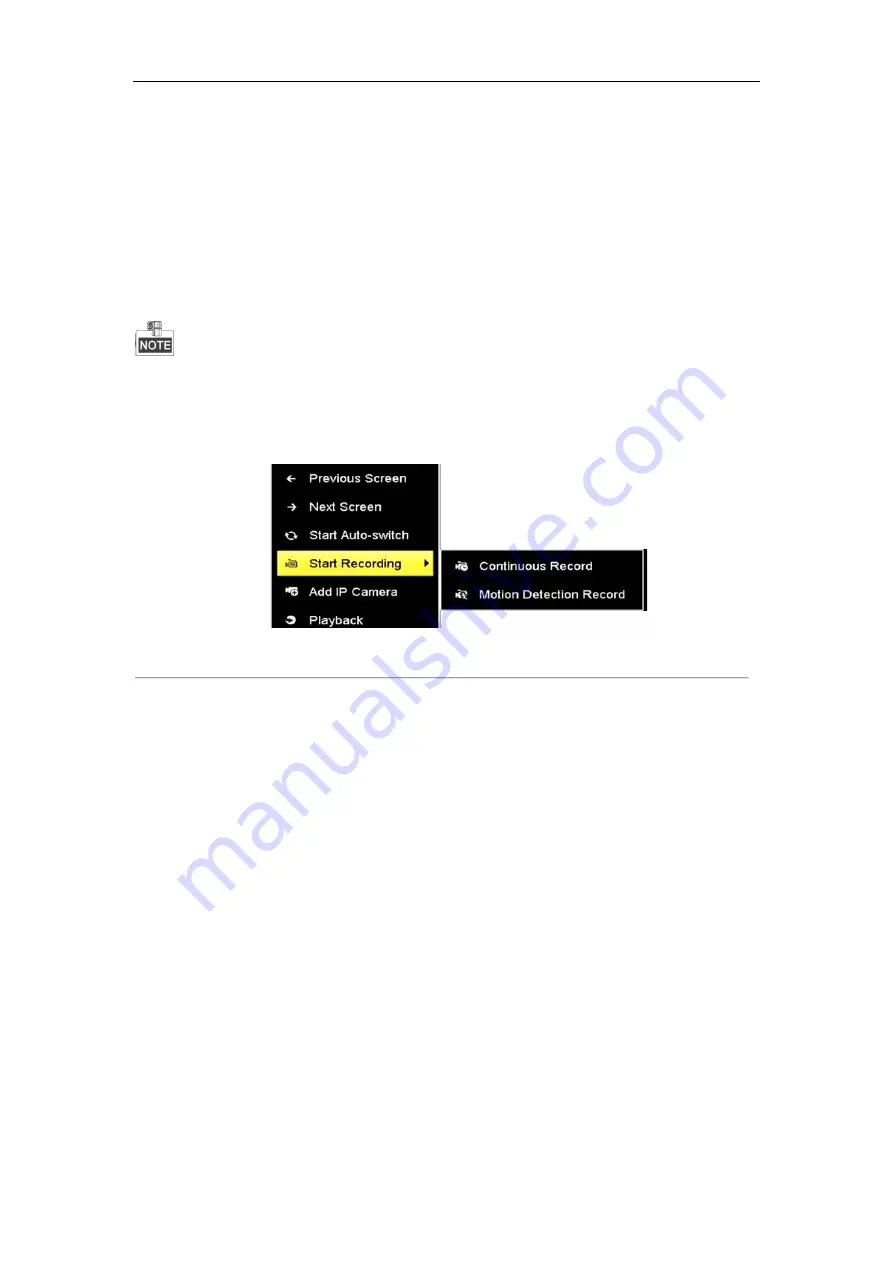
On the live view window, right lick the window and move the cursor to the
Start Recording
option, and select
Continuous Record
or
Motion Detection Record
on your demand.
Figure 2. 13
Start Recording from Right-click Menu
2.
Click the
Yes
button in the pop-up Attention message box to confirm the settings. All the channels will start
to record in the selected mode.
2.11
Playback
The recorded video files on the hard disk can be played back in the following modes: instant playback, all-day
playback for the specified channel, and playback by normal/event/smart/tag/sub-periods/external file search.
Steps:
1.
Enter playback interface.
Click Menu> Playback or from the right-click menu
2.
Select the playback type (Normal/Smart, Event, Tag, Sub-periods and External File) in the
drop-down list.
3.
Check the checkbox of camera (s) in the camera list to play.
4.
Double-click to select a date on the calendar.
5.
You can use the toolbar in the bottom part of playback interface to control playing progress.


