Note:
❏
If there are any errors reported, follow the instructions on the report to solve them.
❏
If the
Select Line Type
screen is displayed, select the line type.
- When you are connecting the printer to a PBX phone system or terminal adapter, select
PBX
.
- When you are connecting the printer to a standard phone line, select
PSTN
. When the message to disable dial tone
detection is shown on the screen, press the OK button. However, disabling dial tone detection may cause the printer
to skip the first digit of a fax number when dialing and send the fax to the wrong number.
Related Information
&
“Connecting the Printer to a Phone Line” on page 68
&
“Setting Receive Mode” on page 72
&
“Making Settings to Use an Answering Machine” on page 74
&
“Making Settings to Receive Faxes Operating Only a Connected Phone (Remote Receive)” on page 74
&
“Basic Settings Menu” on page 77
Making Settings Individually for Printer's Fax Features
You can configure the printer's fax features individually using the printer's control panel. The settings made using
Fax Setting Wizard
can also be changed. For more details, see the descriptions of the
Fax Settings
Menu.
Related Information
&
“Menu Options for Fax Settings” on page 76
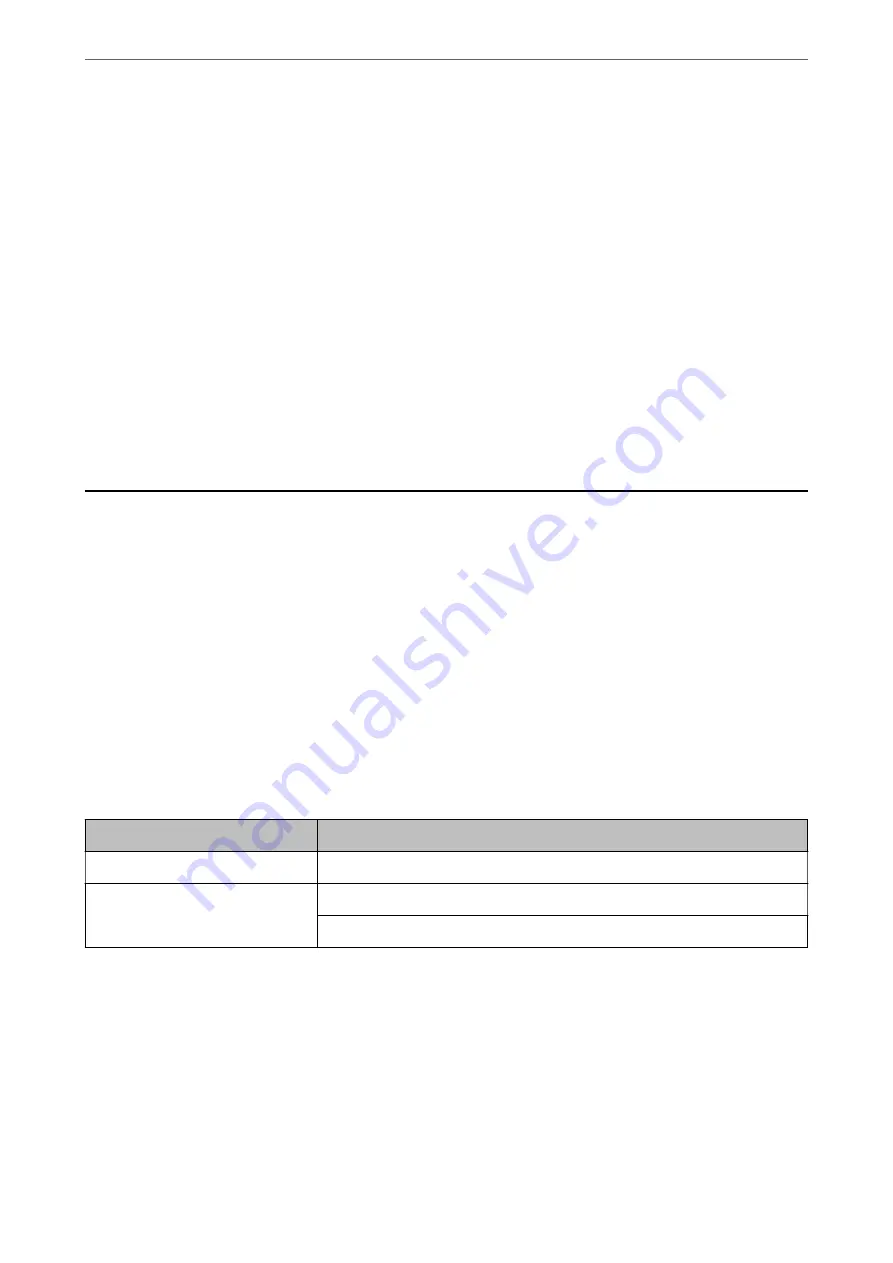
Setting Receive Mode
There are two options in
Receive Mode
for receiving incoming faxes. You can make settings in the menu below.
Settings
>
Fax Settings
>
Basic Settings
>
Receive Mode
Receive Mode
Use of Phone Line
Manual
Mainly for phoning, but also for faxing
Auto
Only for faxing (external phone device is not required)
Mainly for faxing, and sometimes phoning
Related Information
&
“Usage of Auto Mode” on page 73
&
“Usage of Manual Mode” on page 73
&
“Basic Settings Menu” on page 77
>
Making Settings Individually for Printer's Fax Features
>
72


