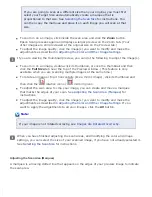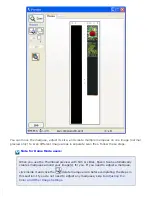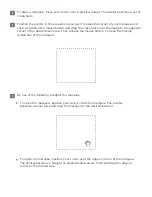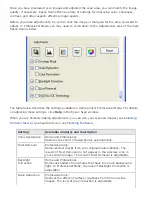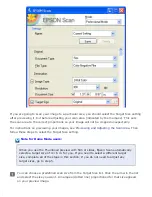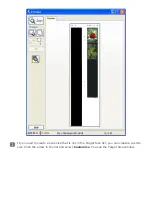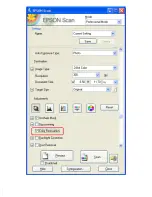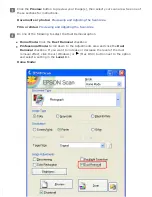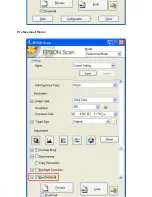
If you need to rotate the marquee for a landscape or portrait image without changing its
aspect ratio, click the
orientation icon. (Not available if you are scanning at the
Original
Target Size.)
Note:
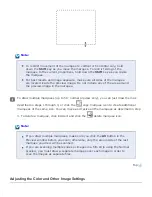
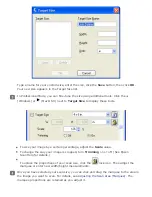
For more information about using the Target Size tools, click
Help
in the Epson
Scan window.
Now you are ready to scan your images. Click the
Scan
button, and see
for instructions.
Finishing the Scan
What happens after you scan depends on how you started your scan.
If you started your scan by pressing the
Start button or running Epson Scan as a
standalone program and you used Full Auto Mode, your scanned image is saved in the
file format and location you chose. If you did not choose any file save settings, it is
saved as a JPEG file in the Pictures or My Pictures folder.
If you started your scan by pressing the
Start button or running Epson Scan as a
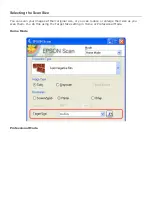
standalone program and you used Home or Professional Mode, you see the File Save
Settings window. This lets you select the name and location of your saved scan files.
See
If you started your scan from a scanning program such as Adobe Photoshop Elements,
your scanned images open in the program window. If Epson Scan does not
automatically close after scanning, click
Close
to close the Epson Scan window and view
your images in the program.
Summary of Contents for V500
Page 27: ...c scanner transportation lock d USB interface connector e cover cable ...
Page 34: ...Open the scanner cover Pull the scanner cover straight up and off the scanner ...
Page 47: ...Top ...
Page 64: ......
Page 69: ...Thumbnail preview ...
Page 78: ...Professional Mode ...
Page 98: ...Professional Mode ...
Page 99: ...Before you scan your film or slides you need to select these basic settings ...
Page 121: ......
Page 131: ...Professional Mode ...
Page 135: ...Professional Mode ...
Page 136: ...Note ...
Page 142: ......
Page 149: ...Click the Settings button You see the Scan to PDF Settings window ...
Page 157: ...Click the File Save Settings button The File Save Settings window appears ...
Page 183: ...Pull the scanner cover straight up and off the scanner ...


