78
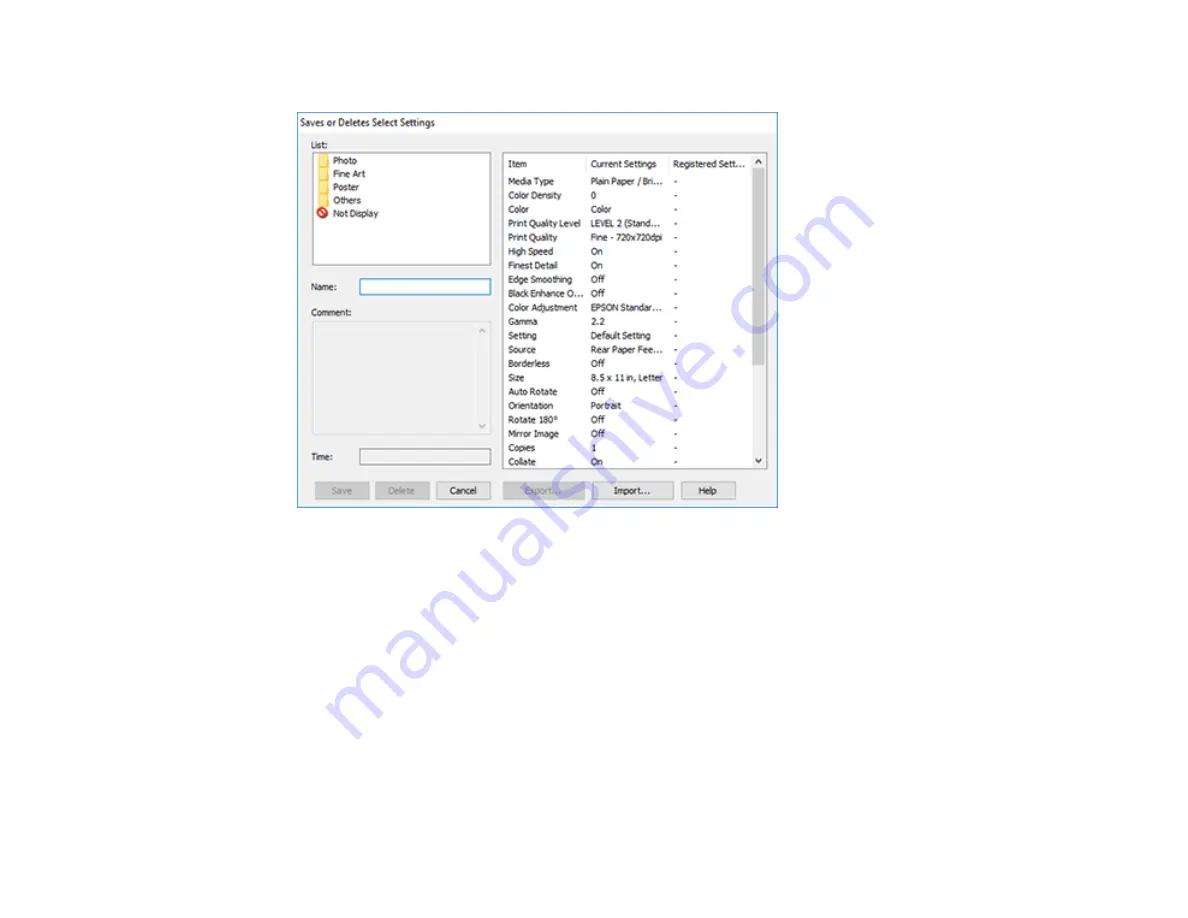
You see a window like this:
3.
Verify that your settings are correct, enter a name for the group of settings in the
Name
field, and
click
Save
.
Note:
If you need to delete a group of settings you have created, select the name of the group of
settings from the list and click
Delete
.
4.
Do the following as necessary:
• Select the name of the group of settings from the Select Setting list and use them to print.
• To export the settings, click
Save/Del
, select the name of the group of settings, click
Export
,
select a location, and enter a file name.
• To import a group of settings, click
Save/Del
, click
Import
, select the file you want to use, and
click
Open
. Then use the settings to print.
Parent topic:
Summary of Contents for SureColor P700
Page 1: ...Epson SureColor P700 P900 User s Guide ...
Page 2: ......
Page 38: ...38 3 Open the front cover 4 Load paper glossy or printable side up and short edge first ...
Page 68: ...68 You can also place the same print data multiple times as shown here ...
Page 81: ...81 You see this window ...
Page 88: ...88 Parent topic Printing with Windows ...
Page 106: ...106 3 Select Print Head Nozzle Check You see a window like this 4 Click Print ...


