20
Printing From a Memory Card, Camera, or Other Device
Viewing and Selecting Photos
After you insert your memory card or USB flash drive as described above, you’re
ready to select and print your photos.
1. Load Epson photo paper in the rear sheet feeder. See page 8 for instructions.
2. Press the
Memory Card
mode button.
3. Press
l
or
r
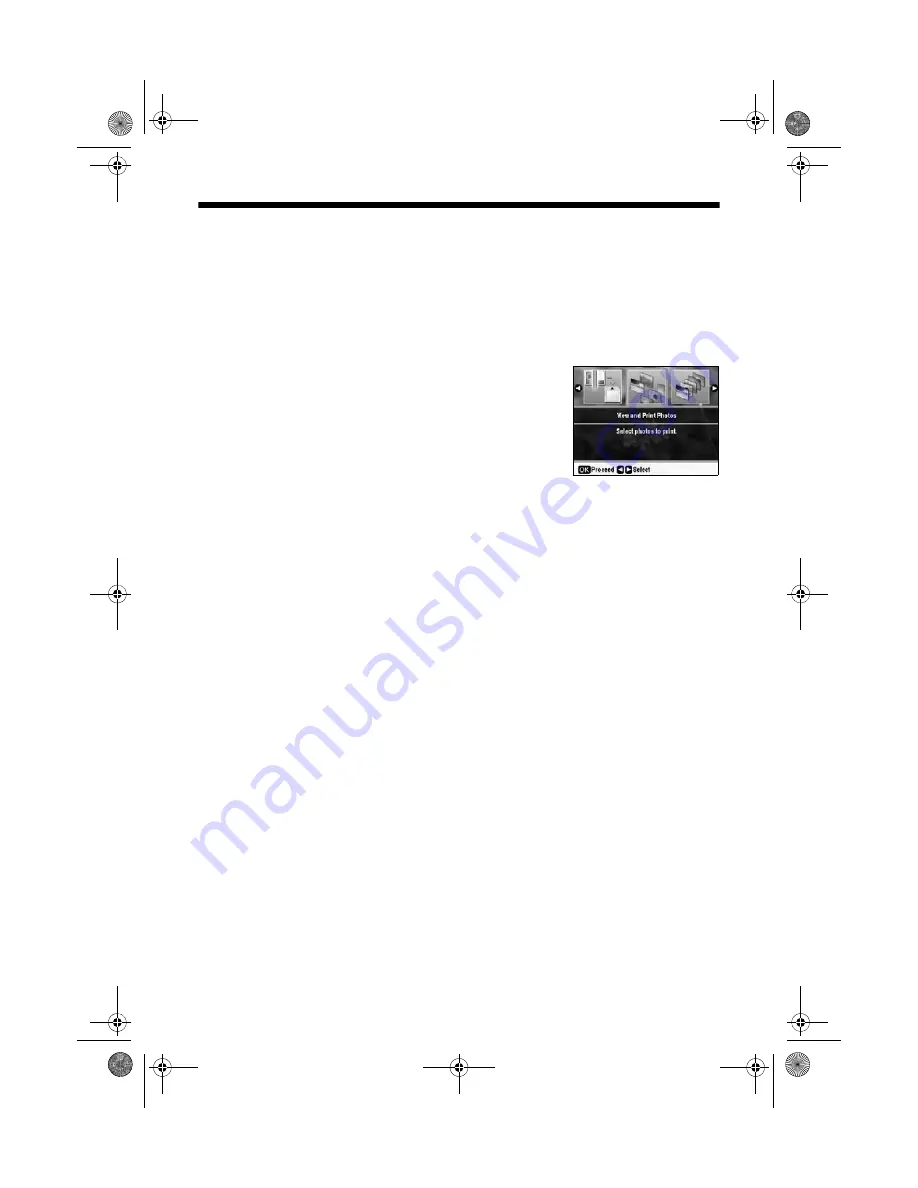
to select
View and Print Photos
.
Note:
To print all the photos on your card, select
Print All
Photos
. To select and print photos by date, select
by Date
. To print while viewing a slide show of your
photos, select
Slide Show
. For details, see the on-
screen
User’s Guide
.
4. Press
l
or
r
to move through your photos.
5. To select a photo for printing, press
+
.
Press
+
again if you want to print more
than one copy.
6. To crop the photo, press the
Display/Crop
button and see page 15 for
instructions.
Note:
To display your photo without information, or display 16 photos at a time, continue
pressing the
Display/Crop
button.
7. Press
l
or
r
to view other photos, select the number of copies, and crop, if
desired.
8. To print borderless photos on 4 × 6-inch Epson Premium Photo Paper Glossy
or Semi-gloss in the rear sheet feeder, go to step 10.
To change your paper type or any of the other print settings, press
x
Menu
.
Select your settings and press
OK
. (See page 12 for a list of paper types; you
can’t select
Plain Paper
.)
9. Press
OK
to preview the photo(s) you have selected for printing.
10. Press
x
Start
to start printing. If you need to cancel printing, press
y
Stop/Clear Settings
.
sprx680_qg.book Page 20 Wednesday, June 6, 2007 8:40 AM


