Editing Photos While You Copy
15
To auto-correct your photo, reduce red-eye, or select different paper settings,
press
x
Menu
. (See page 13 for a list of paper types; you can’t select
Plain
Paper
when you’re copying photos.)
■
To correct a photo that is too light or too dark, press
d
until
Enhance
is
highlighted, then press
r
to select
PhotoEnhance
and press
OK
. See
page 16 for more information about automatic photo correction.
■
To reduce red-eye, press
d
until
Reduce Red Eye
is highlighted, then
press
r
, select
On
, and press
OK
.
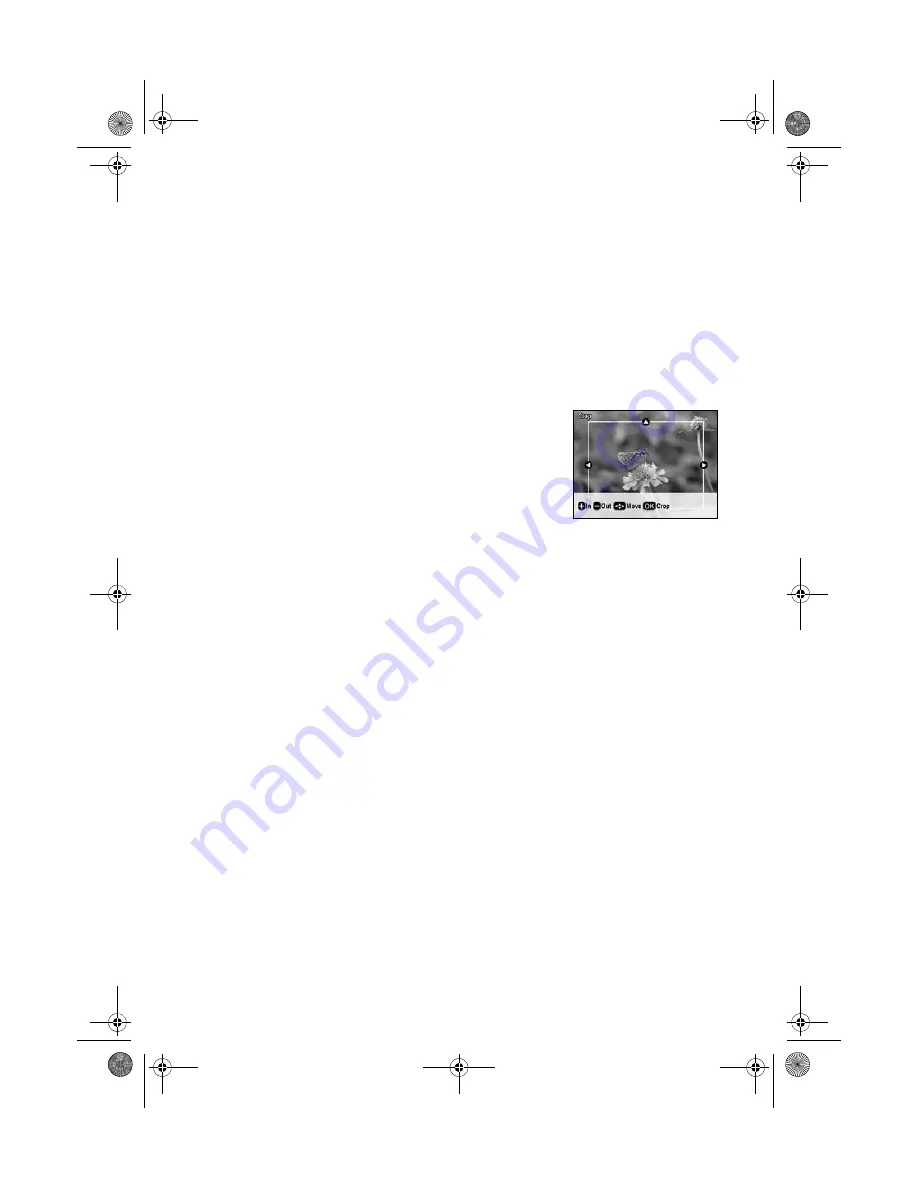
9. To crop your photos and enlarge the resulting image
area to fit on your paper, press the
Display/Crop
button.
■
To resize the image area, press
+
or
–
.
■
To move the image area, press the
arrow buttons.
■
To check the zoomed image, press
OK
, then
press
OK
again or press
y
Back
to adjust the
crop.
Press
r
to preview the next photo and repeat step 9 to crop it, if necessary.
10. When you’re ready to copy, press
x
Start
. If you need to cancel copying, press
y
Stop/Clear Settings
.
Note:
Do not pull out paper as it is printing; it ejects automatically.
sprx680_qg.book Page 15 Wednesday, June 6, 2007 8:40 AM


