4109192 Rev.0
4109192 Rev.0
4109192 Rev.0
4109192
Rev.0
1-B C
1-B M
1-B Y
1-B
K
18
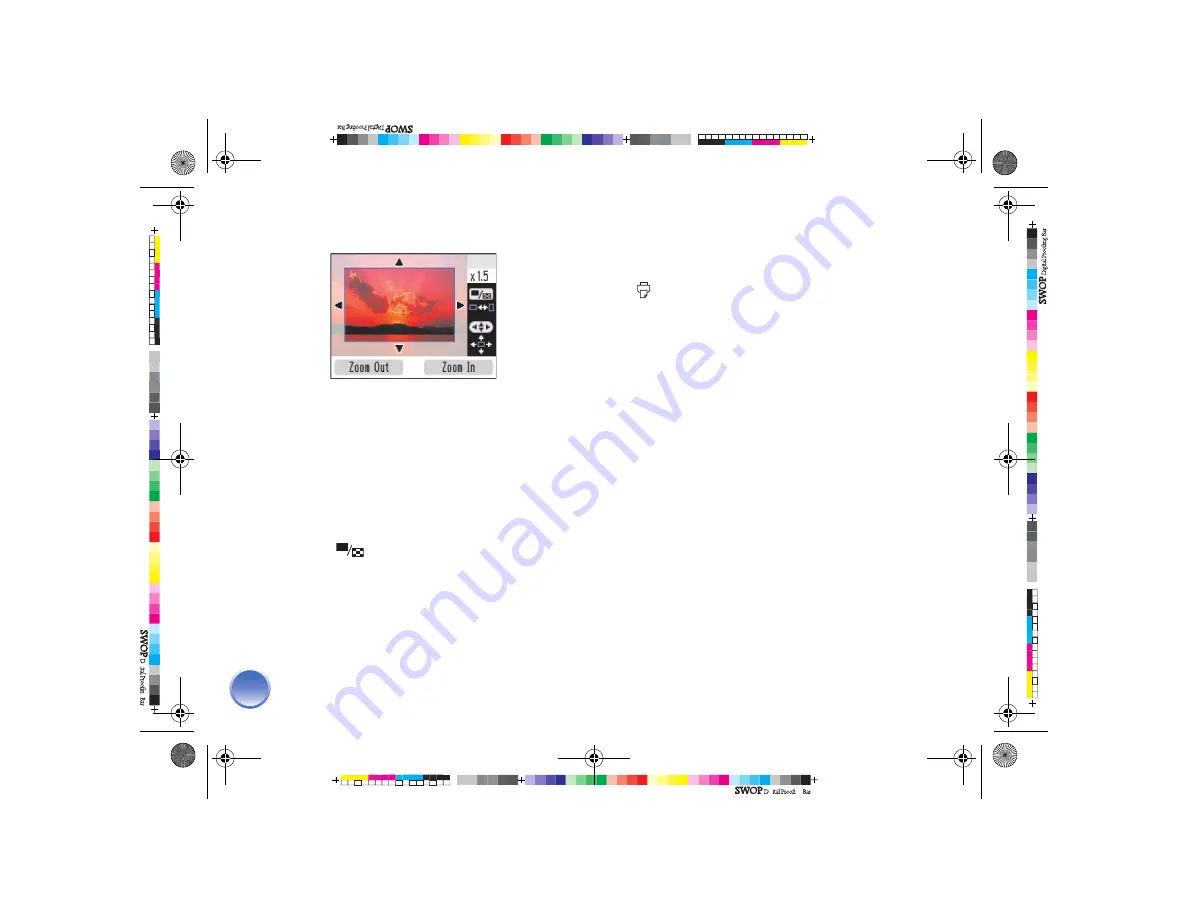
You see a blue box around the photo:
This indicates the area that will print; the area
outside the box will be cropped.
5
Set the area you want to print:
●
Press
Zoom In
to crop more of the photo.
●
Press
Zoom Out
to crop less of the photo.
●
Press
l
,
r
,
u
, or
d
to move the blue box to a
different part of your photo.
●
Press
Display
to rotate the blue box.
6
Press
OK
. You see a close-up of your photo with
the crop setting you selected.
7
Press
OK
to select the cropped photo for printing.
8
If you want to crop additional photos, repeat steps
1 through 7.
9
Adjust any other settings you want, then press
to print your photos.
Red-Eye Removal
When you take photos of people, they sometimes
appear to have red eyes. You can use red-eye
reduction to help eliminate this problem.
Note:
Red-eye reduction may not correct red eyes in all photos.
To use red-eye reduction whenever you print, see page 58.
1
Select a photo with the red-eye problem.
2
Press
Menu
.
3
Press
u
or
d
to highlight
Edit
, then press
OK
.
4
Press
u
or
d
to highlight
Red-Eye Reduction
, then
press
OK
.
5
Highlight
On
to turn on the setting, then press
OK
.
6
At the next screen, select whether to apply the
setting to the current photo or all photos, then
press
OK
. (The setting remains until you remove
the memory card or cancel all settings.)
PictureMate.book Page 18 Thur sday, January 18, 2007 4:43 PM


