


PictureMate Deluxe Viewer Edition
4/05
PictureMate Deluxe Viewer Edition
- 9
When cleaning is complete, you see a message asking if you
want to print a nozzle check pattern.
6. To make sure the nozzles are clean, load a sheet of photo
paper, then press
OK
.
Caution:
Don’t use plain paper; this could damage PictureMate.
7. When you see the message, press
to print the nozzle
check.
8. Check the pattern to see if there are any gaps in the lines.
9. If thre are no gaps, press
Back
to go back to the
Maintenance menu.
If there are gaps, press
OK
to clean the print head again. You
may need to clean it two or three times before the nozzles
are cleared.
You can also turn PictureMate off and wait overnight—this
allows any dried ink to soften—and then try cleaning the print
head again.
Aligning the Print Head
If you have moved PictureMate and print quality is not as
good as it was before—for example, you see misaligned
vertical lines or light or dark horizontal banding—you may
need to align the print head.
1. Press the
Menu
button.
2. Press or to highlight
Maintenance
, then press to
open the Maintenance menu.
3. Press or to select
Align Print Head
, then press . You
see this message:
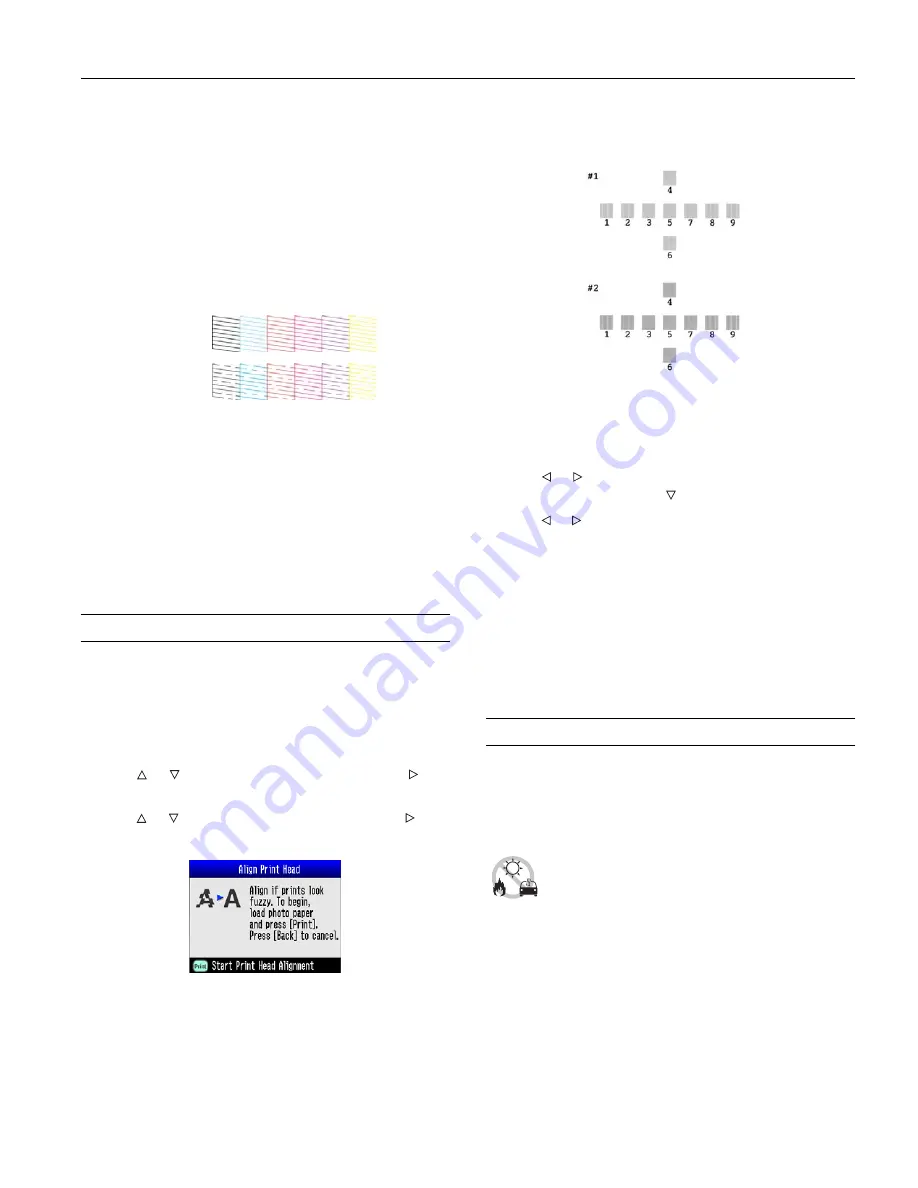
4. Press the
button. The following alignment patterns
are printed:
5. Look at the printed squares to determine which one in each
set is the most even, with no streaks or lines. (You may need
to use a magnifying glass.)
6. Press or to highlight the number for the best square (1
to 9) in set #1. Then press to move to #2.
7. Press or to highlight the number for the best pattern (1
to 9) in set #2.
8. After you have entered the number for the best square in
each set, press
OK
.
PictureMate aligns the print head and
displays a message when alignment is done.
Note:
The numbers that you enter become the default settings
(#5) the next time you align the print head.
9. Press
OK
or
Back
to return to the Maintenance menu.
Taking PictureMate With You
The handle on PictureMate makes it easy to carry PictureMate
short distances (from one room to the next, for example). If
you take your PictureMate a longer distance, you should pack
it carefully to make sure it isn’t damaged.
Caution:
To avoid damaging your PictureMate, keep it
out of the sun and don’t leave it in your car or other
location where it can get too hot.
1. If PictureMate is on, press
On
to turn it off.
2. Wait until the LCD screen goes blank, then unplug the
power cord from the outlet.
3. Remove paper from the paper support and output tray.
OK
Needs
cleaning


