


Playing Back Photos
6-6
2
Press the buttons next to the right and left arrows to
move the frame to an image you want to lock. Then
press the button under
Lock
.
A lock icon appears in the top left corner of the screen
and the word
Lock
changes to
Unlock
. Repeat this step
to lock any additional images.
3
Press the buttons next to the right and left arrows to
move the frame to an image you want to unlock. Then
press the button under
Unlock
.
The lock icon disappears from the top left corner of the
screen and the word
Unlock
changes back to
Lock
.
Repeat this step to unlock any additional images.
Adding Audio Recordings
You can add audio recordings to images stored on your
memory card.
Follow these steps to add a recording to an existing image:
1
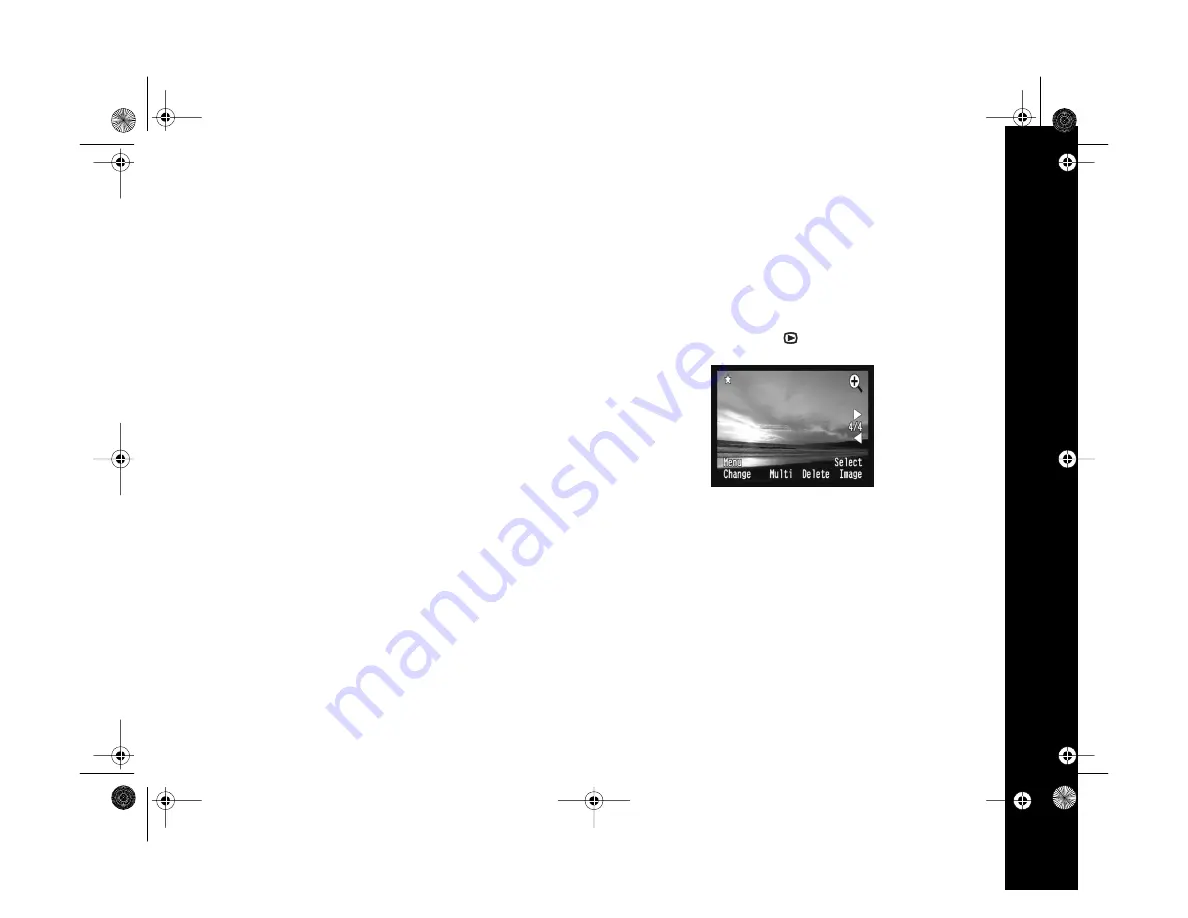
Turn the camera dial to
to select playback mode.
2
Press the buttons next to the right and left arrows to
move to the photo to which you want to add a
recording. (If you’re displaying multiple images, you’ll
see a white frame around the currently selected photo.)
3
Press the button under
Menu Change
until the screen
changes, then press the button under
Sound
.
Capella.book Page 6 Thursday, April 20, 2000 4:21 PM


