


Printing With a Macintosh
21
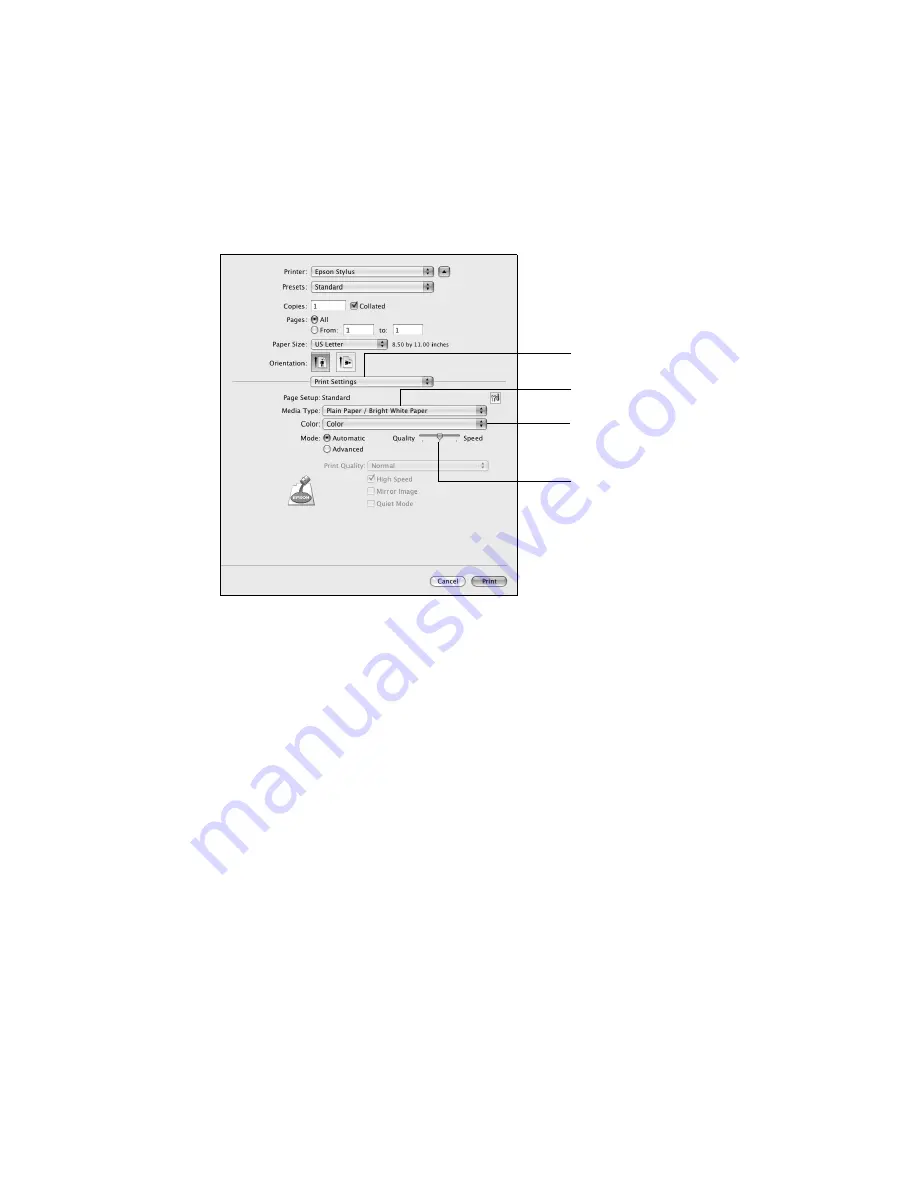
6. Choose
Print Settings
from the pop-up menu, and select the following print
settings:
7. Choose any other printing options you may need from the pop-up menu. See
the on-screen
Epson Information Center
for details.
8. Click the
Advanced
button to change additional settings.
Note:
For more information on advanced settings click
?
.
9. Click
.
Select your
Media Type
(see page 24)
Select higher quality or
faster printing (if available)
Select
Color
or
Black/Grayscale
Choose
Print Settings