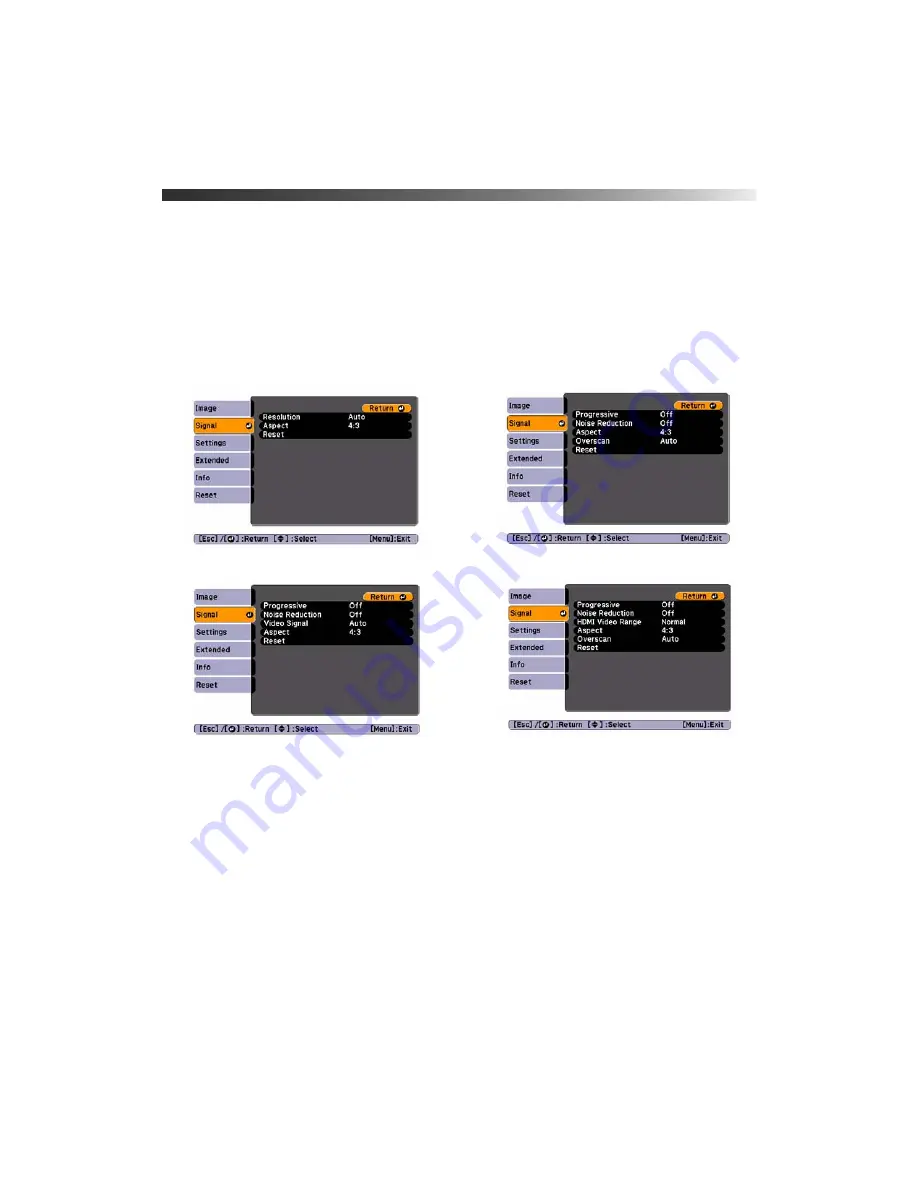
Adjusting Signal Settings
45
Adjusting Signal Settings
Although the projector normally detects and optimizes the input signal automatically, you
can use the Signal menu to make manual adjustments. In addition to changing the position of
the projected image, you can correct sync for computer images, or change the aspect ratio.
1. Press the
Menu
button and select the
Signal
menu. You see a screen similar to one of
those below. (The settings will be different depending on the source you are projecting
from.)
2. Adjust the desired options as needed:
■
Resolution
Set to
Auto
to have the projector automatically identify the resolution of the input
signal. If necessary, select
Wide
(for widescreen images) or
Normal
(for 4:3 ratio
images).
■
Noise Reduction
Reduces image flickering from progressive image signals. This setting can be set to
Off
,
NR1
, and
NR2
.
■
Video Signal
Sets the video input signal. For a list of compatible video formats, see page 75.
Computer/RGB video
Component video
Composite video
HDMI


