


EPSON EPL-5900/EPL-5900L
Revision B
Adjustment
USB ID Input
125
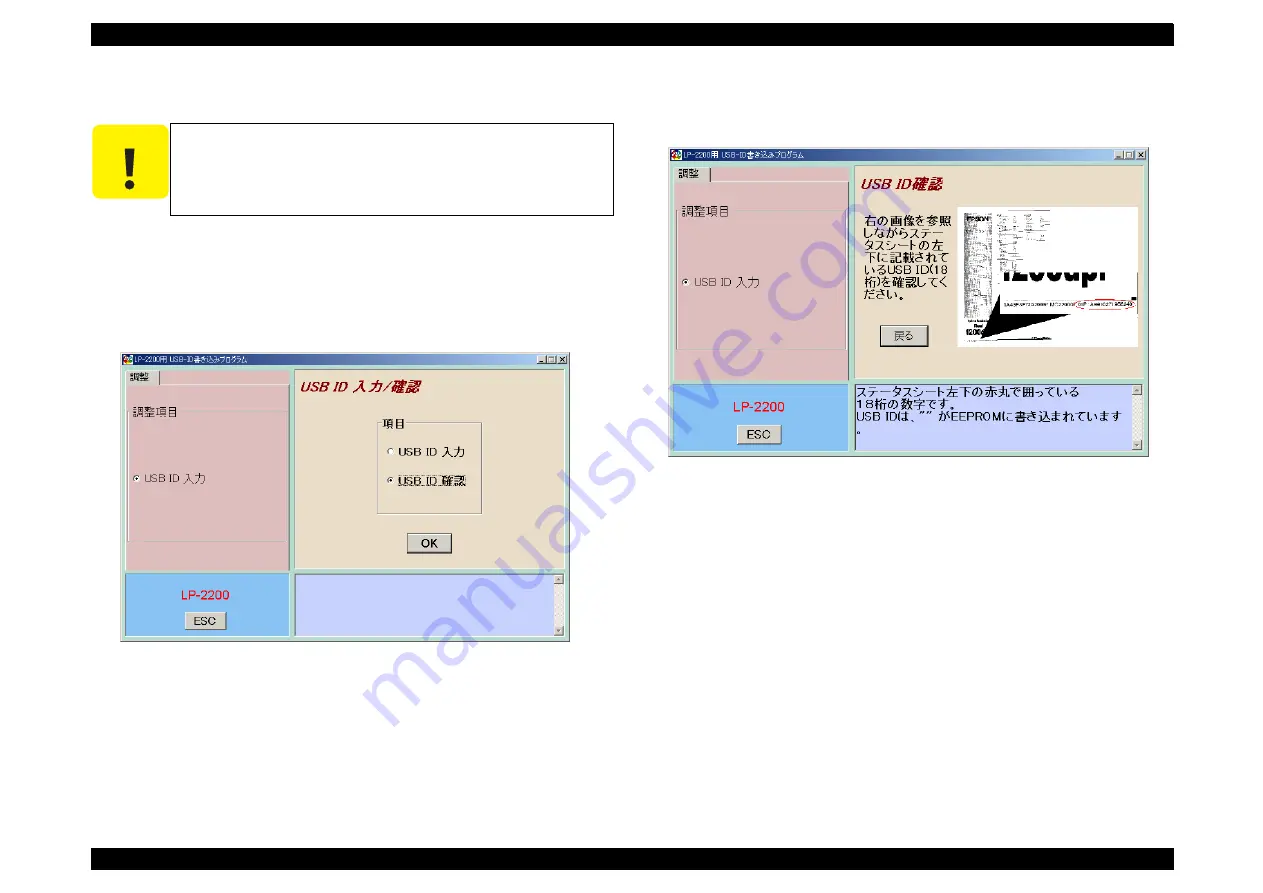
5.2.3 USB ID Confirmation
1. Execute the program “USBID_EJL.exe” which was used to write the USB ID, and
select the model name.
2. When the window as shown below appears, check “Verify USB ID” and click the OK
button.
Figure 5-4. USB ID Confirmation Window 1
3. The window as shown below will appear and a status sheet will be printed
automatically.
Figure 5-5. USB ID Confirmation Window 2
4. Check that the USB ID printed on the status sheet is identical with that shown on the
window.
After completion of confirmation, press the Return button.
C A U T I O N
Once you have input a new USB ID, never forget to confirm it on
the status sheet.
Summary of Contents for EPL-5900
Page 1: ...EPSON EPL 5900 EPL 5900L Monochrome Page Printer SERVICE MANUAL SEPG01005 ...
Page 21: ...C H A P T E R 1 PRODUCTDESCRIPTION ...
Page 75: ...C H A P T E R 2 OPERATINGPRINCIPLES ...
Page 96: ...C H A P T E R 3 TROUBLESHOOTING ...
Page 111: ...C H A P T E R 4 DISASSEMBLYANDASSEMBLY ...
Page 138: ...C H A P T E R 5 ADJUSTMENT ...
Page 143: ...C H A P T E R 6 MAINTENANCE ...
Page 145: ...C H A P T E R 7 APPENDIX ...
Page 155: ......
Page 156: ......
Page 157: ......
Page 158: ......
Page 159: ......
Page 160: ......
Page 161: ......


