


Using the Document Camera
27
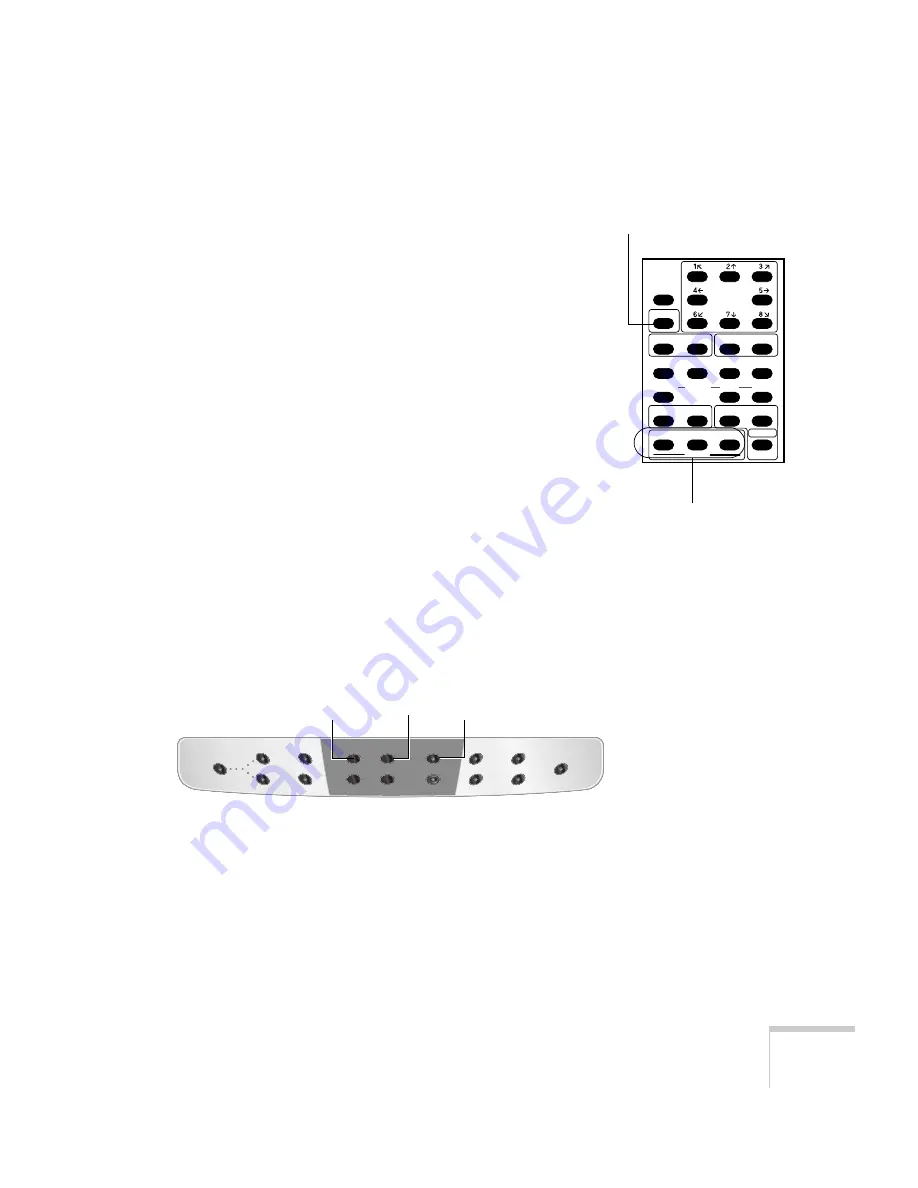
Doubling the Size of the Image
You can instantly double the size of the displayed image by pressing
the
2x
button on the remote control, or pressing the right mouse
button if a mouse is attached to the document camera’s
MOUSE
port
(see page 19). To return the image to its original size, press the
2x
button or the right mouse button again.
Adjusting the Brightness
The document camera is initially set to auto iris. You can manually
adjust the iris to control the amount of light that reaches the camera.
If the screen looks dark, press and hold the
OPEN
button on the
remote control to open the iris so that more light reaches the camera.
If the screen looks too bright, press and hold the
CLOSE
button. To
return to the auto iris default setting, press the
NORMAL
button.
To lock the brightness setting, press the
AUTO/MANUAL
button
on the document camera. The button’s indicator light comes on
when the camera is locked in manual mode. You can then use the
OPEN
and
CLOSE
buttons to adjust the brightness. Press the
AUTO/MANUAL
button again to unlock manual mode. (The
NORMAL
button on the remote control has no effect while manual
mode is locked.)
PAUSE
LAMP
POSI/NEGA COLOR/B&W
IRIS
AF
2x
SET
RGB1
RGB2
NORMAL
OPEN
CLOSE
PRESET
CALL
TELE
ZOOM
MAIN
INPUT
WIDE
NEAR
FOCUS
FAR
UPPER
BASE
SET
IMAGE
CALL
Doubles the size of the image
Adjust brightness
INPUT
PAUSE
CLEAR MODE
MAIN
RGB1
RGB2
IRIS
ZOOM
OPEN
CLOSE
TELE
WIDE
AUTO FOCUS
AUTO/MANUAL
CONTRAST
POSI / NEGA
LAMP
WHITE
BALANCE
IMAGE
ROTATION
UPPER / BASE / OFF
Locks and unlocks the
brightness setting
Adjust brightness when
setting is locked
Summary of Contents for ELPDC05 - High Resolution Document Imager Camera
Page 1: ...Epson ELPDC05 High Resolution Document Camera User sGuide ...
Page 6: ...6 ...
Page 10: ...10 Welcome ...
Page 64: ...64 Index ...
Page 65: ......
Page 66: ......


