


a
If
Screen Switching Time
on the Option screen is set to
No
, files do
not change automatically when you select Play Slideshow. Press the
[ ] button, the [
] button, or the [
]
] button to continue to the next
file.
You can use the following functions when projecting an image file with
Slideshow.
•
Freeze
s
•
A/V Mute
s
"Hiding the Image and Sound Temporarily (A/V Mute)"
•
E-Zoom
s
"Enlarging Part of the Image (E-Zoom)"
Image file display settings and Slideshow operation settings
You can set the file display order and Slideshow operations on the Option
screen.
a
Press the [
], [
], [ ] and [ ] buttons to position the cursor
over the folder where you want to set display conditions, and then
press the [Esc] button. Select
Option
from the submenu displayed,
then press the [
] button.
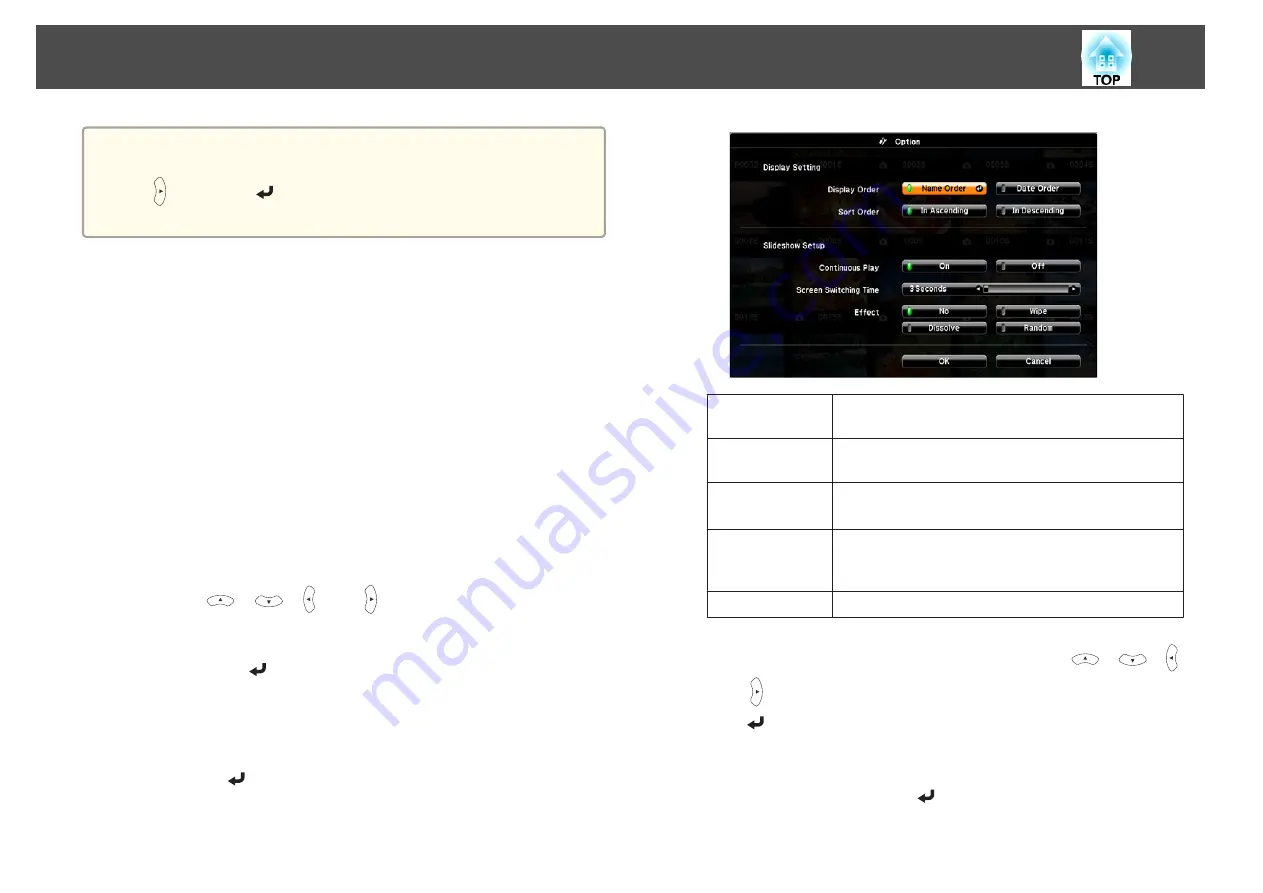
b
When the following Option screen is displayed, set each of the
items.
Enable settings by positioning the cursor on the target item and
pressing the [
] button.
The following table shows the details for each item.
Display Order
You can select to display the files in
Name Order
or
Date
Order
.
Sort Order
You can select to sort the files
In Ascending
or
In
Descending
order.
Continuous
Play
You can set whether to repeat the Slideshow.
Screen Switch-
ing Time
You can set the time for a single file to be displayed in Play
Slideshow. You can set a time between
No
(0) to 60
Seconds. When you set
No
, auto play is disabled.
Effect
You can set the screen effects when changing slides.
c
When you have finished making settings, use the [
], [
], [ ],
and [ ] buttons to position the cursor over
OK
, and then press
the [
] button.
The settings are applied.
If you do not want to apply the settings, position the cursor on
Cancel
, and then press the [
] button.
Slideshow
107
Summary of Contents for EB-420 guide
Page 1: ...User s Guide ...
Page 6: ...Introduction This chapter explains the projector s features and the part names ...
Page 25: ...a To prevent malfunctions use a category 5 shielded LAN cable Connecting Equipment 25 ...
Page 27: ...Basic Usage This chapter explains how to project and adjust images ...
Page 56: ...Configuration Menu This chapter explains how to use the Configuration menu and its functions ...
Page 102: ...Appendix ...


