EPSON Stylus COLOR 900/900N
Chapter 1 Product Description
26
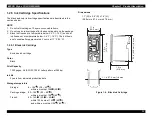
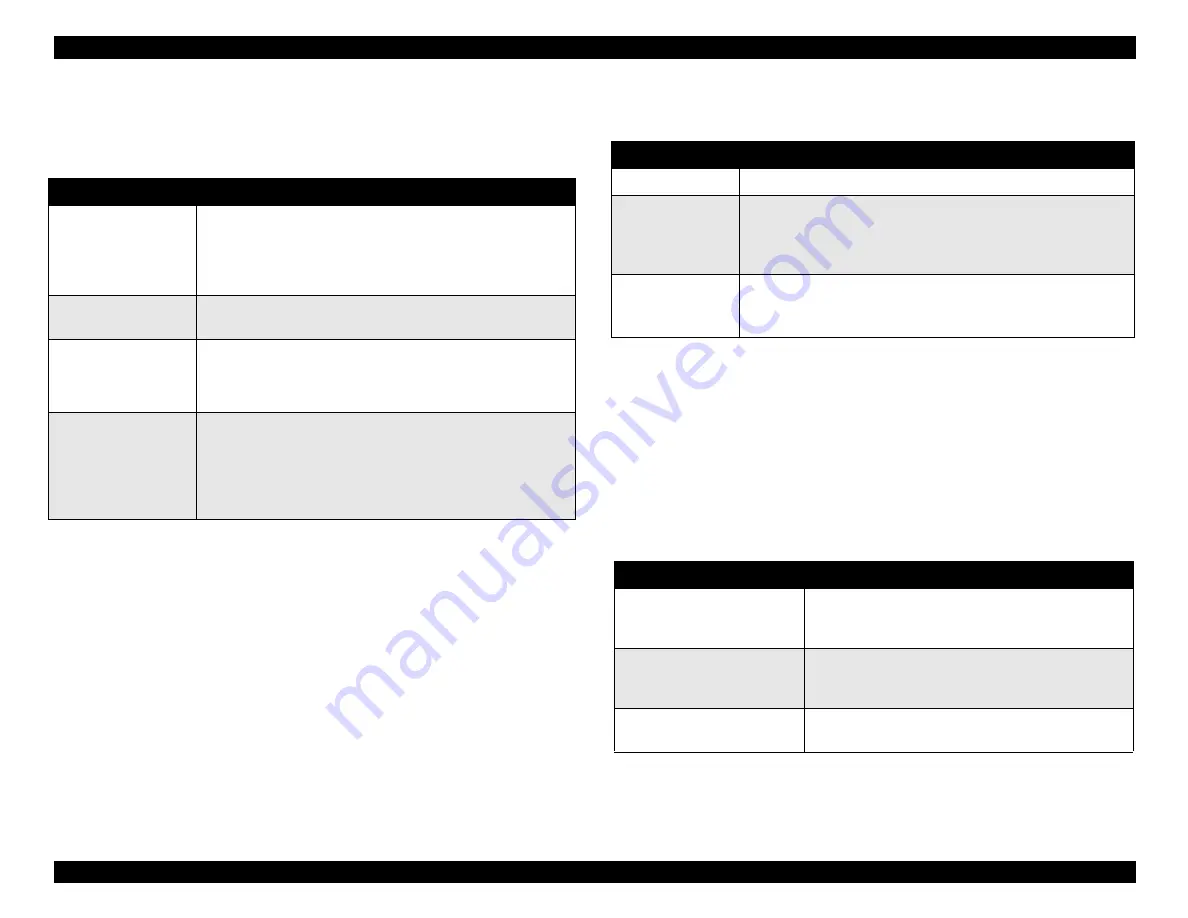
1.4.2 Panel Functions
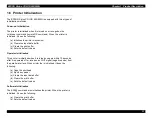
Panel Functions Performed During Normal Operation
Table 1-18. Panel Functions
*1: 3 seconds is specified in the user documentation.
*2: This operation doesn’t work when the printer is printing.
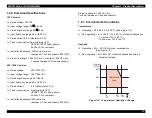
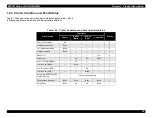
Panel Functions Performed While Pressing the Power Button
Table 1-19. Panel Functions with the Power On
*1: The status printout includes the firmware version, ink counter, and nozzle
check pattern.
*2: This operation doesn’t work when the printer is printing.
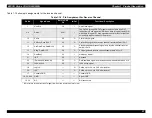
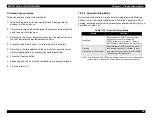
1.4.2.1 Printer Setting Mode
While turning the printer on, press the Cleaning button. The Paper Out
LED starts blinking. To enter the default setting mode or printhead
alignment mode, press the appropriate button while the Paper Out LED
is still blinking, as described in Table 1-20.
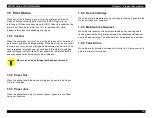
Table 1-20. Printer Setting Mode
*1: Leaving the Paper Out LED blinking without pressing any buttons also
generates the Default setting mode.
*2: Not intended for users. This function is used only for troubleshooting.
Button
Function
Load/Eject
(pushed briefly)
• Loads or ejects paper.
• When the carriage is in the I/C (ink cartridge) replacement
position, pressing this button returns the carriage to the
capping position and initializes the ink cartridges if new
ones are installed.
Load/Eject
(held for 2 seconds) *1
• Starts the I/C replacement sequence, even if the
I/Cs are full *2
Cleaning
(held for 2 seconds) *1
• Starts the printhead cleaning sequence.
• Starts the I/C replacement sequence when the printer is in
one of the following conditions:
Ink Low, Ink Out, No Ink Cartridge *2
Cleaning
(pushed briefly)
• When the carriage is in the black I/C replacement position,
advances the carriage to the color I/C replacement
position.
• When the carriage is in the color I/C replacement position,
returns the carriage to the capping position and initializes
the ink cartridges if new ones are installed.
Button
Function
Load/Eject
Starts the status printout.
*1
Cleaning
Enters the printer setting mode. (The Paper Out LED starts
blinking.) *2
The specified button must be then pressed while the LED is
blinking to activate each mode. (See Section 1.4.2.1.)
Load/Eject
+
Cleaning
Enters the special setting mode. (Factory use only)
The specified button must be pressed while the Paper Out LED
is blinking to activate each mode. (See Section 1.4.2.2.)
Button
Function / Operation
Cleaning or none
While the Paper Out LED is blinking, pressing the
Cleaning button or not pressing any button starts the
default setting mode. *1
Load/Eject
(press within 10 seconds)
While the Paper Out LED is blinking, pressing the
Load/Eject button starts the printhead alignment
mode.
Load/Eject
(hold down for 10 seconds)
Changes the default for the parallel I/F
communication protocol. *2
Summary of Contents for 900N
Page 1: ...EPSONStylusCOLOR900 900N Color ink jet printer TM SC900 N 6 59 0 18 ...
Page 8: ... 37 5 PRODUCTDESCRIPTION ...
Page 37: ... 37 5 OPERATINGPRINCIPLES ...
Page 67: ... 37 5 TROUBLESHOOTING ...
Page 89: ... 37 5 DISASSEMBLYANDASSEMBLY ...
Page 121: ... 37 5 ADJUSTMENTS ...
Page 156: ... 37 5 MAINTENANCE ...
Page 169: ... 37 5 APPENDIX ...
Page 179: ...EPSON Stylus COLOR 900 900N Chapter 7 Appendix 176 Figure 7 3 C265 Main Board Soldering side ...
Page 181: ...EPSON Stylus COLOR 900 900N Chapter 7 Appendix 178 Figure 7 6 C265 PNL Board ...
Page 195: ...06 03 01 02 for S E ASIA 03 03 05 03 04 EPSON STYLUS COLOR 900 No 7 10056 Rev 01 ...
Page 197: ......
Page 198: ......
Page 199: ......
Page 200: ......
Page 201: ......


