EPSON Stylus PHOTO 2100/2200
Revision B
DISASSEMBLY AND ASSEMBLY
Disassembly
138
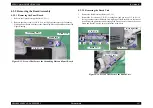
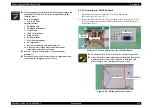
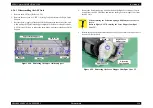
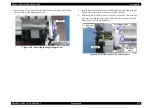
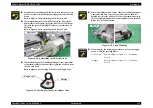
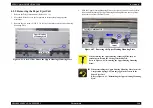
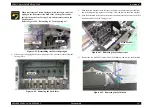
16. Remove the Compression Spring 3.13 that engages the Hopper and Left LD Roller
Unit as seen from the ASF Unit front, and remove the Left LD Roller Unit from
the Hopper.
17. Remove the Compression Spring 1.961 that engages the Hopper and Right LD
Roller Unit as seen from the ASF Unit front, and slide the Right LD Roller Unit to
the right to remove the Right LD Roller Unit from the Arm of the Hopper.
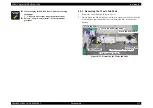
Figure 4-36. Removing the LD Roller Units
"
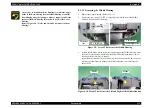
Place the Compression Springs into the Left and Right LD Roller
Units correctly. (Place the Compression Spring 1.961 on the right
and the Compression Spring 3.13 on the left.)
Refer to Figure 4-36, "Removing the LD Roller Units".
Compression
Spring 3.13
Left LD Roller
Unit
Compression
Spring 1.961
Right LD
Roller Unit
"
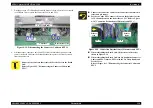
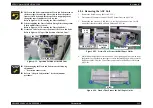
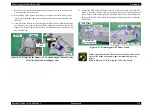
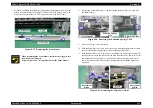
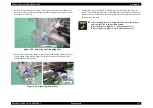
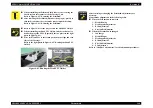
When reinstalling the Compression Spring that engages the
Hopper and LD Roller Unit, pre-fix it to the hooks of the Spring
Support in the LD Roller Unit. After installing it to the ASF
Frame, release the hitched Spring from the rear hole in the ASF
Frame. (This also applies to the Right LD Roller Unit.)
Refer to Figure 4-37, "Installing the Compression Spring".
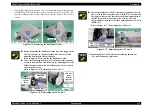
Figure 4-37. Installing the Compression Spring
Hooks
Rear hole
Summary of Contents for 2200 - Stylus Photo Color Inkjet Printer
Page 1: ...EPSONStylusPHOTO2100 2200 Color Inkjet Printer SEIJ01 016 SERVICE MANUAL ...
Page 8: ...C H A P T E R 1 PRODUCTIONDESCRIPTION ...
Page 39: ...C H A P T E R 2 OPERATINGPRINCIPLES ...
Page 69: ...C H A P T E R 3 TROUBLESHOOTING ...
Page 115: ...C H A P T E R 4 DISASSEMBLYANDASSEMBLY ...
Page 187: ...C H A P T E R 5 ADJUSTMENT ...
Page 214: ...C H A P T E R 6 MAINTENANCE ...
Page 226: ...C H A P T E R 7 APPENDIX ...
Page 254: ......
Page 255: ......
Page 256: ......
Page 257: ......
Page 258: ......

