background image

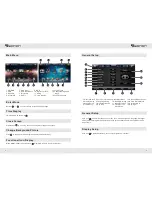
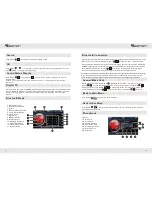
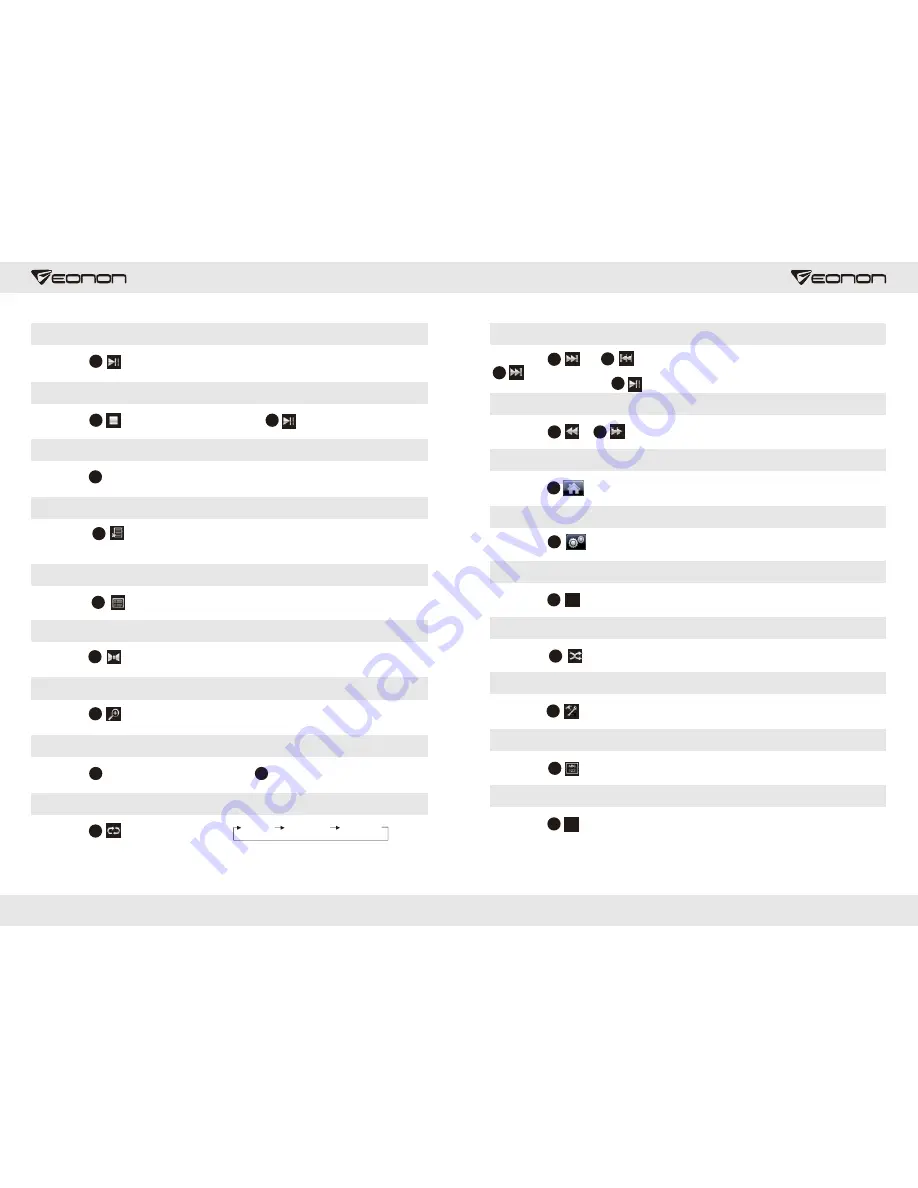
Play/Pause

Click Button               to pause, then click Button 2 again, it will recover normal play.

2

Stop

Click Button               to stop playing, then click Button               to play again.

3

2

Arrow Button

Click Button        to select page up/down function.

4

Menu Display

Press Button               to enter main menu mode. [Enter Main Menu Mode] [Disc format 
should be VCD2.0, it supports menu display or DVD].

5

Directory Function

Press Button               , to select DVD format of multiple directories.

6

Track functional operation

Click Button               to freely switch left channel, right channel, mix channel and language 
(must be discs of supported format).

7

Zoom in and out

Click Button               to zoom in and out DVD picture displayed, here the user could refer to 
instructions of remote control.

8

Volume Control

Click Button              to increase the volume, Button             to decrease the volume.

9

10

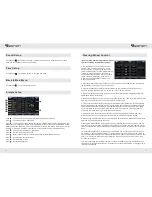
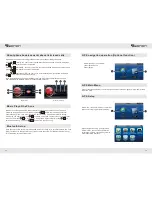
Repeat Play

Click Button               to set repeat mode 
and repeat frequency, as is shown on the 
right.

11

All repeat

Single repeat

Repeat off

Note: An error mode is “All Repeat”.

[ ]

+

[ ]

-

11

12

Fast Forward/Rewind

Click Button               and                to set fast forward and rewind, continue to click Button 
              to adjust times speed [x2x4x8x20] for fast forward. Under fast forward and rewind 
status, directly click Button               to return to normal play.

12

13

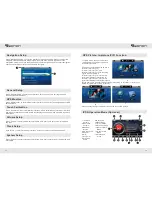
Program Selection Setup

Click Button               or               to select previous or next song.

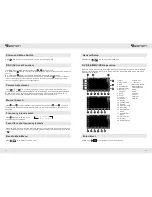
Back to main menu

Click Button                 to go back to the main menu.

16

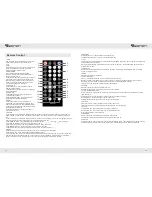
General Set Menu

Click Button                  to display General Set Menu, the user could return to page 9 general 
setup introduction for more details.

17

Format Button

Click Button               to select NTSC and PAL format.

Random Button

Click Button                 to randomly select in the DVD to play.

DVD Setup

Click Button               to set the DVD mode.

Title Button

Click Button               to display related title directory in the DVD.

Display Button

Click Button               to display DVD play time and procedure.

2

12

14

15

20

21

22

19

SYS

23

OSD

Summary of Contents for G2225

Page 1: ...Instruction Manual Please read this manual carefully before operating and keep it for future reference Type G2225 ...

Page 2: ...ting our vehicle DVD In order to guarantee correct operation please be sure to read this manual carefully before using the DVD Please keep this manual for future reference This DVD is in the design of 12V 14V negative grounded DC so before installing this DVD make sure your vehicle adapt to this power supply Before installing the DVD dismantle grounding wire of battery negative electrode so as to ...

Page 3: ...ional Icons 5 AUX Input 6 GPS Navigation 7 Bluetooth 8 Radio General Setup 8 13 15 12 5 4 3 2 1 7 14 6 9 10 11 16 1 General Setup 2 Display Setup 3 Sound Setup 4 Time Setup 9 Backlight Mode 10 Rearview Image 11 Brake Detection 12 Touch Screen Calibration 13 Steering Wheel Control 14 Return to Main Menu 15 Startup LOGO 16 Key Light 5 Version Information 6 Language Setup 7 Music Navigation 8 Key Ton...

Page 4: ...on of buttons press Wheel Function Button Please press a button displays on the information bar reminding the user to press a functional button to be set when this button is pressed input data will display on information bar indicating successful data collection of the main machine and the user could continue pressing buttons to complete learning of all buttons on the wheel 7 Press Complete Button...

Page 5: ...rsion Information Click Version Information icon the version information of this software will display Radio Mode 13 16 6 10 11 2 1 4 12 5 7 9 14 15 1 Auto Search Frequency 2 Scan 3 Filter 4 Mono stereo 9 Volume 10 Manual Search Frequency 11 Manual Search Frequency 12 Frequency Band Switch 13 Return to Main Menu 14 General Setup 15 Status and Time Display 16 Favorite Channel 5 TA RDS Optional 6 AF...

Page 6: ...stem will stop when any channel is searched 10 11 10 11 Frequency brand switch Click band to switch in the following frequency brands 12 FM1 FM2 FM3 AM1 AM2 Favorite radio frequency brands When the main machine receives a favorite channel the user could click any one of Button 1 6 for 2 seconds to save and click any button of them to play preset channels As is shown in 16 Back to Main Menu Click t...

Page 7: ... Play Click Button to set repeat mode and repeat frequency as is shown on the right 11 All repeat Single repeat Repeat off Note An error mode is All Repeat 11 12 Fast Forward Rewind Click Button and to set fast forward and rewind continue to click Button to adjust times speed x2x4x8x20 for fast forward Under fast forward and rewind status directly click Button to return to normal play 12 13 Progra...

Page 8: ...sful matching will be displayed after the user select OK and enter password 5802 The color of as is shown in the figure will light up when connection succeeds after connect being selected to connect to Bluetooth During the next successful matching the system will connect to Bluetooth of the phone automatically Note Operation on different phones will be different for detailed instructions the user ...

Page 9: ...to replay press to select the next song and press to select the previous song Bluetooth Setup Click Reset to view saved information of Bluetooth click Cut to cut off Bluetooth link click Link to connect to Bluetooth Press to decrease the volume of Bluetooth and press to increase the volume of Bluetooth 15 16 2 1 1 4 3 GPS navigation operation Optional function GPS main menu is as follows 1 Navigat...

Page 10: ...o enter clock setup interface here user could set clock and time zone System Setup Press System to enter system setup interface here user could carry out initial setup and file restore 17 18 GPS Picture in picture PIP Function 1 In GPS mode the user could touch 1 as is shown in the figure to go back to the main interface A B C 2 The user could realize free switch in Picture in picture_1x Picture i...

Page 11: ... 1 Volume Decrease 2 Volume Increase 3 Mute 19 20 Volume control Press Button and to control volume increase and decrease there re 40 grades for volume adjustment When volume is set below 30 the power supply is switched off and volume will return to previous setup after power is switched on again when volume is set above 30 switch off power and volume will return to default 15 after power is 1 2 S...

Page 12: ...select the previous or next song Under radio mode left and right button is for up down search under TV mode it is for up down micro adjustment In DVD Set Menu use arrow buttons to select the file list or set the directory press ENTER to confirm 21 22 10 RPT NAV Under play mode press this button to repeat playing Tap and hold this button to enter or exit navigation mode 11 PTY Under radio mode pres...

Page 13: ...D status the user could set song play sequence via this function in VCD status press ST PROG to display P00 00 on TFT screen or TV the user could press Number Button 0 10 to set song play sequence After programming is done user could press o play During searching radio channels the user could press ST PROG to switch between memo and stereo 9 9 2 14 Play Time Display Under DVD VCD or CD status pres...

Page 14: ... for the first time in VCD MP3 CD or USB SD MMC card this player will stop 20 25 26 Title Menu In DVD or VCD status the user could press TITLE to display all songs in this disc The user could also use Number Button 0 10 to select programs directly or press 4 to select menu or press ENTER or to play Note 1 When playing MP3 and CD TITLE does not work 2 When playing DVD disc or multimedia title langu...

Page 15: ...n Check whether the antenna is connected or the connection is ok Connect the antenna Antenna length may not be enough Check whether the antenna is disconnected If it has been broken change a new one Too weak broadcasting signal change another strong signal Antenna is not connected to the ground Make sure the antenna is well connected to the ground There s already a disc in the DVD Perfect frequenc...

Page 16: ...rms 0 3V 10KΩ SNR 95dB 1KHz T H D DISTORTION 0 01 separating degree 75dB 1KHz frequency response 3 dB 20Hz 20KHz video output 1 0Vp_p 0 2V 75Ω FM Radio frequency range 87 5 108 0MHZ European Japan 76 90MHZ Japan intermediate frequency 10 7MHZ Practical sensitivity 10dB SNR 65dB T H D DISTORTION 0 1 separating degree 30dB 1KHz AM Radio frequency range 522 1620KHz intermediate frequency 450KHZ Pract...

Reviews: