


IP address configuration
1)
After ensuring the EnGenius device is powered on and plugged in, ensure that your computer is
on.
2)
For the next steps, refer to your Operating System User Manual.
3)
Once your computer is on, ensure that your TCP/IP is set to
On
or
Enabled
. (In the control panel,
double click Network Connections and then double click on the connection of your Network
Interface Card (NIC). Select
Internet Protocol (TCP/IP)
and then click on the
Properties
button.)
4)
If your PC is already on a computer network, ensure that you have set it to a Static IP Address on
the interface (or Ethernet card that will use the EAP600) as
192.168.1.21
and the Subnet Mask
address as
255.255.255.0
. (Select
Use the following IP Address
radio button). Once the
computer has been prepared, proceed to setting up the EAP600.
EAP600 Setup
1)
To configure EAP600, open a web browser (
example:
Microsoft Internet Explorer, Mozilla Firefox,
Google Chrome, etc.).
2)
In the address bar of the web browser, enter
192.168.1.1
(the default IP address of the EAP600)
and hit enter.
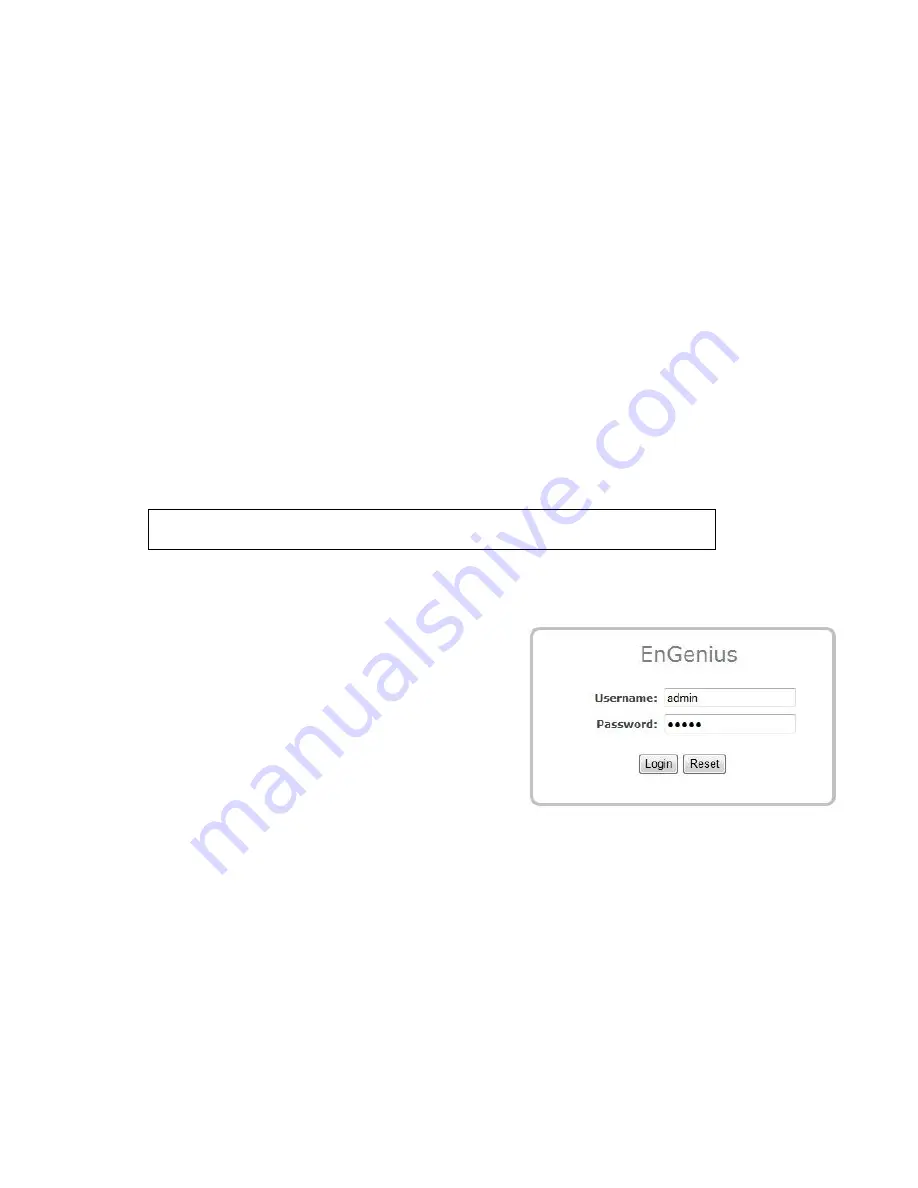
3)
A login screen will appear. By default, the username of the EAP600 is
admin
and the password is
admin
. Enter the current username and password of the EAP600 and then click
Login
. Refer to
the EAP600 user manual on how to change the
username and password.
4)
After clicking
Login
with the correct username and
password, the EAP600 Main Menu will appear. If you
are successful, proceed to setting up the wireless
connection.
Switching Between Operating Modes
This device can operate in the following modes: Access Point, WDS AP, WDS Bridge and Repeater.
A.
Click on the
Operation Mode
link under the
System
navigation drop-down menu.
B.
Operating Mode
: Select an operating mode from the list (Access Point, WDS AP, WDS Bridge or
Repeater) and then click on the
Apply
button.
C.
All basic setup is completed.
Note: The wireless connection is not secure. To setup security on the
EAP600, refer to the EAP600 User Manual.
http://192.168.1.1


