________________________________________________________________________________________________________
Energizer
Solar Inverter | Installer Manual [18]
c.
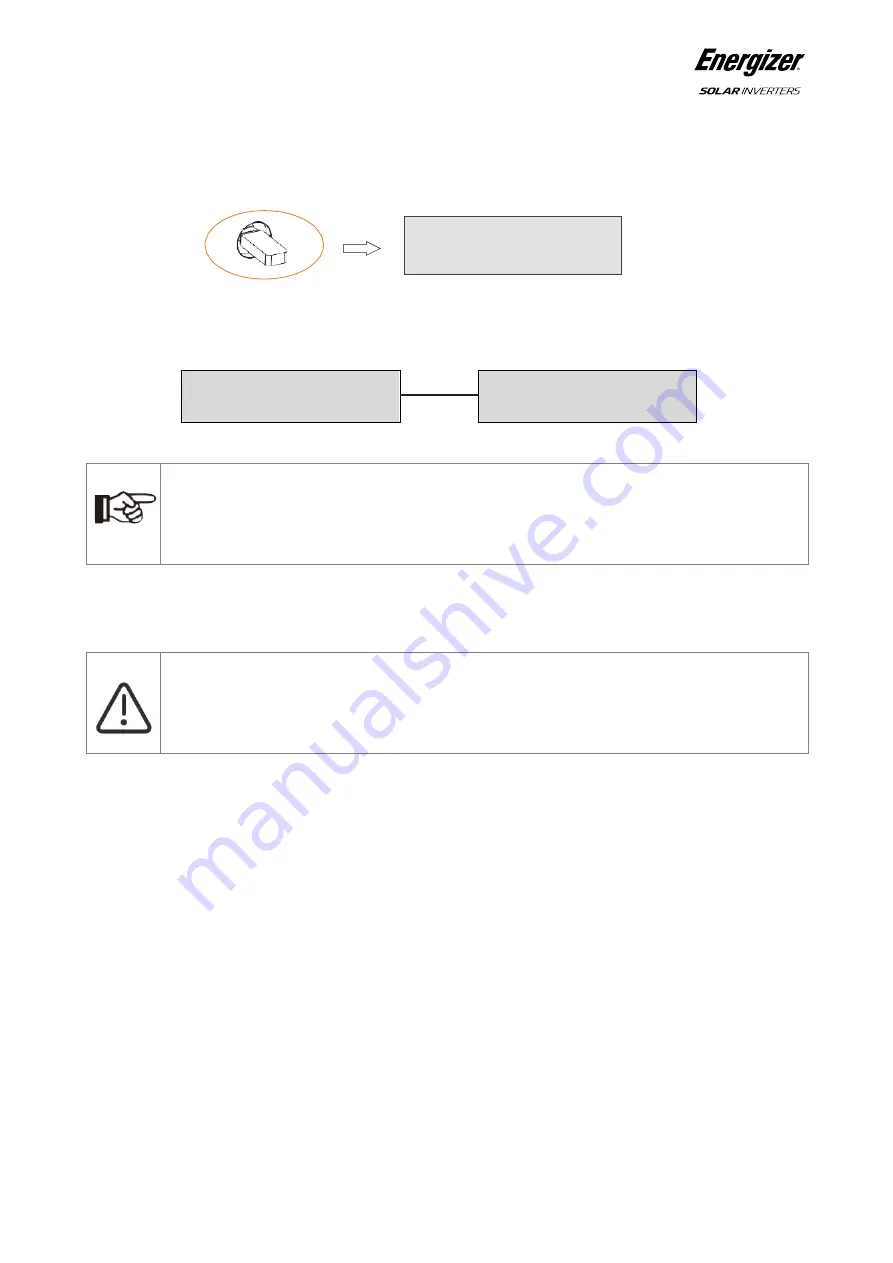
Wait until the LCD is off, then insert the U-disk and turn on the DC switch or re-connect the PV connector, the LCD
will show picture as below.
d.
Short press on the button to select the type of firmware you want to upgrade, then long press on the button, the
inverter will start the upgrade process automatically.
e.
After the upgrade is complete, turn off the DC switch or disconnect the PV connector again, then remove the U-disk
and insert the waterproof cover.
f.
Turn on the DC switch or connect the PV connector to power on the inverter to finish the upgrade process.
•
Isolation Fault (Australian market only)
This inverter complies with IEC 62109-2 clause 13.9 for earth fault alarm monitoring. If an Earth Fault Alarm occurs, the
fault code Isolation fault will be displayed on the inverter screen and the RED LED indicator will light up.
•
Reactive Power Regulation for Voltage Variation (Volt-VAr Mode)
Details of how to enable this mode are contained in the "Advanced Configuration Guide”, which can be accessed at our
website at https://www.energizersolar.com
•
Power Derating for Voltage Variation (Volt-Watt Mode)
Details of how to enable this mode are contained in the "Advanced Configuration Guide", which can be accessed at
https://www.energizersolar.com
Note!
Make sure you have put the correct file on the U-disk. If you only want to upgrade one chip, simply add the
one relevant file onto the U-disk. If you want to upgrade all chips, add all the files.
Warning!
Make sure the input voltage is more than 120V (preferably in good illumination conditions), and do not
remove the U-disk during update, otherwise the update may fail. If there is any problem or error during the
upgrade, please contact our service team for help.
Update
Master/Slave/Manager/All
Copying File
Master/Slave/Manager xx%
Update
Master/Slave/Manager xx%


